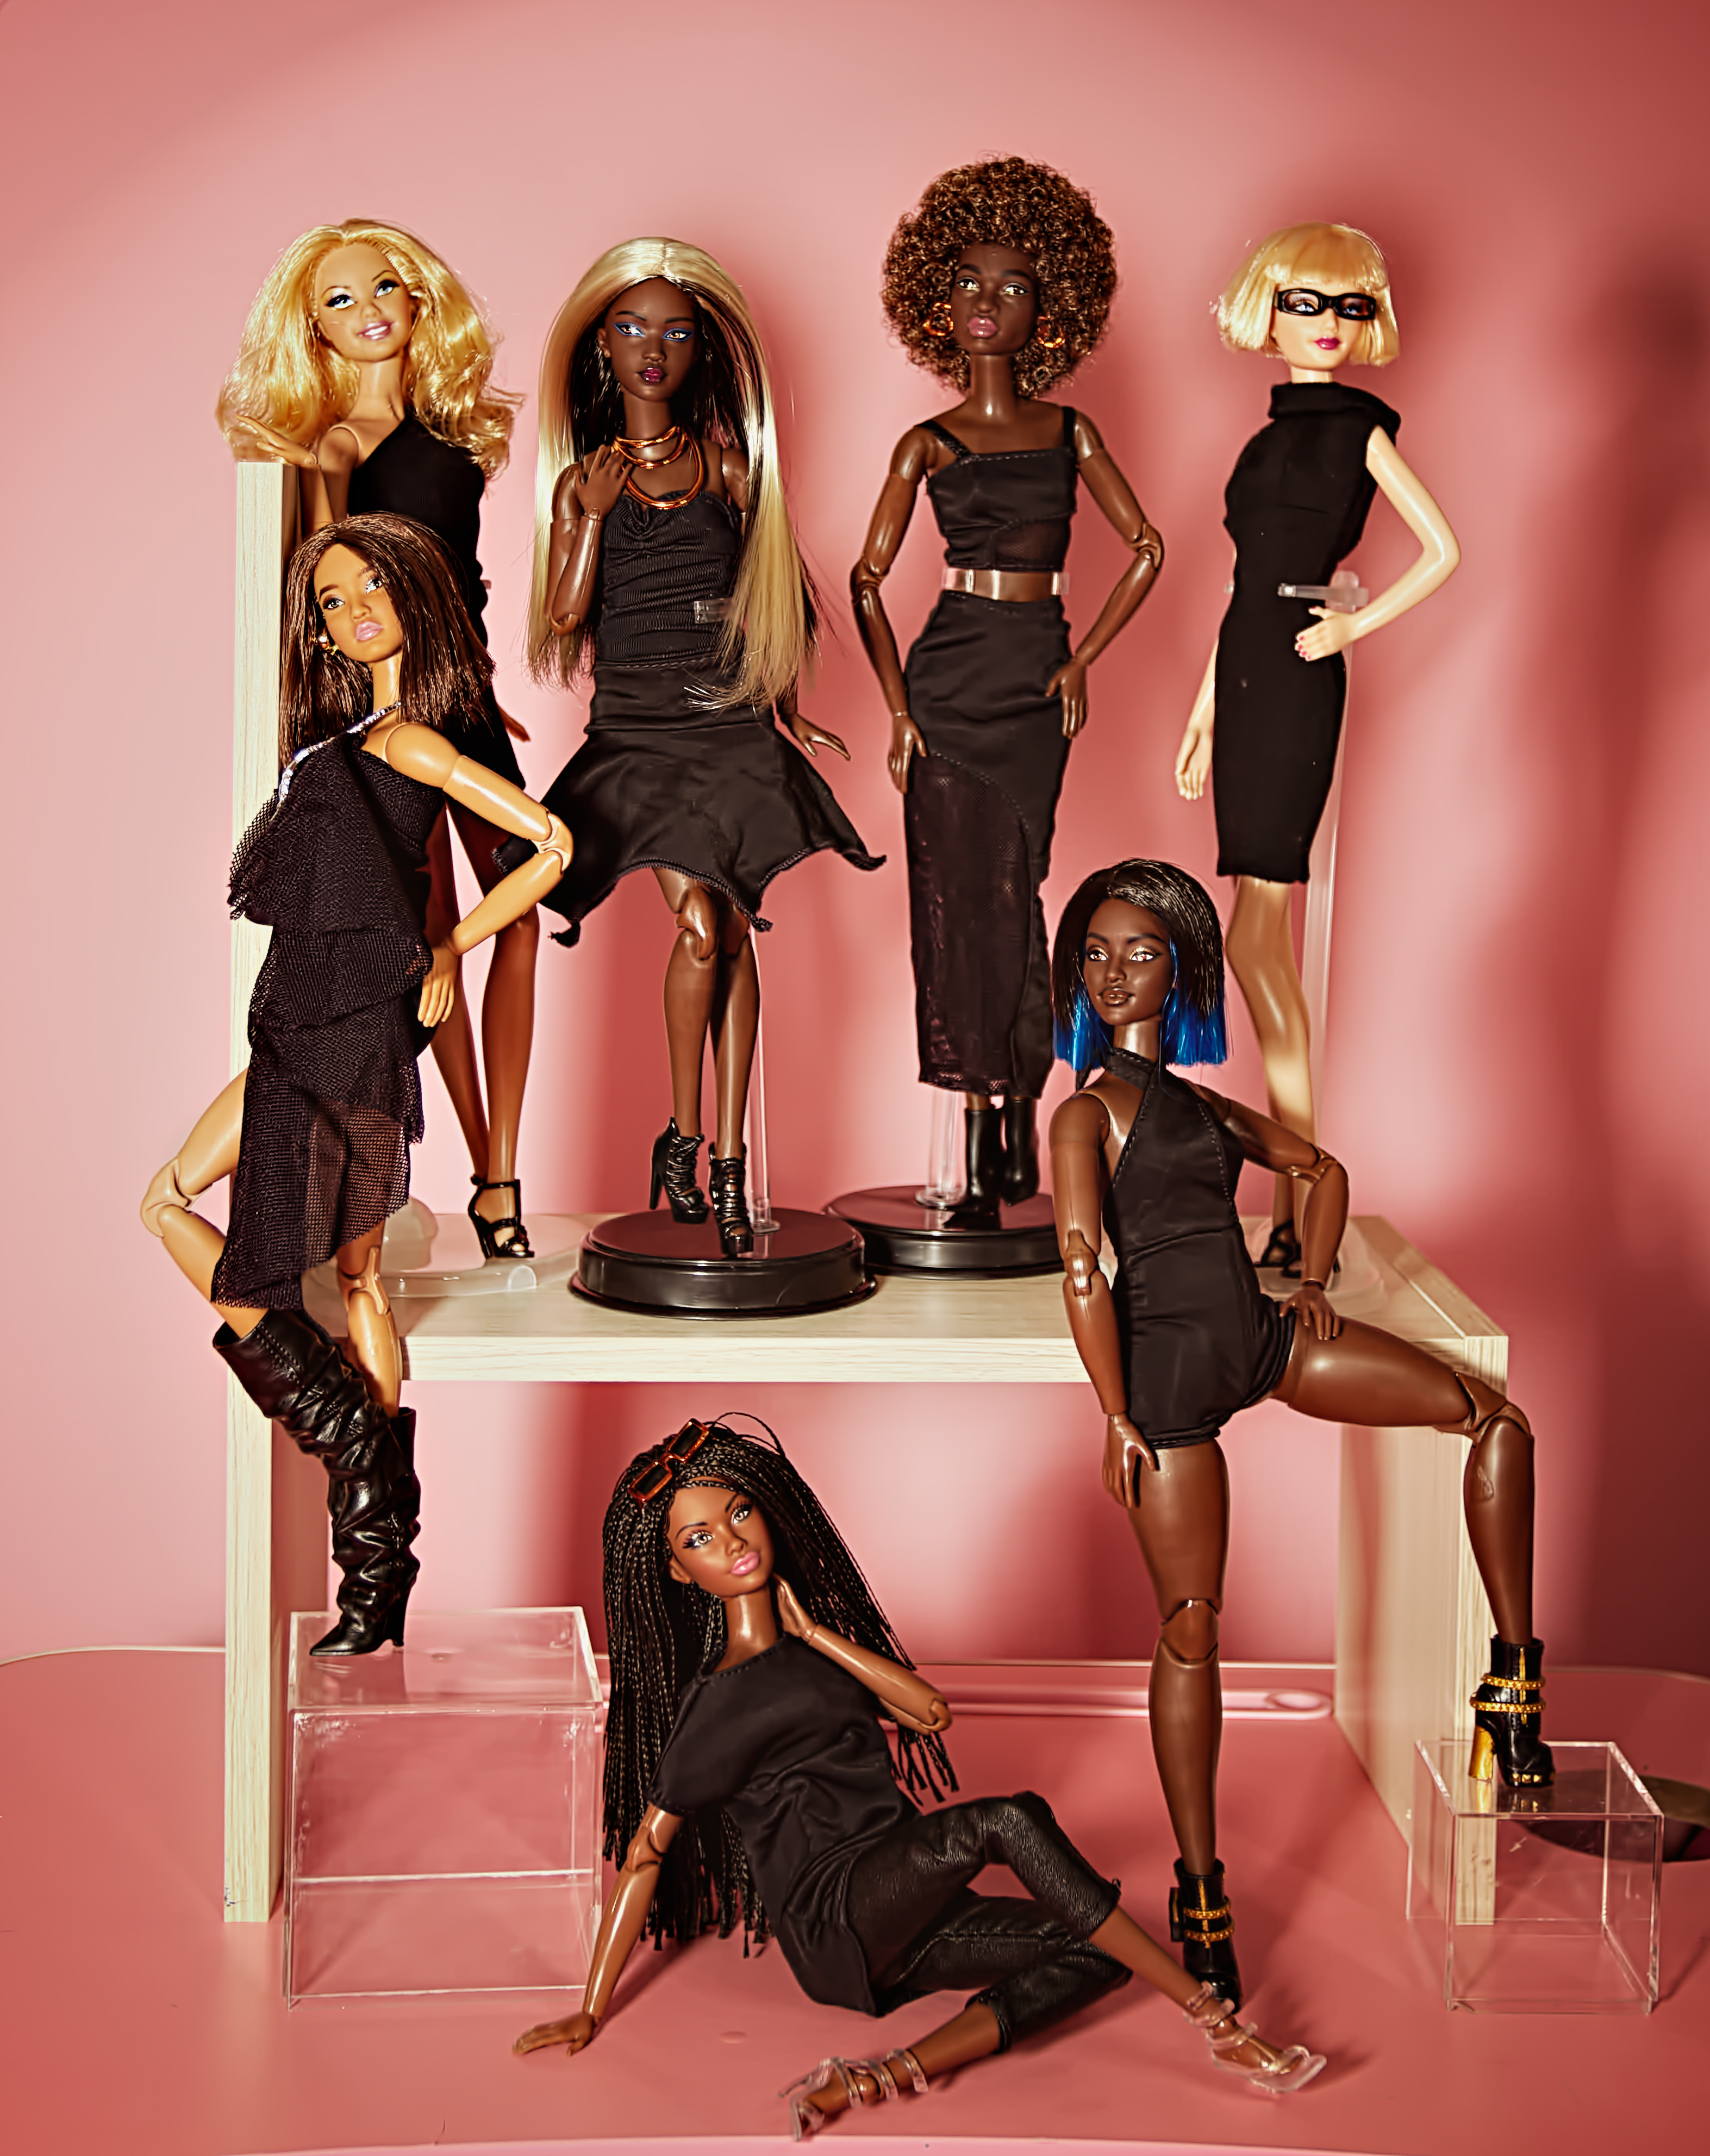
My next photoshoot with my You Create Kit #1 Barbies was an improvement over the previous one. I actually didn’t mind the time it took to set these up for some reason; I guess I am getting used to the differences between other types of photography and doll photography. I’d also like to start taking photos of Nacogdoches and East Texas, but that’s a post for another time – I haven’t started doing it yet so we’ll see how that goes.
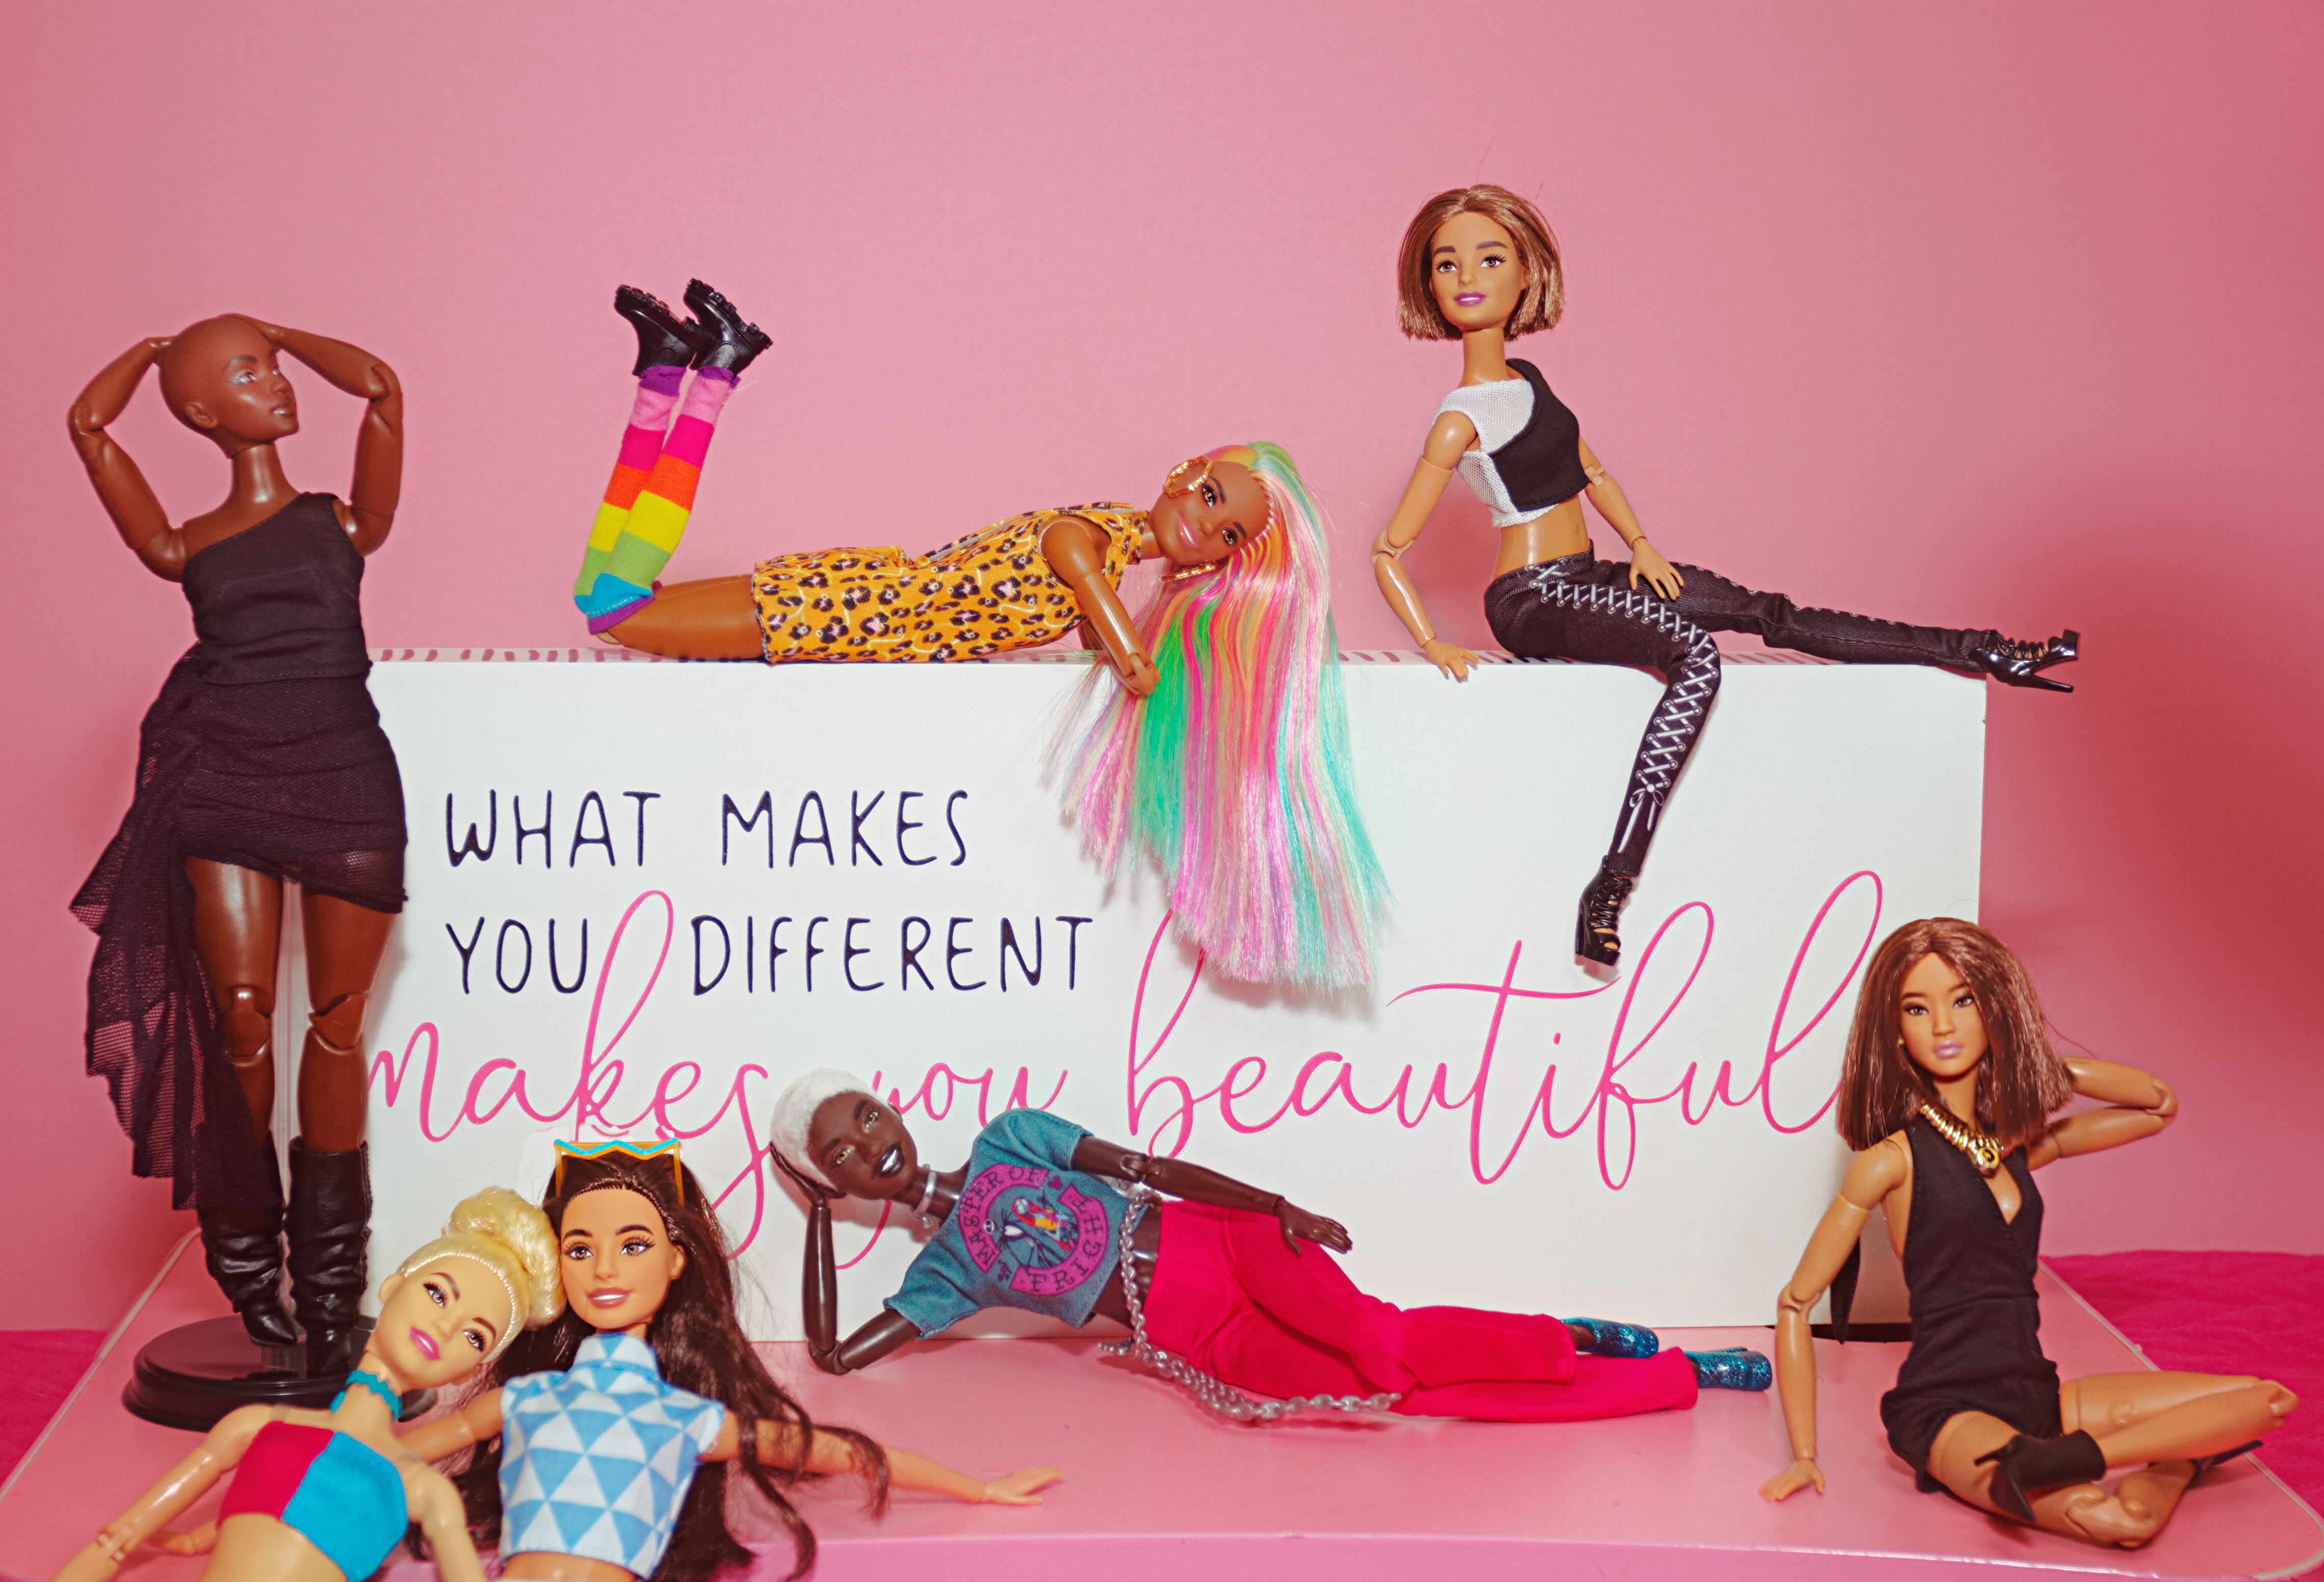
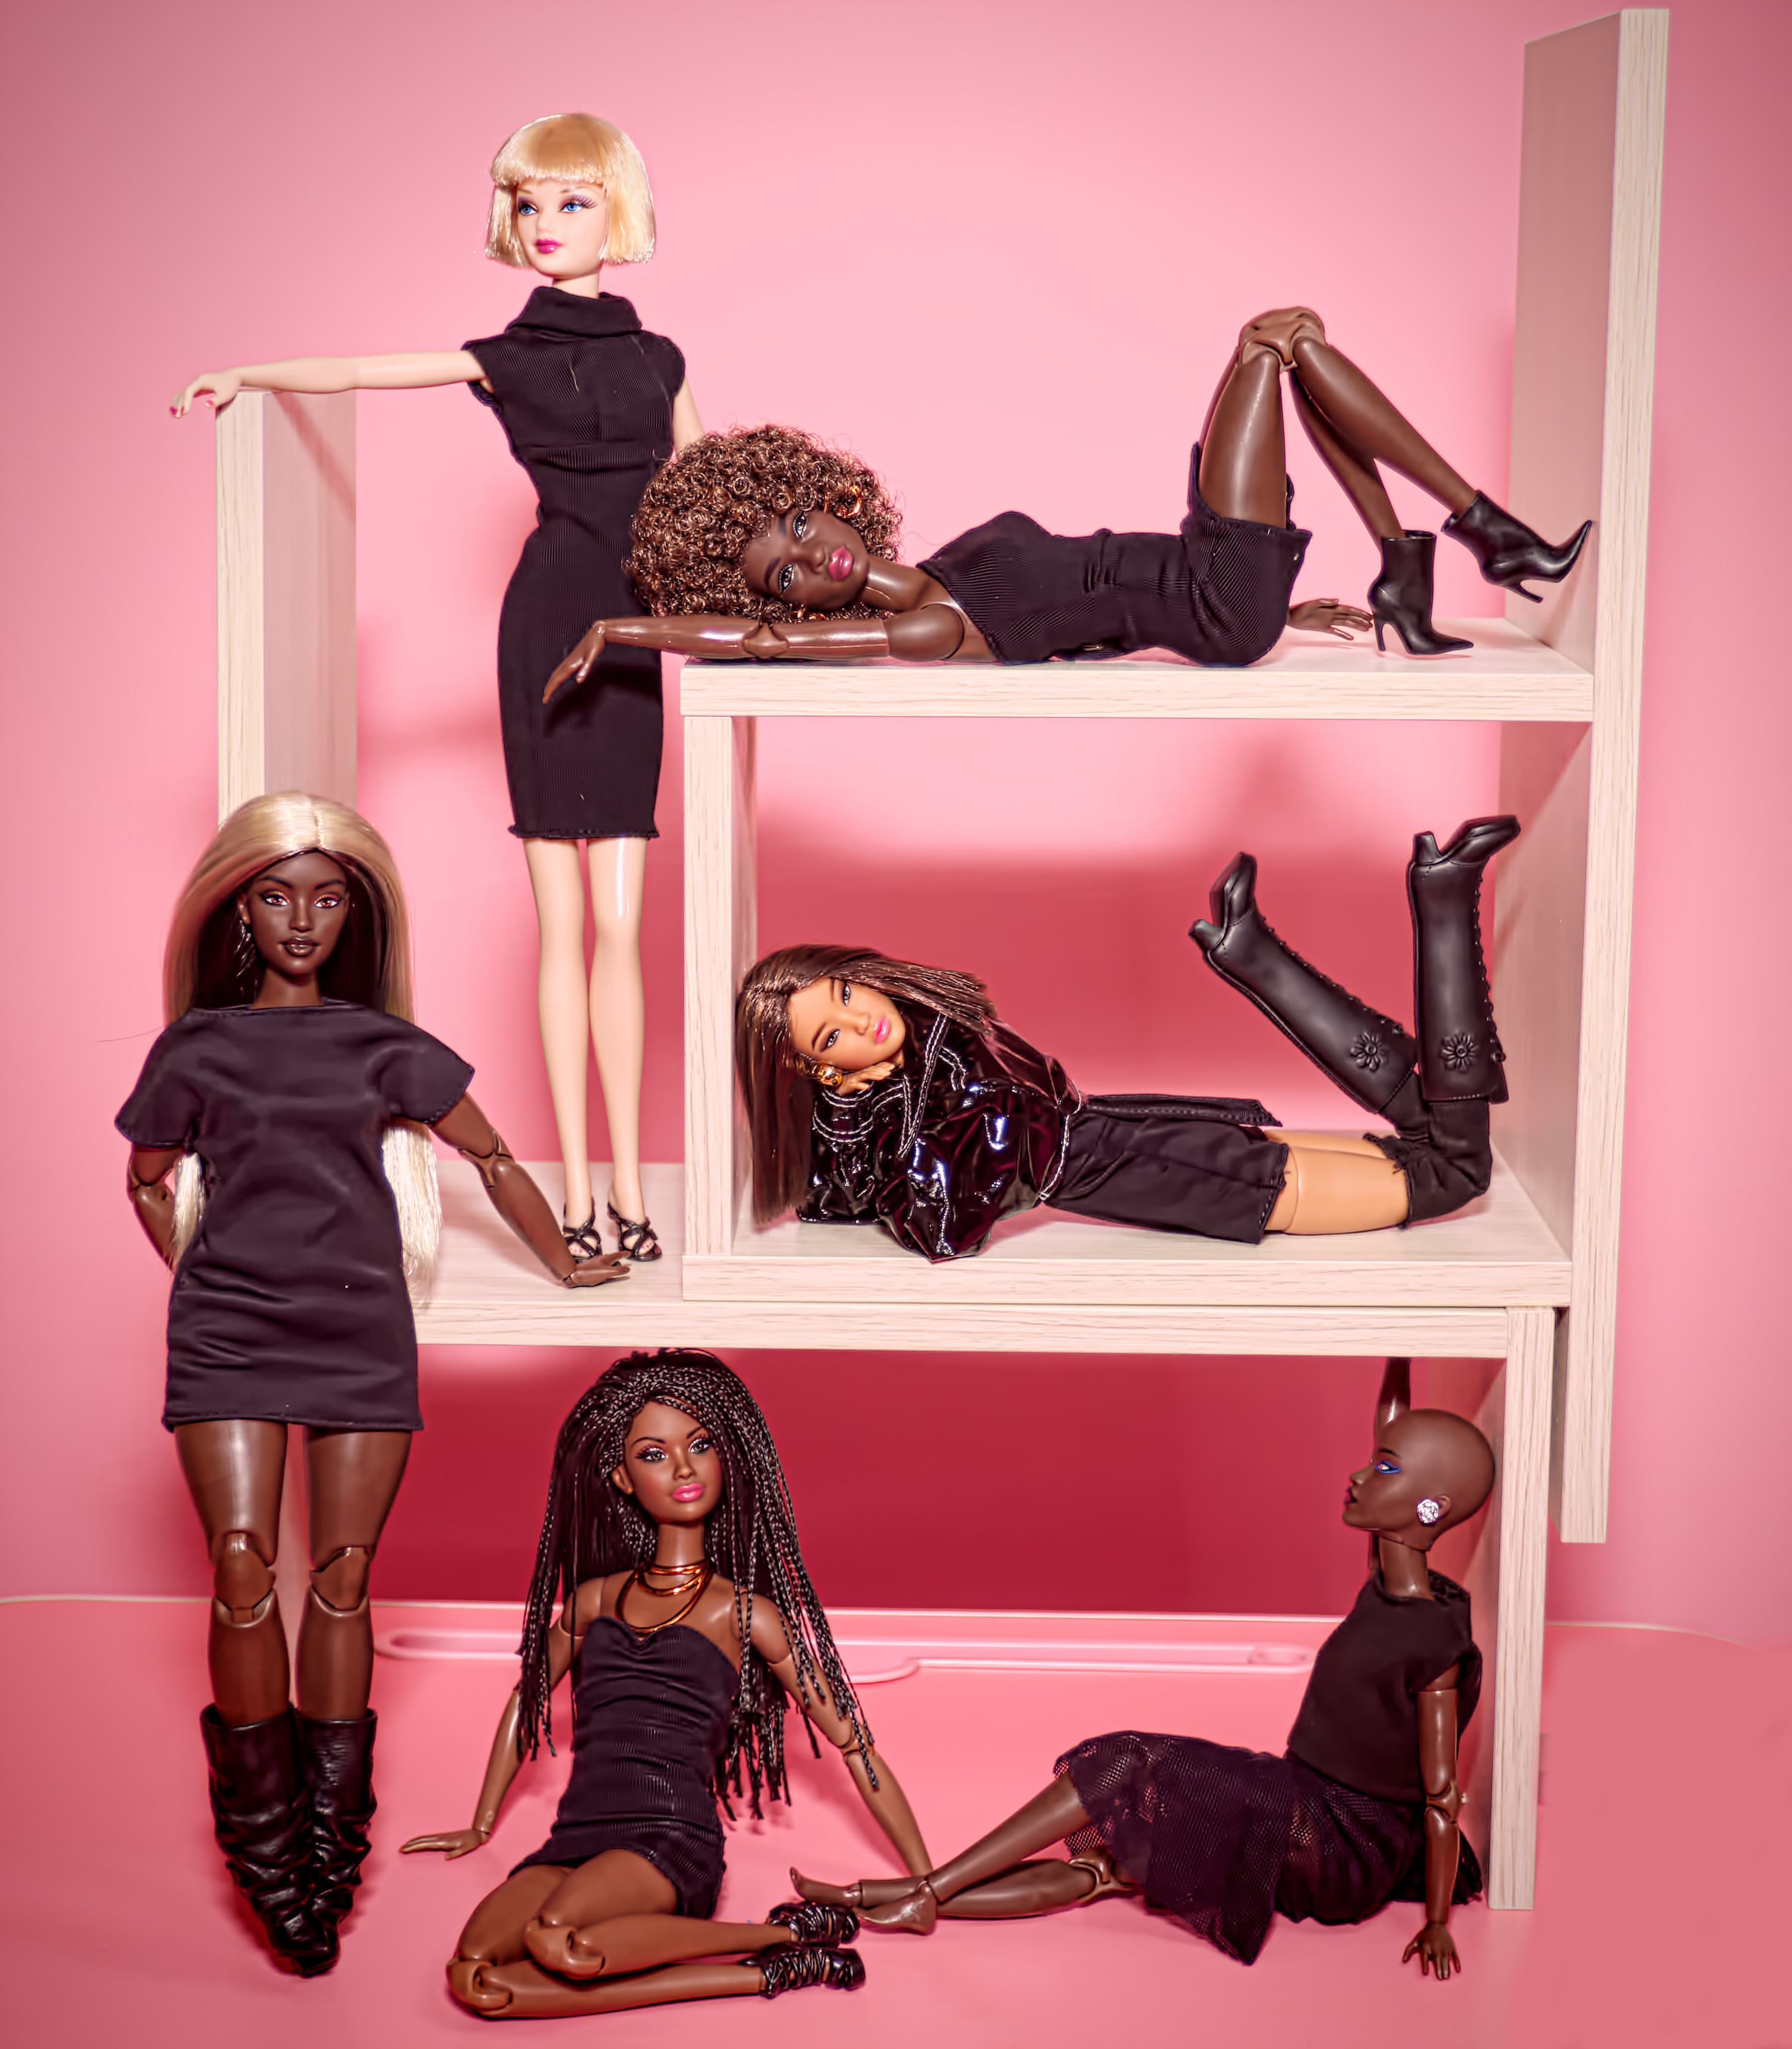
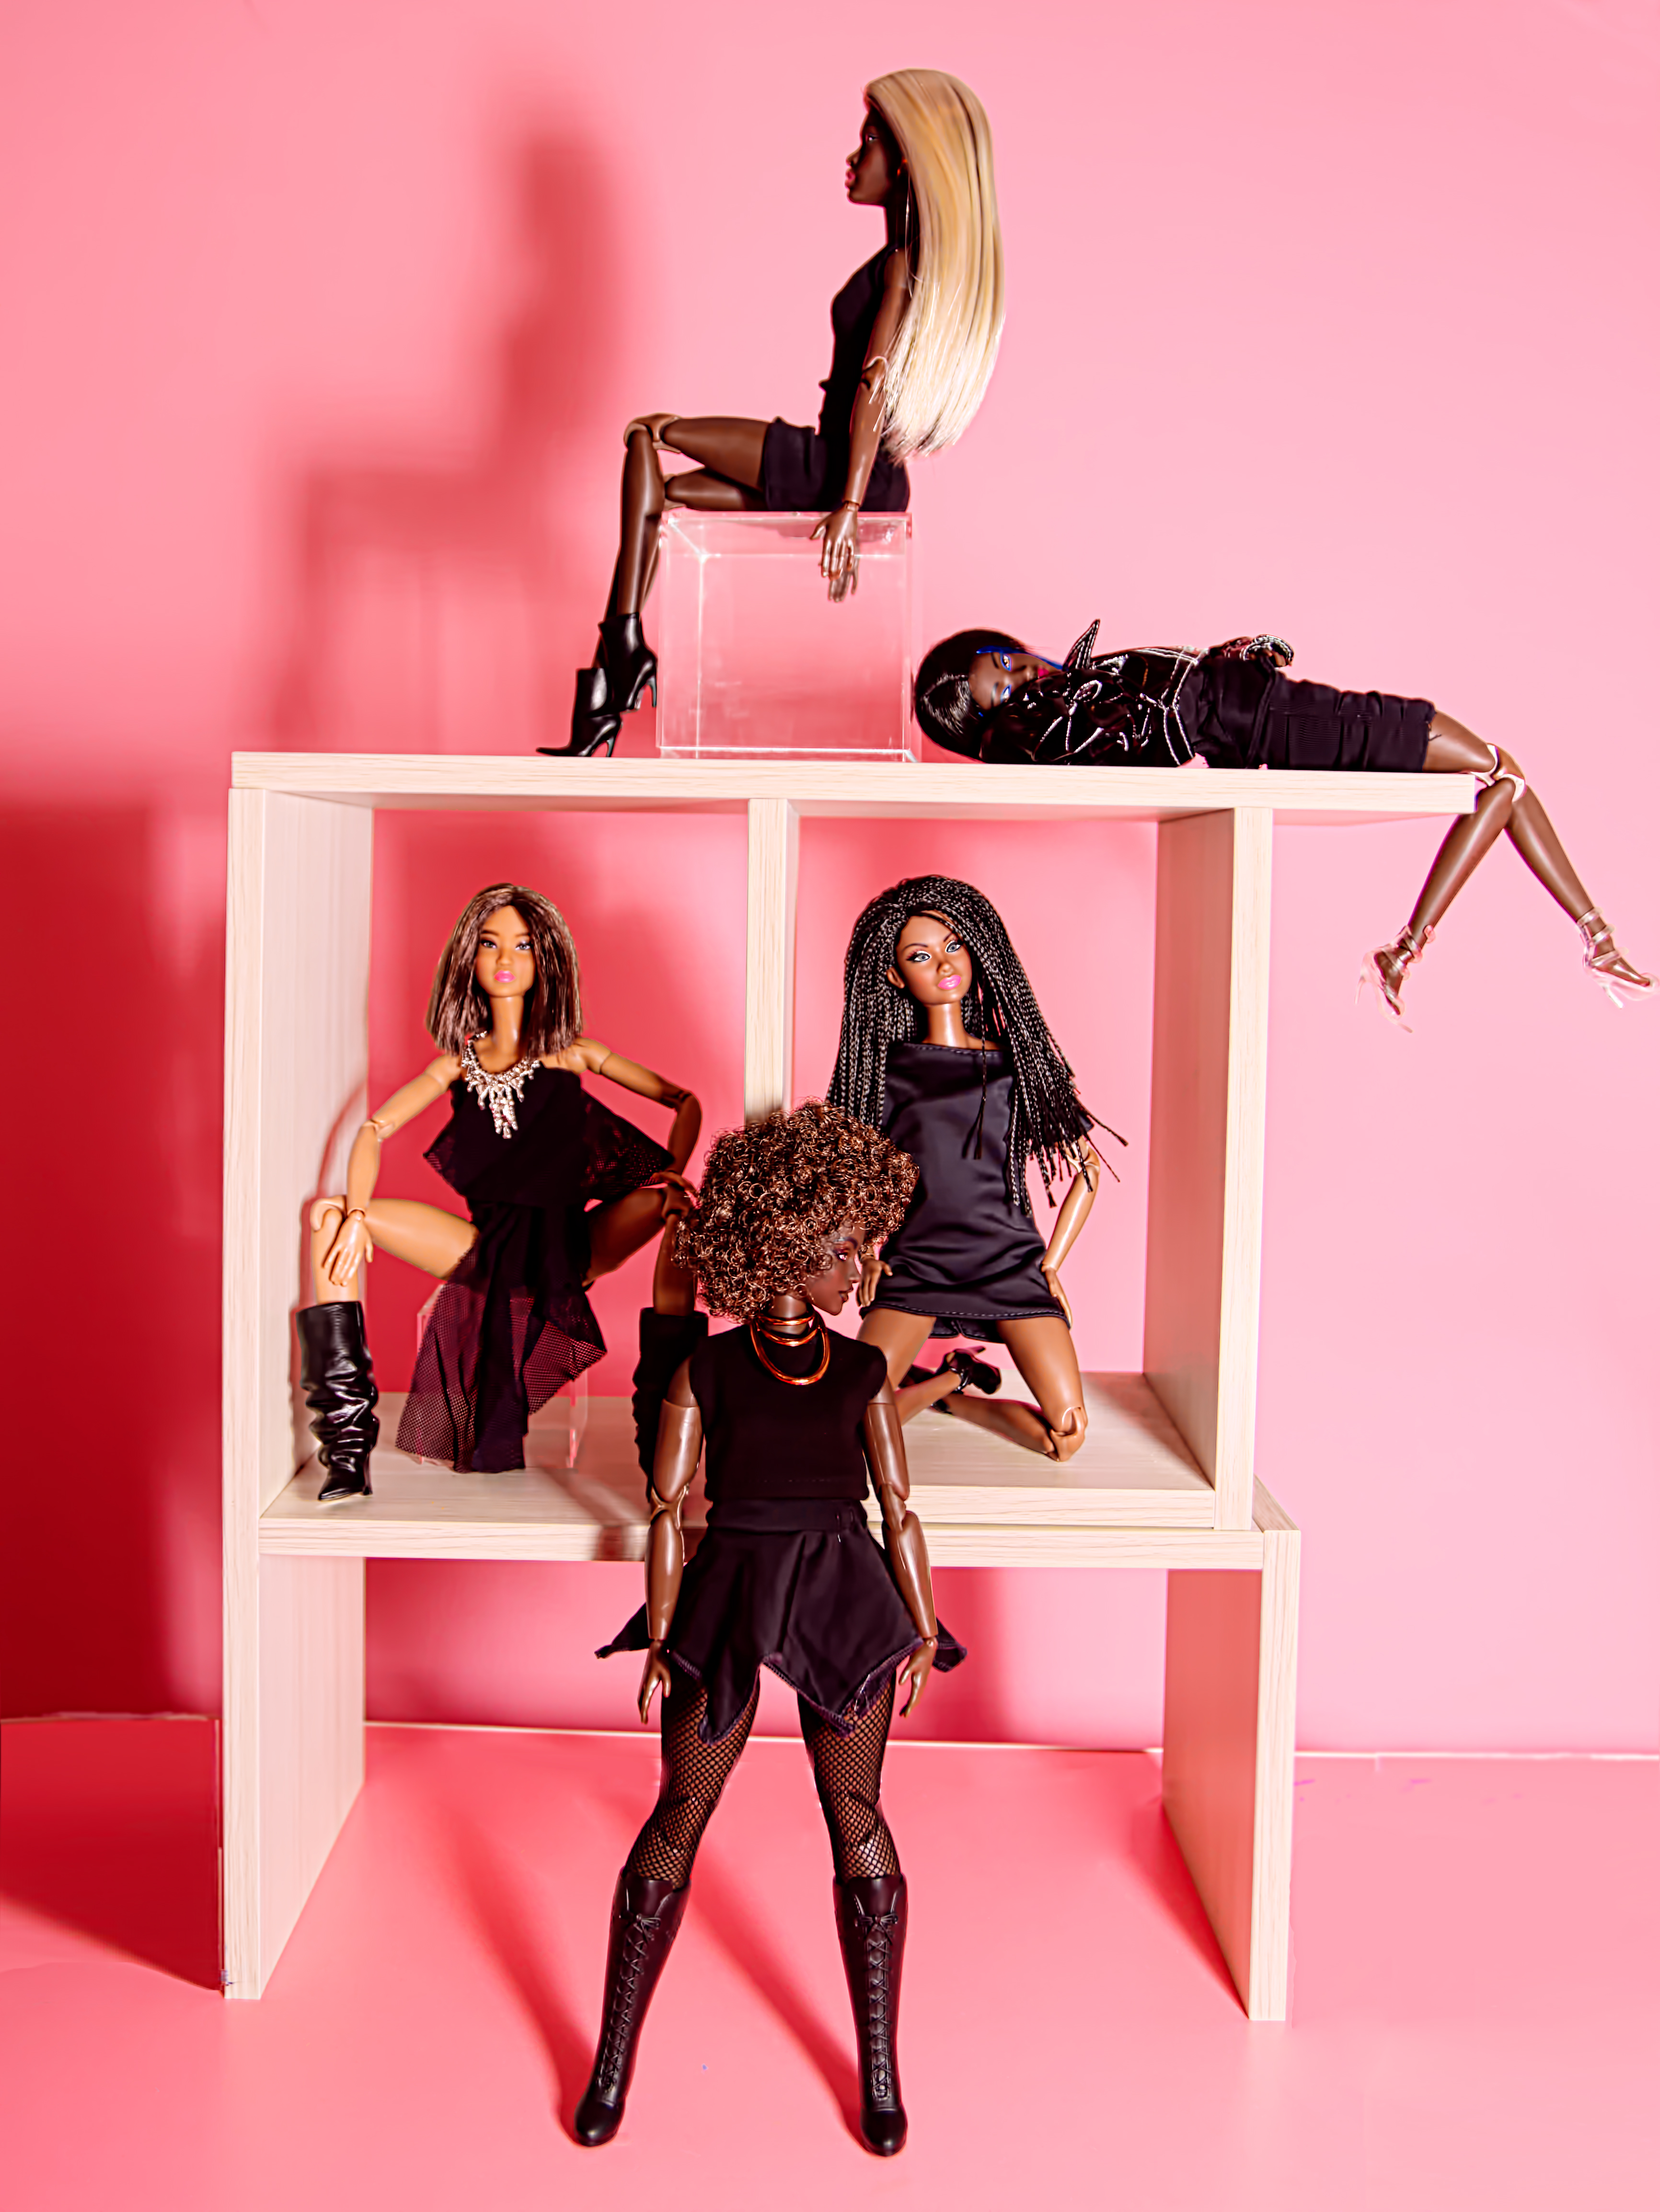
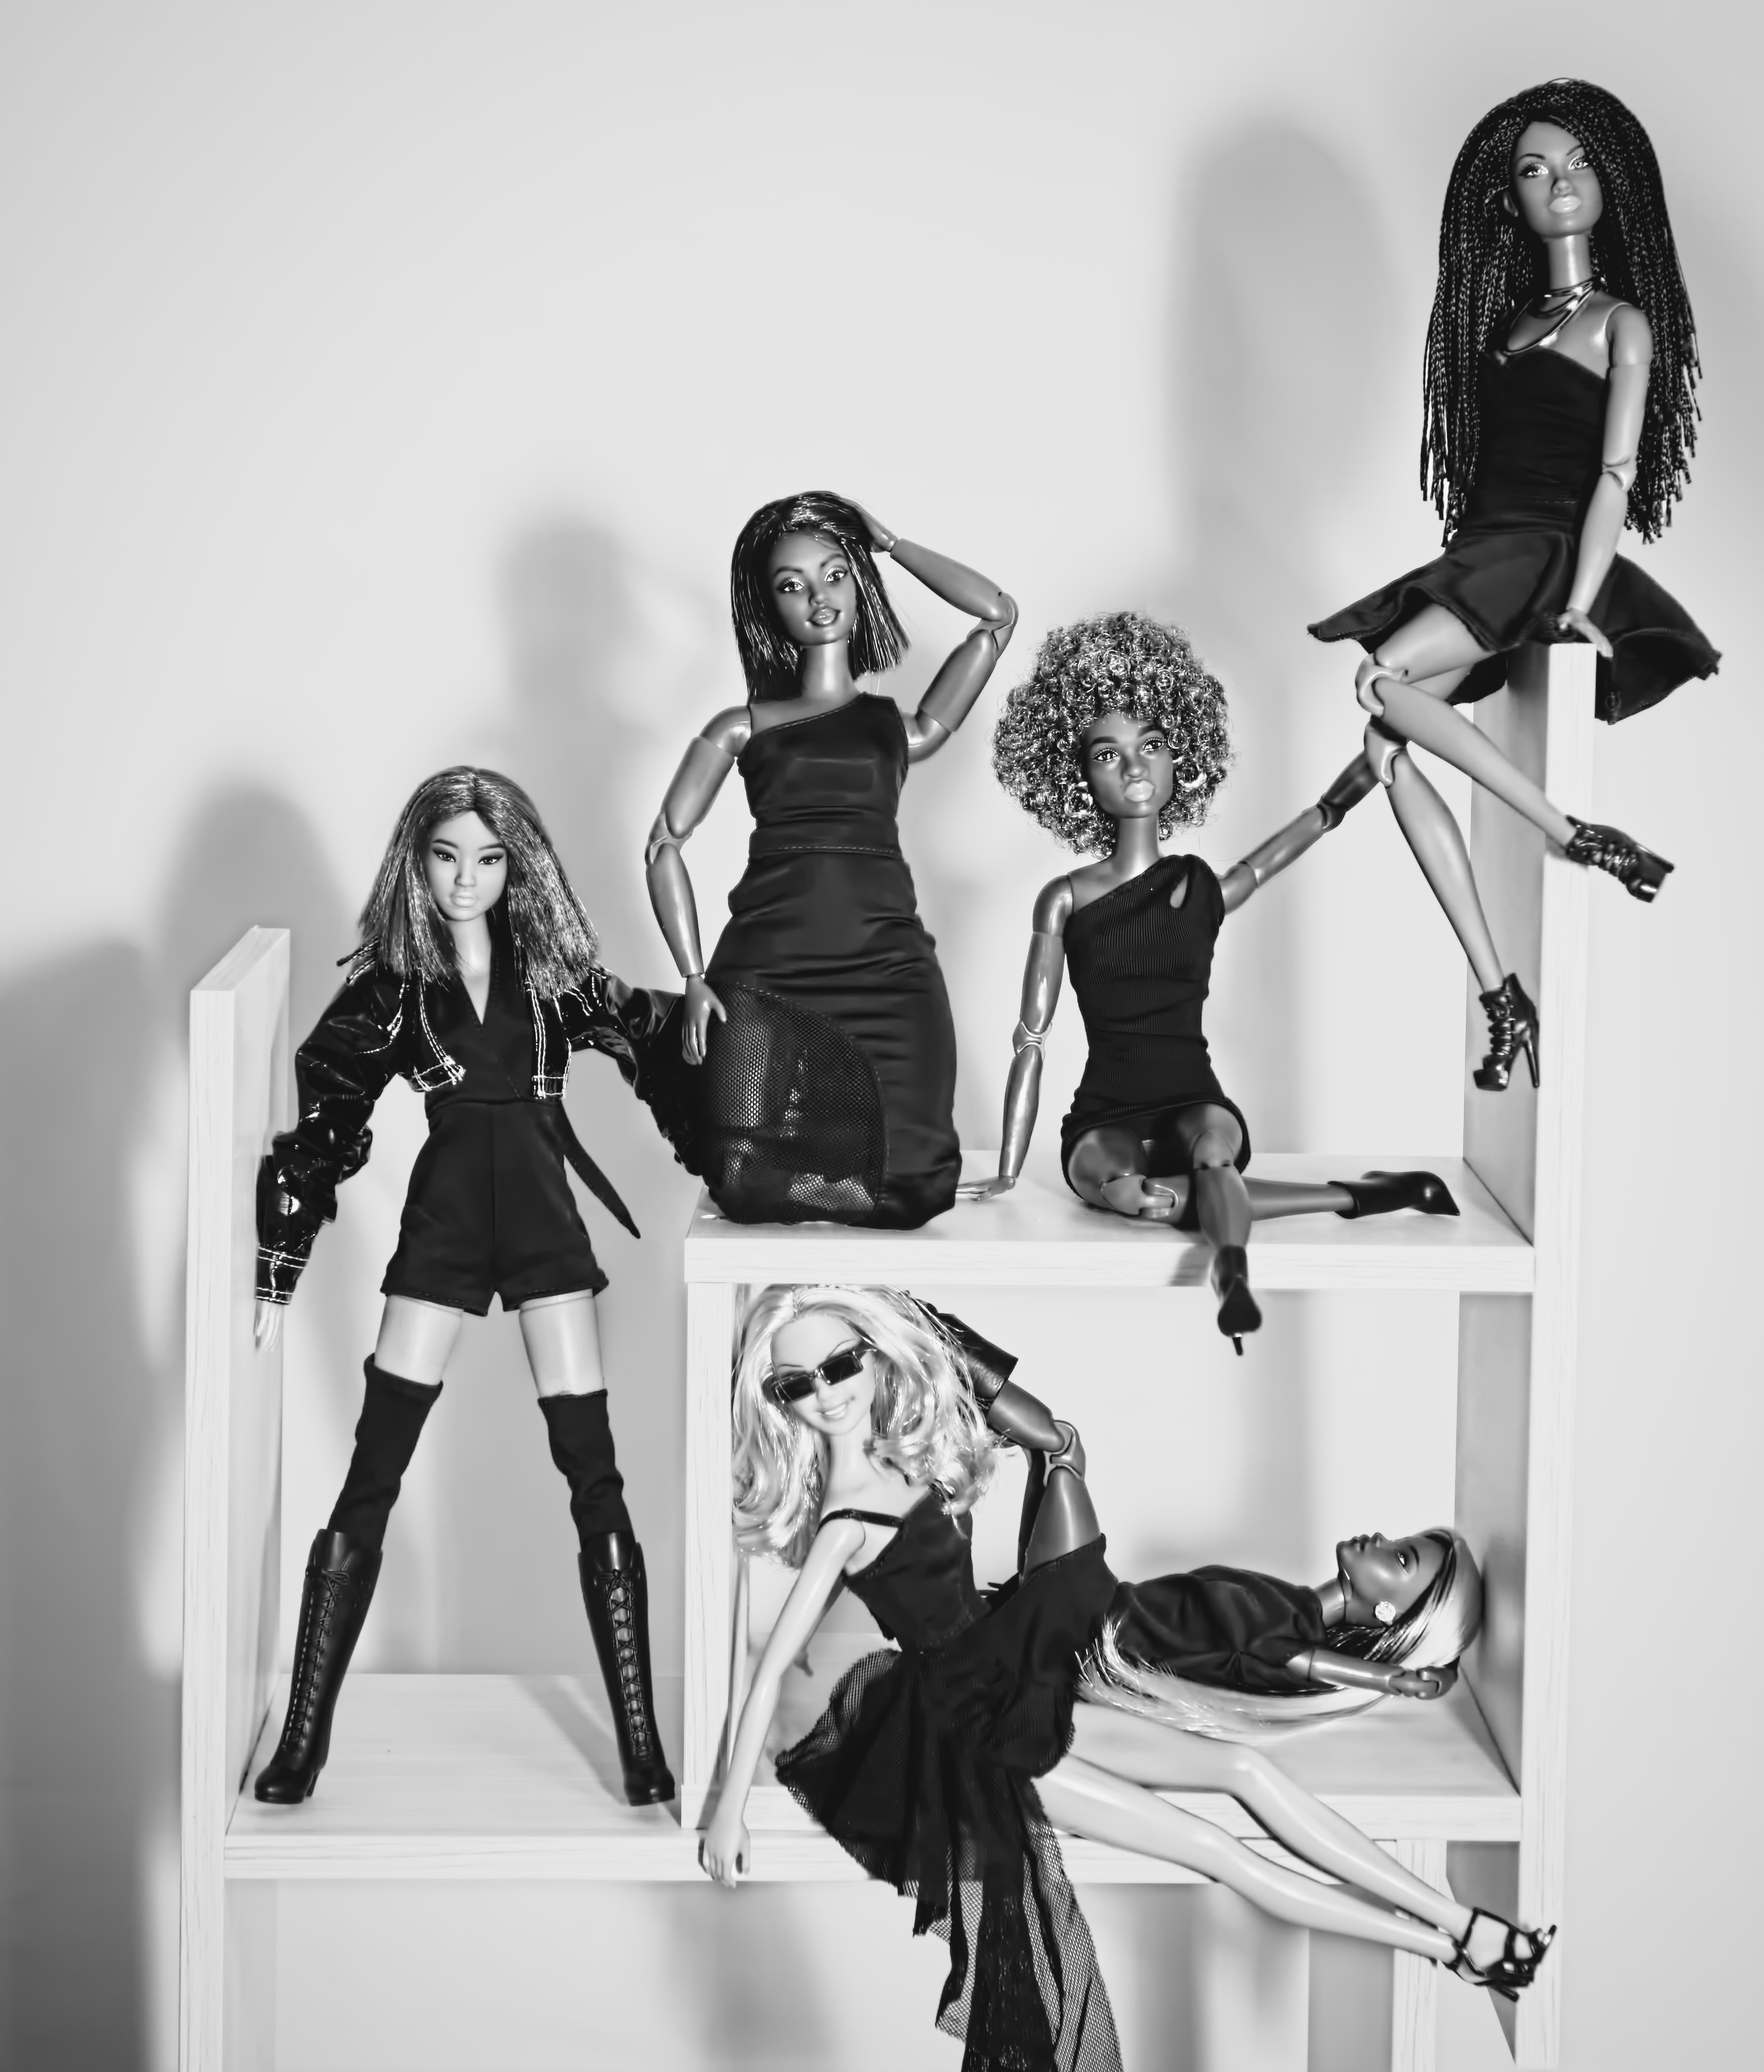
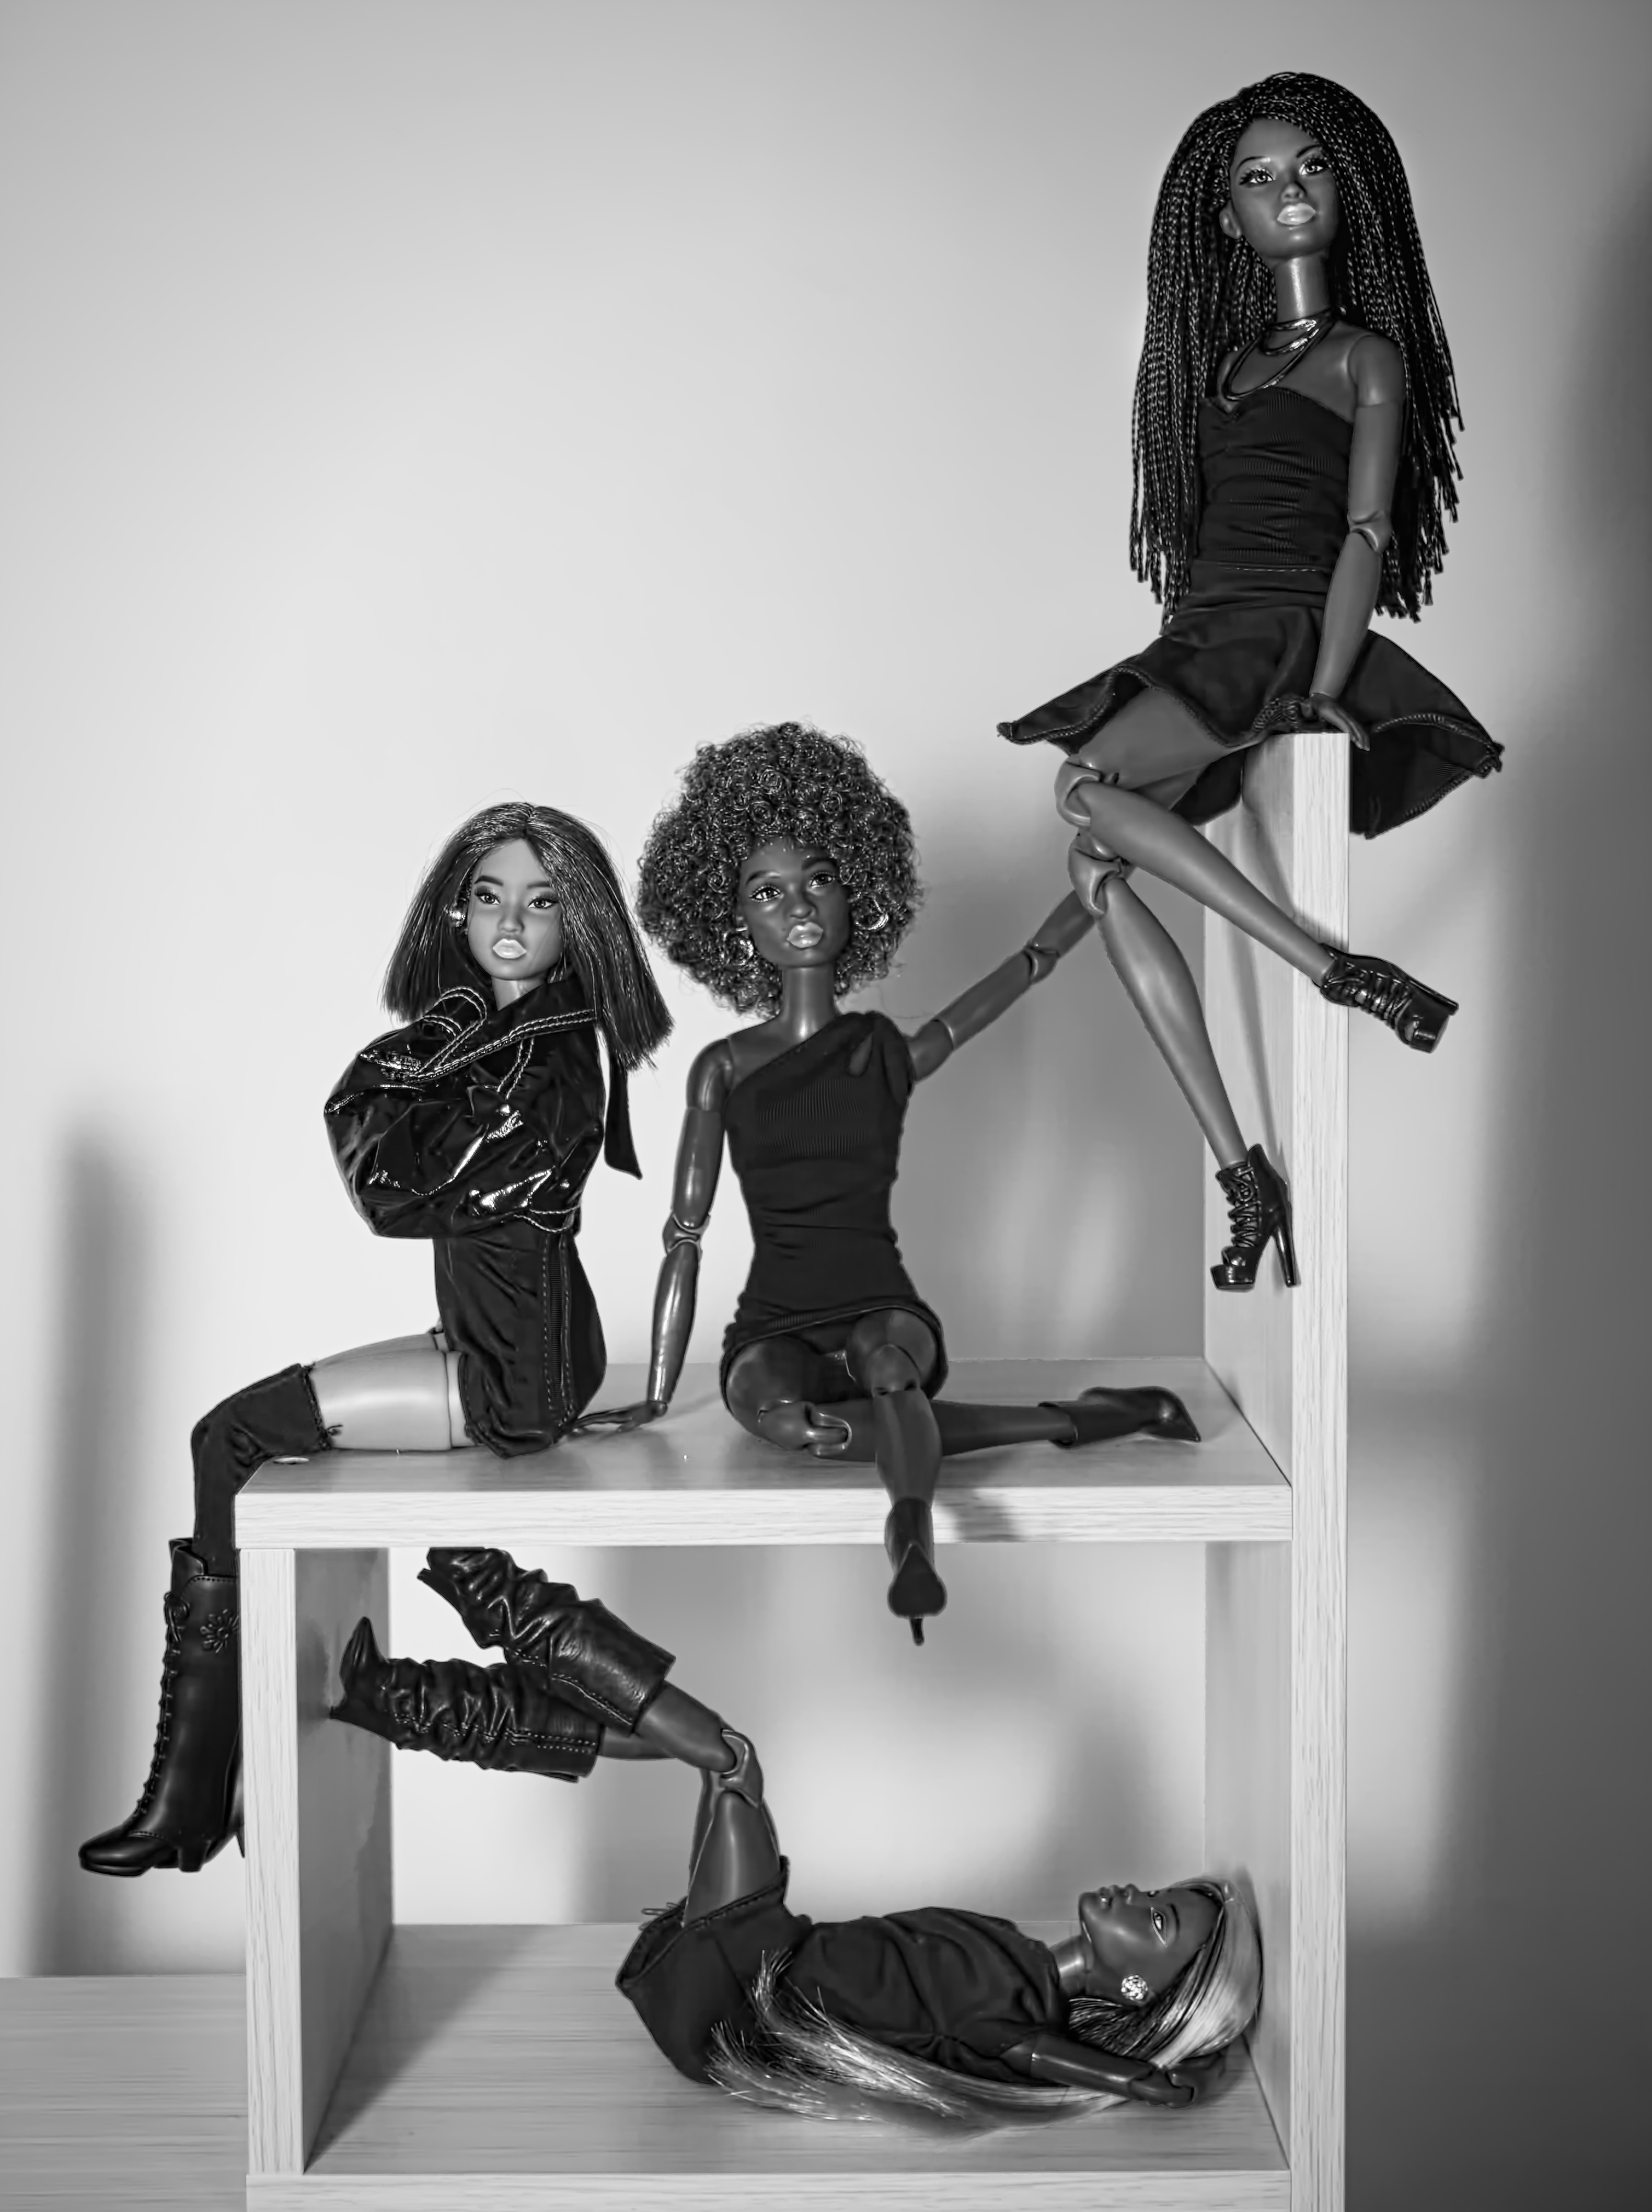
This sign was hanging up in my bathroom but it fell off the wall, so I figured what the hell, let’s take pictures of it! I don’t think it totally works because there’s a lack of diversity among these dolls – there are different ethnicities represented, and one curvy doll, but for the message of the sign I think there should have been more variety for it to be truly effective. Mattel makes Barbies in wheelchairs, with prosthetic legs, vitiligo, and Down’s Syndrome – just to name a few – and the inclusion of such dolls would have really worked better. But I worked with what I had.
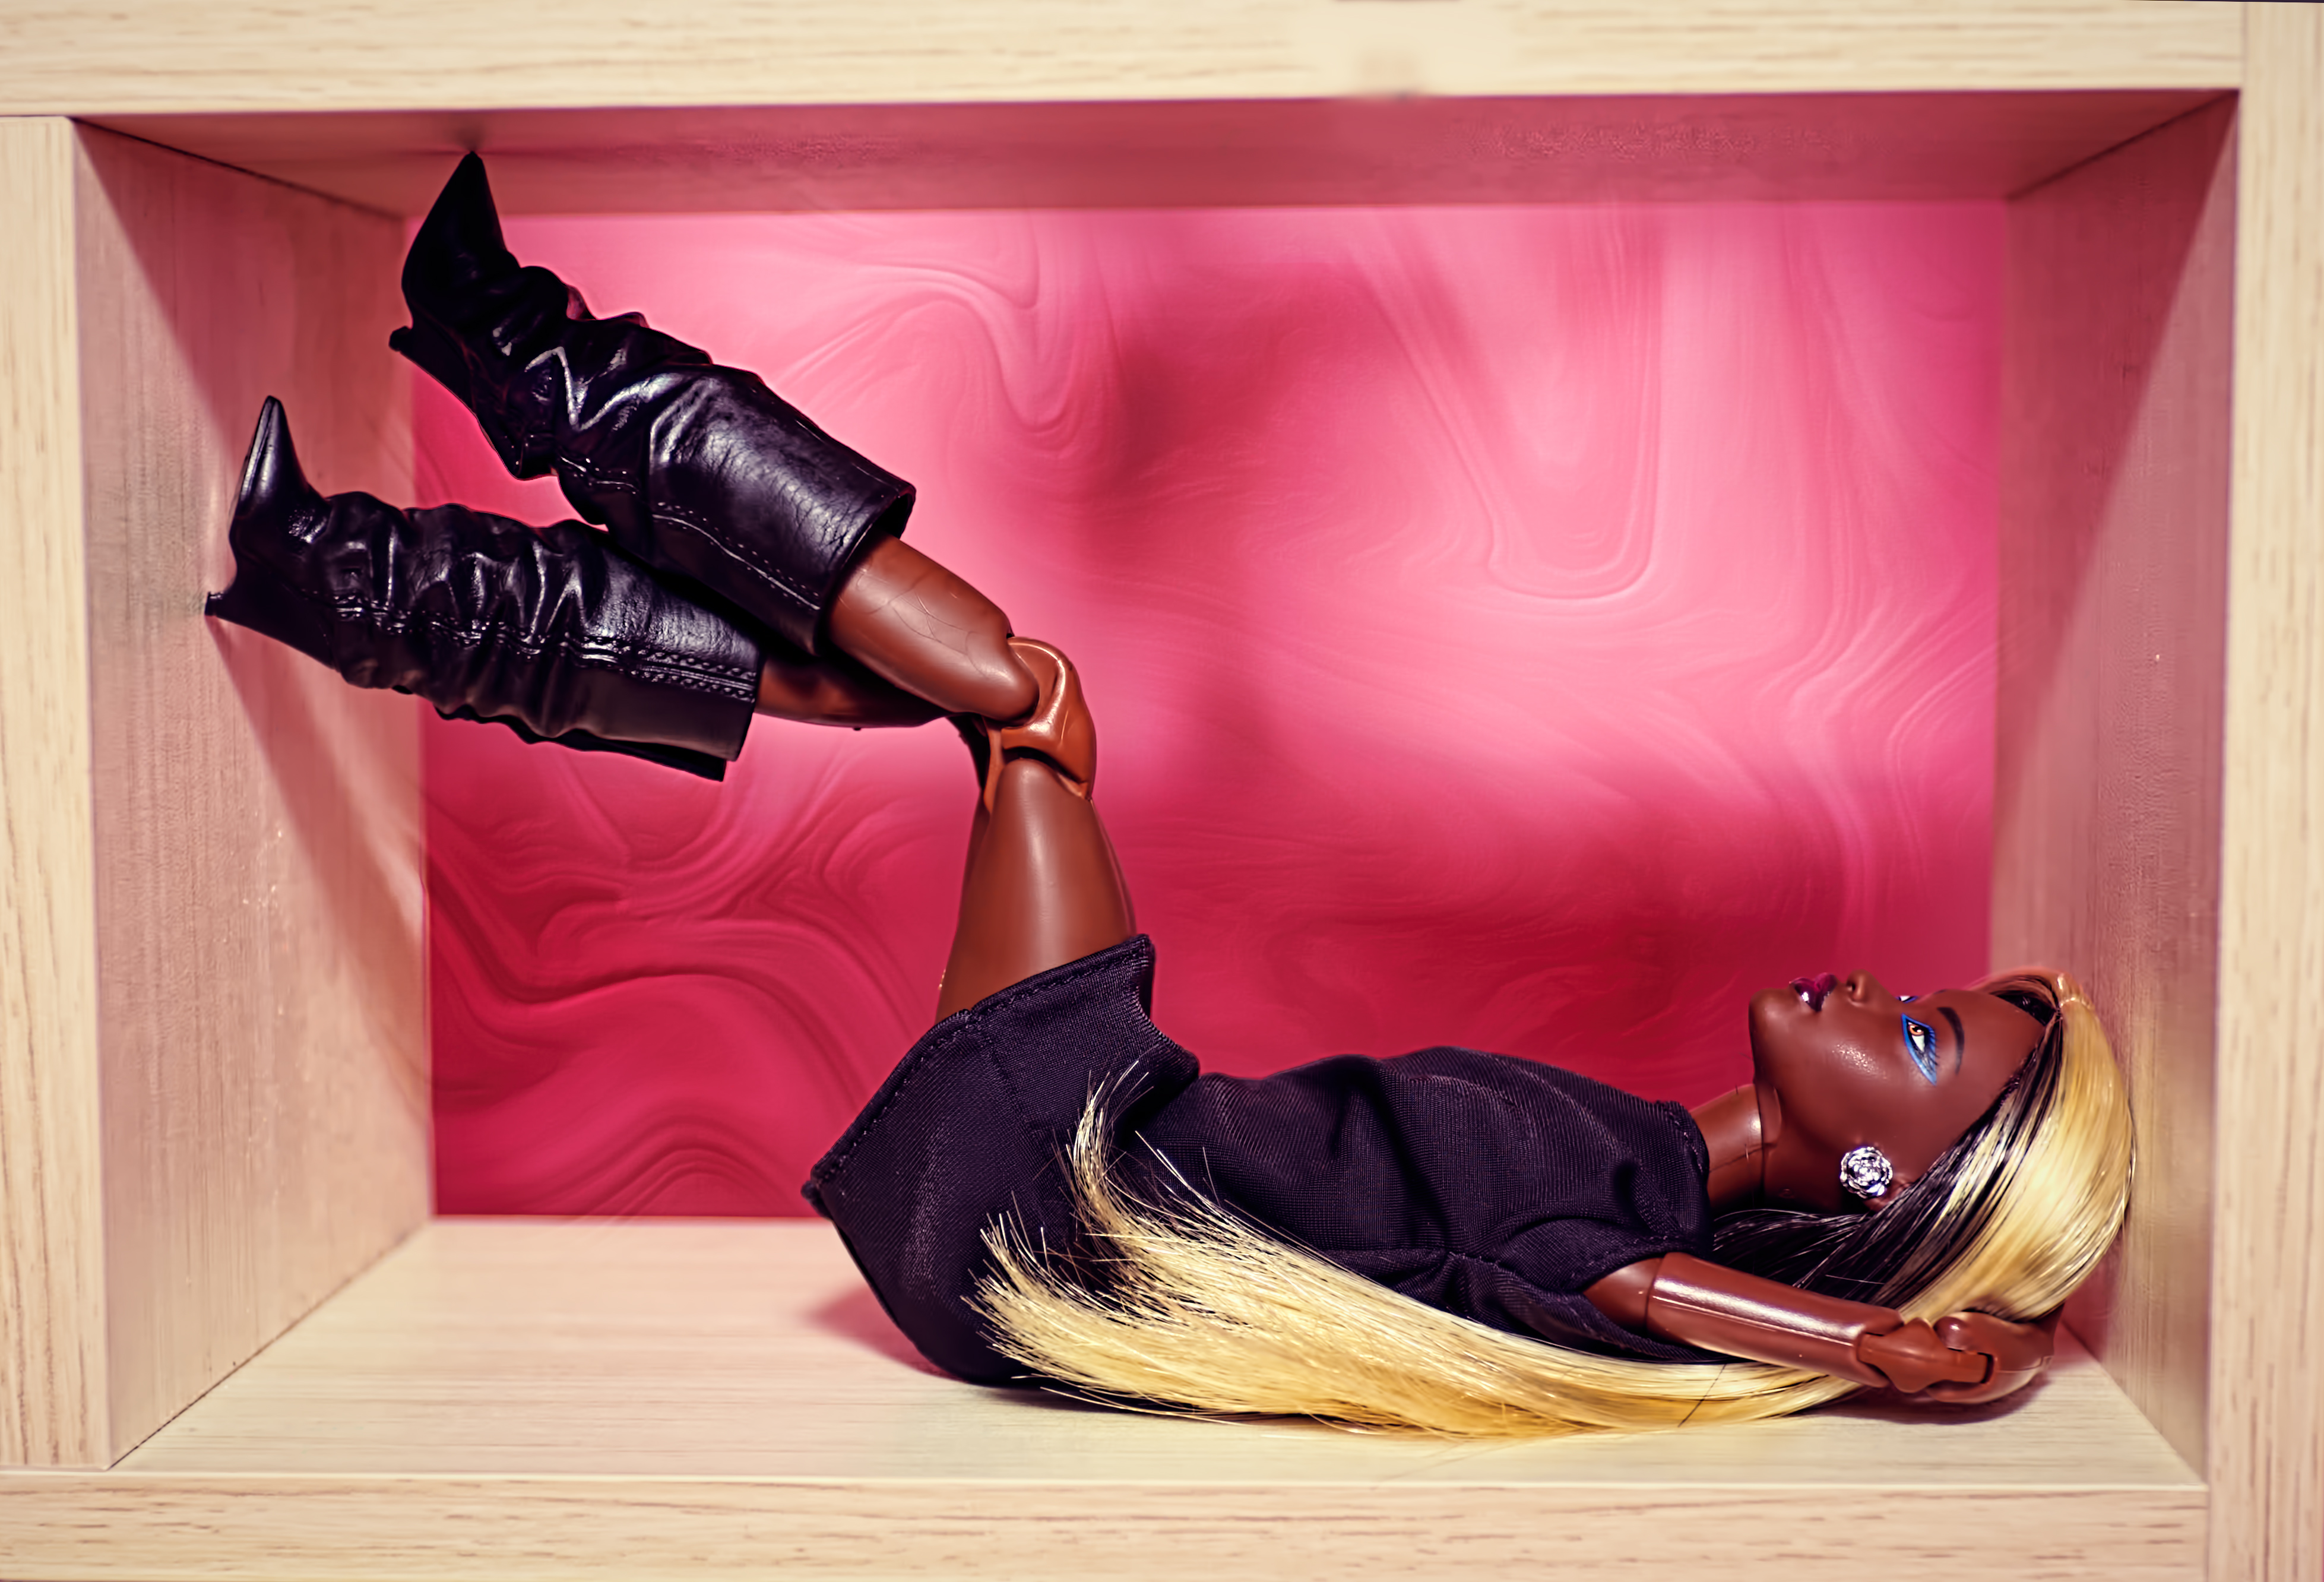
It was a happy accident that the lighting turned out so cool in these shots. I tried putting a light bender on my external flash and the results were better than I would have expected! Lots of nice shadows to play with.
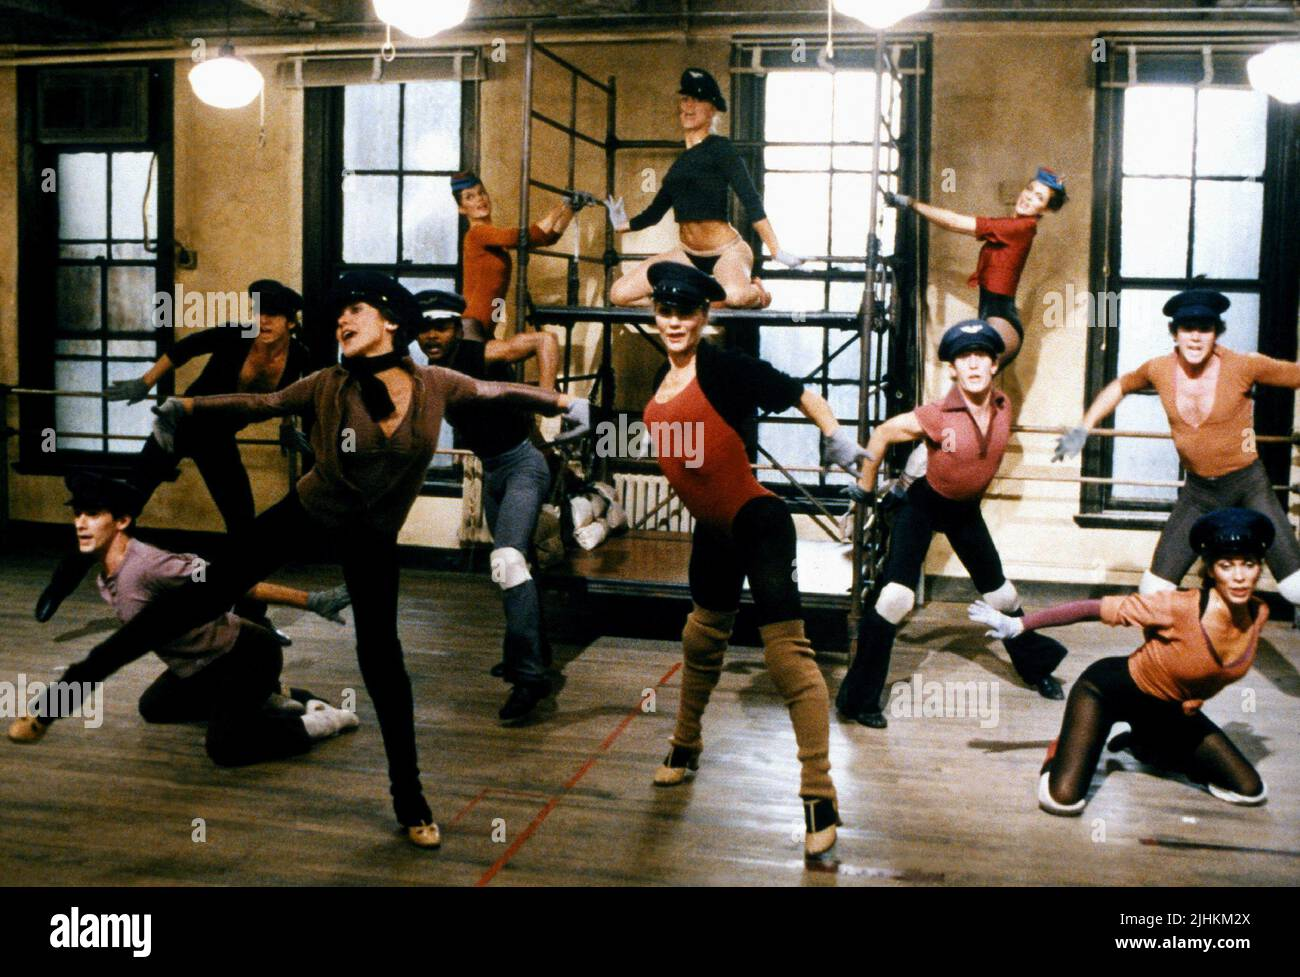
When I first started photographing dolls, the stands made me crazy .I really thought I had to find a way to edit them out of shots, which is tedious and imperfect. But now I include them if they need to be included without giving it a second thought. However, I’ve also gotten better at finding ways to pose dolls without using stands, too. It did take forever to get the doll with the short bob and scrunch boots to stay leaned against the shelf wall though; she fell over every time I messed with any other part of the set. The “set,” by the way, is a collection of table shelving I got off of Amazon that can be put together in different ways. Kind of makes me think of a Bob Fosse “All That Jazz” set.
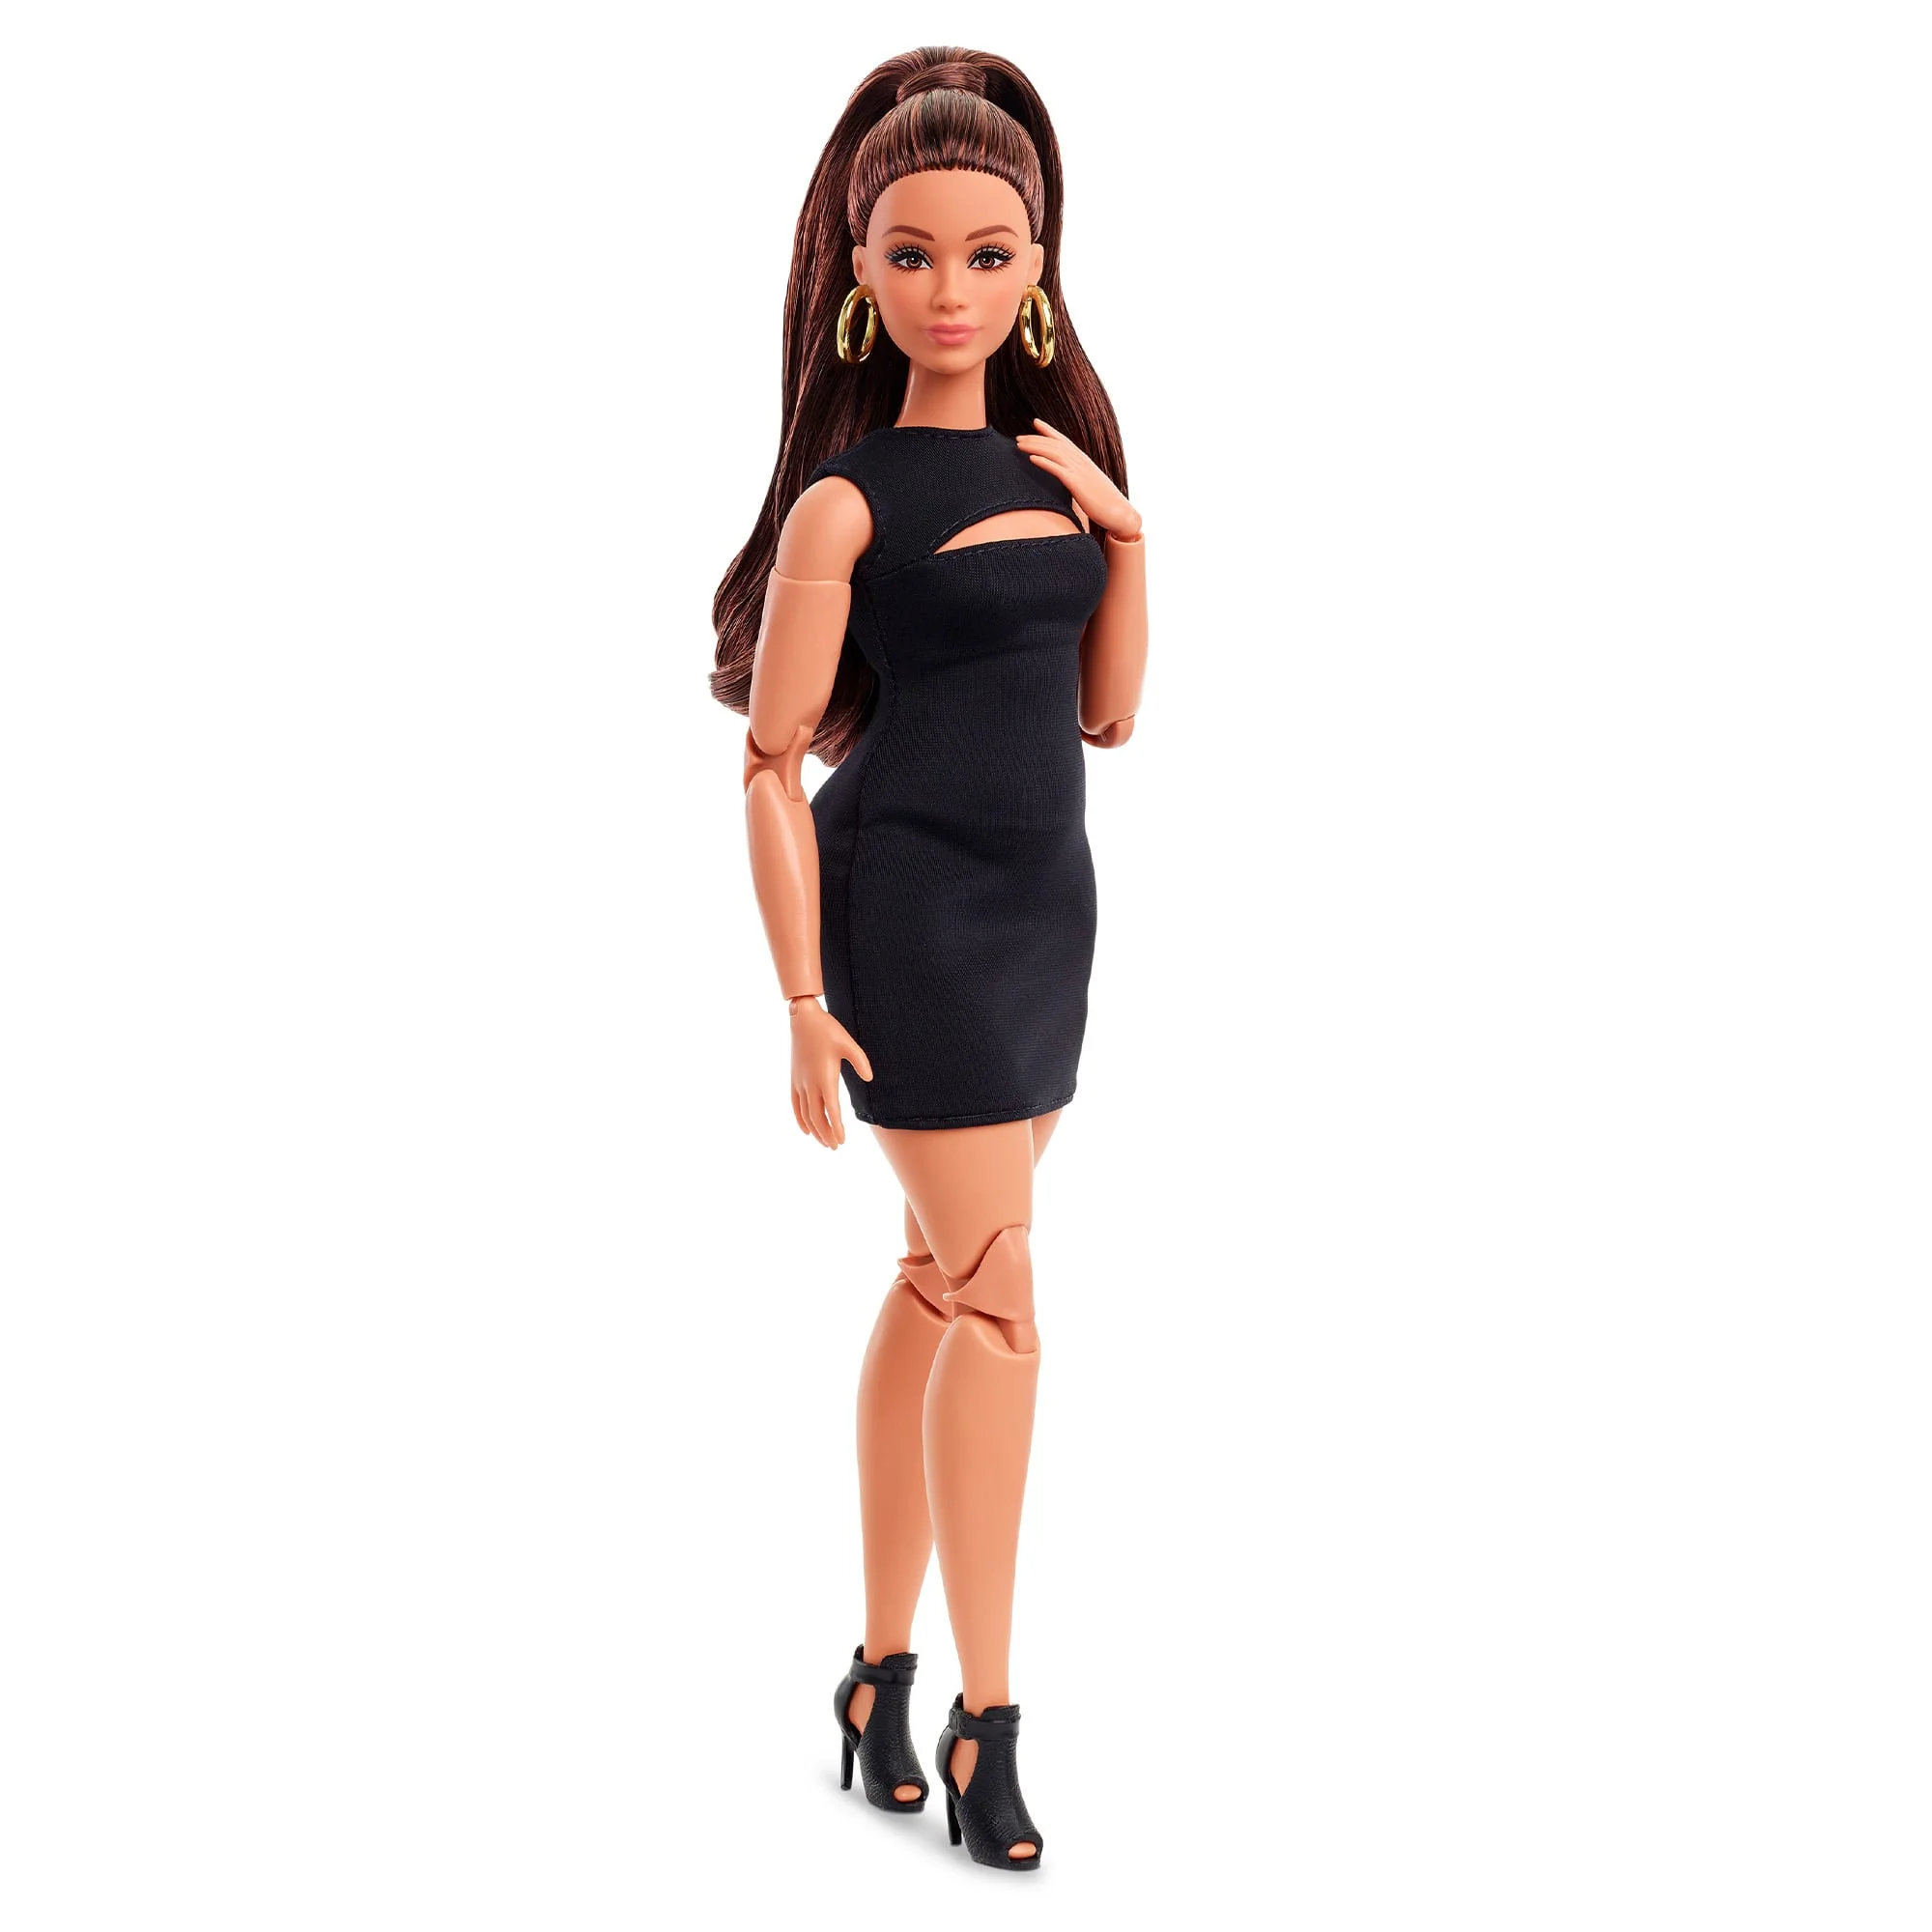
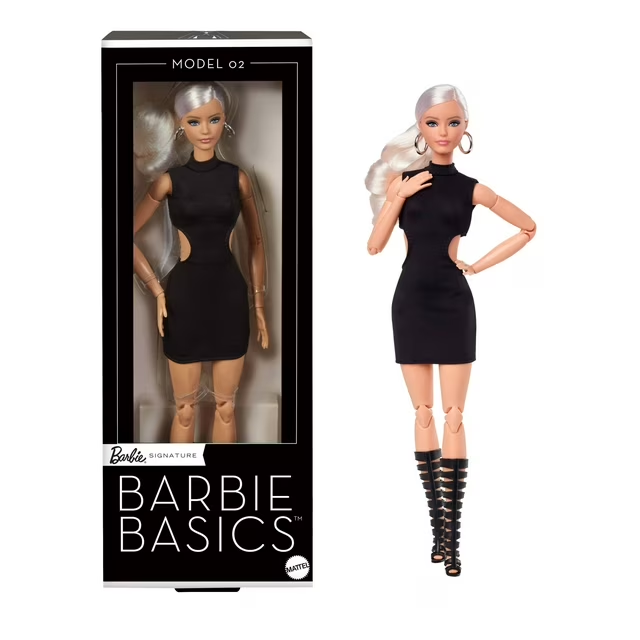
I’ve been working on re-bodying some of my original Barbie Basics, which came on non-articulated bodies. As much as I love their original body molds, they just don’t work for photos, so I’ve taken some of my dolls that are more “character” based (like my Barbie movie ones) and swapped out their articulated bodies with the Basics from the early 00’s. I tend to use Barbies with less recognizable face molds in my photos, so the ones based on familiar characters don’t need to be as posable since they’re just going to stand on a shelf for the most part. Also, I have a few collector Barbies that come clothed in pieces that can’t be removed, so they don’t really need articulation, and I re-body those as well.
Once I got the setup going, it was quite fun to move all the dolls around into different positions (as you can see LOL) and the Basics clothes being so coordinated and interchangeable made changing up their outfits a breeze. So even though at first I was less than thrilled with this line, the kit concept changed my mind on them completely. I’ve since purchased one other, which leaves me three more to go – the only one I probably won’t get is the petite one from this release; I really dislike her outfit and I’m not thrilled with her face mold either.
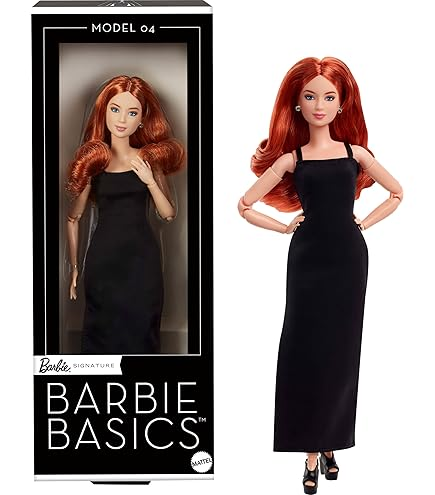
She looks better in the out-of-box photos I’ve seen posted on Reddit and Amazon reviews, but I still think I’ll give her a pass to save some money. I don’t attempt to collect an entire set of any release as it’s too expensive, and there’s always at least one I don’t want. For my money, choosing to dress a petite doll in a maxi skirt was a big fail here, and even though I can use the maxi dress elsewhere, I still don’t like the doll enough to bother with it. The other three, though, I still want to acquire.
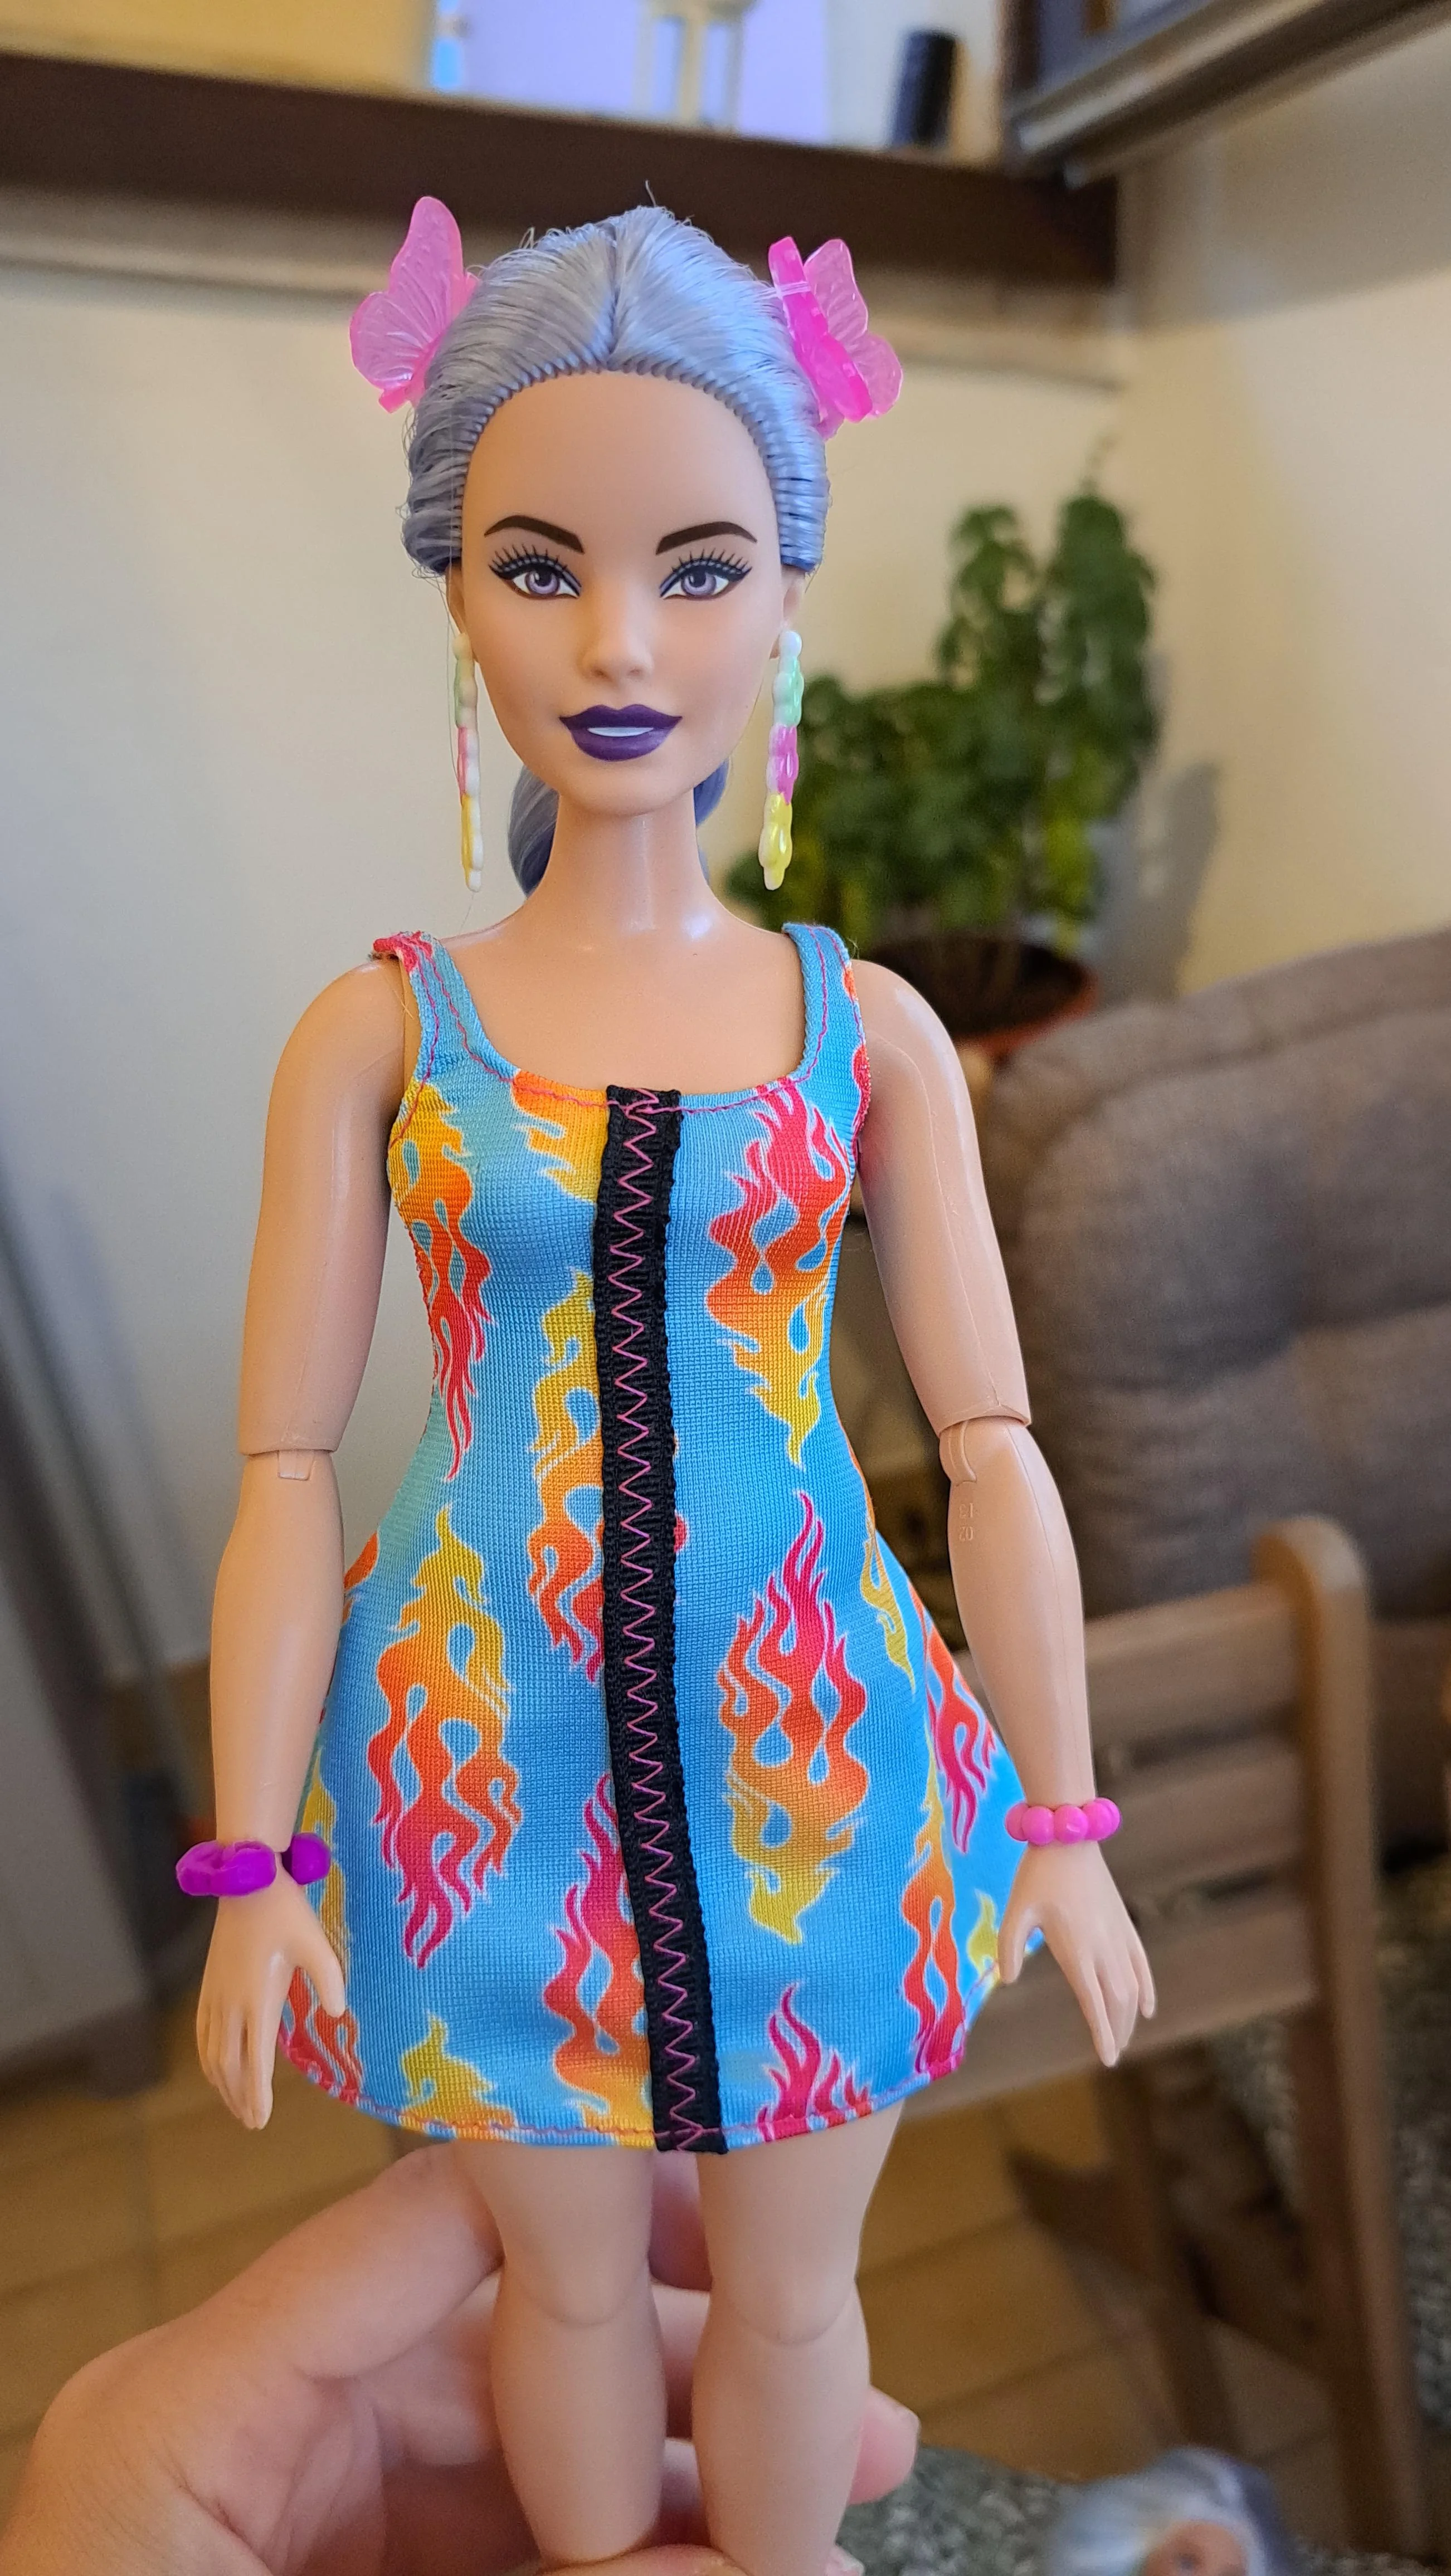
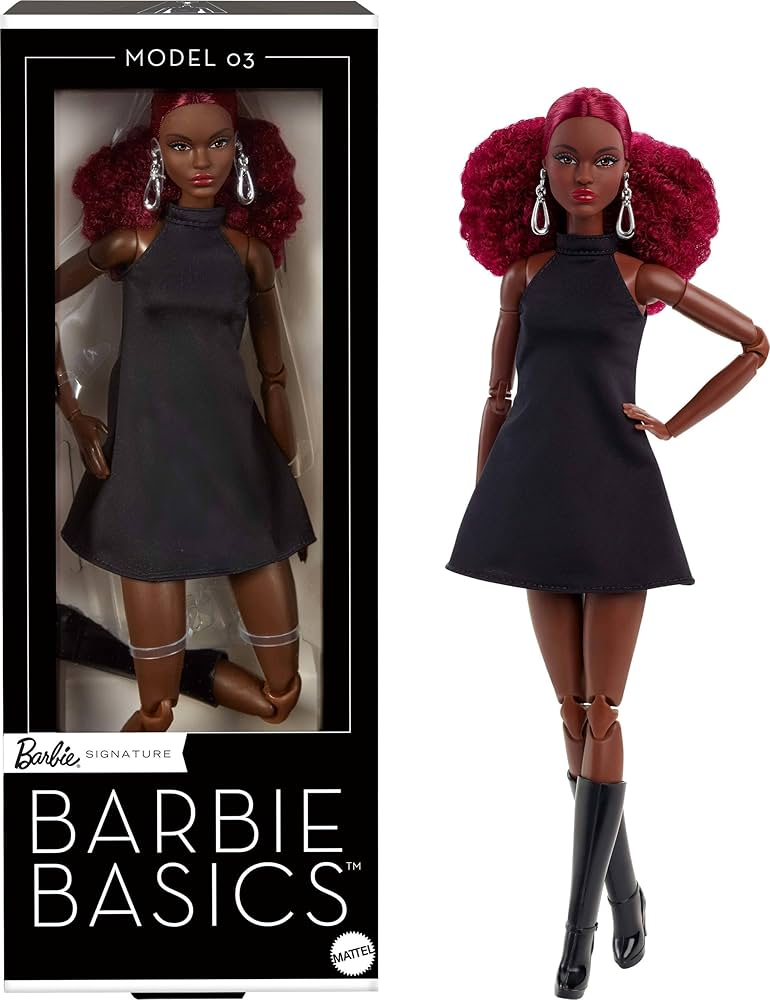
I just got this one in yesterday, and I have to say these curvy dolls are growing on me – especially now that more clothes fit them. I wasn’t super-impressed with her after seeing the stock photos, but real pictures of her face changed my mind. She’s really gorgeous.
This is a tall body, and her skin tone should match the three dolls from my kit, which makes her head easily swappable with the others. Yay!
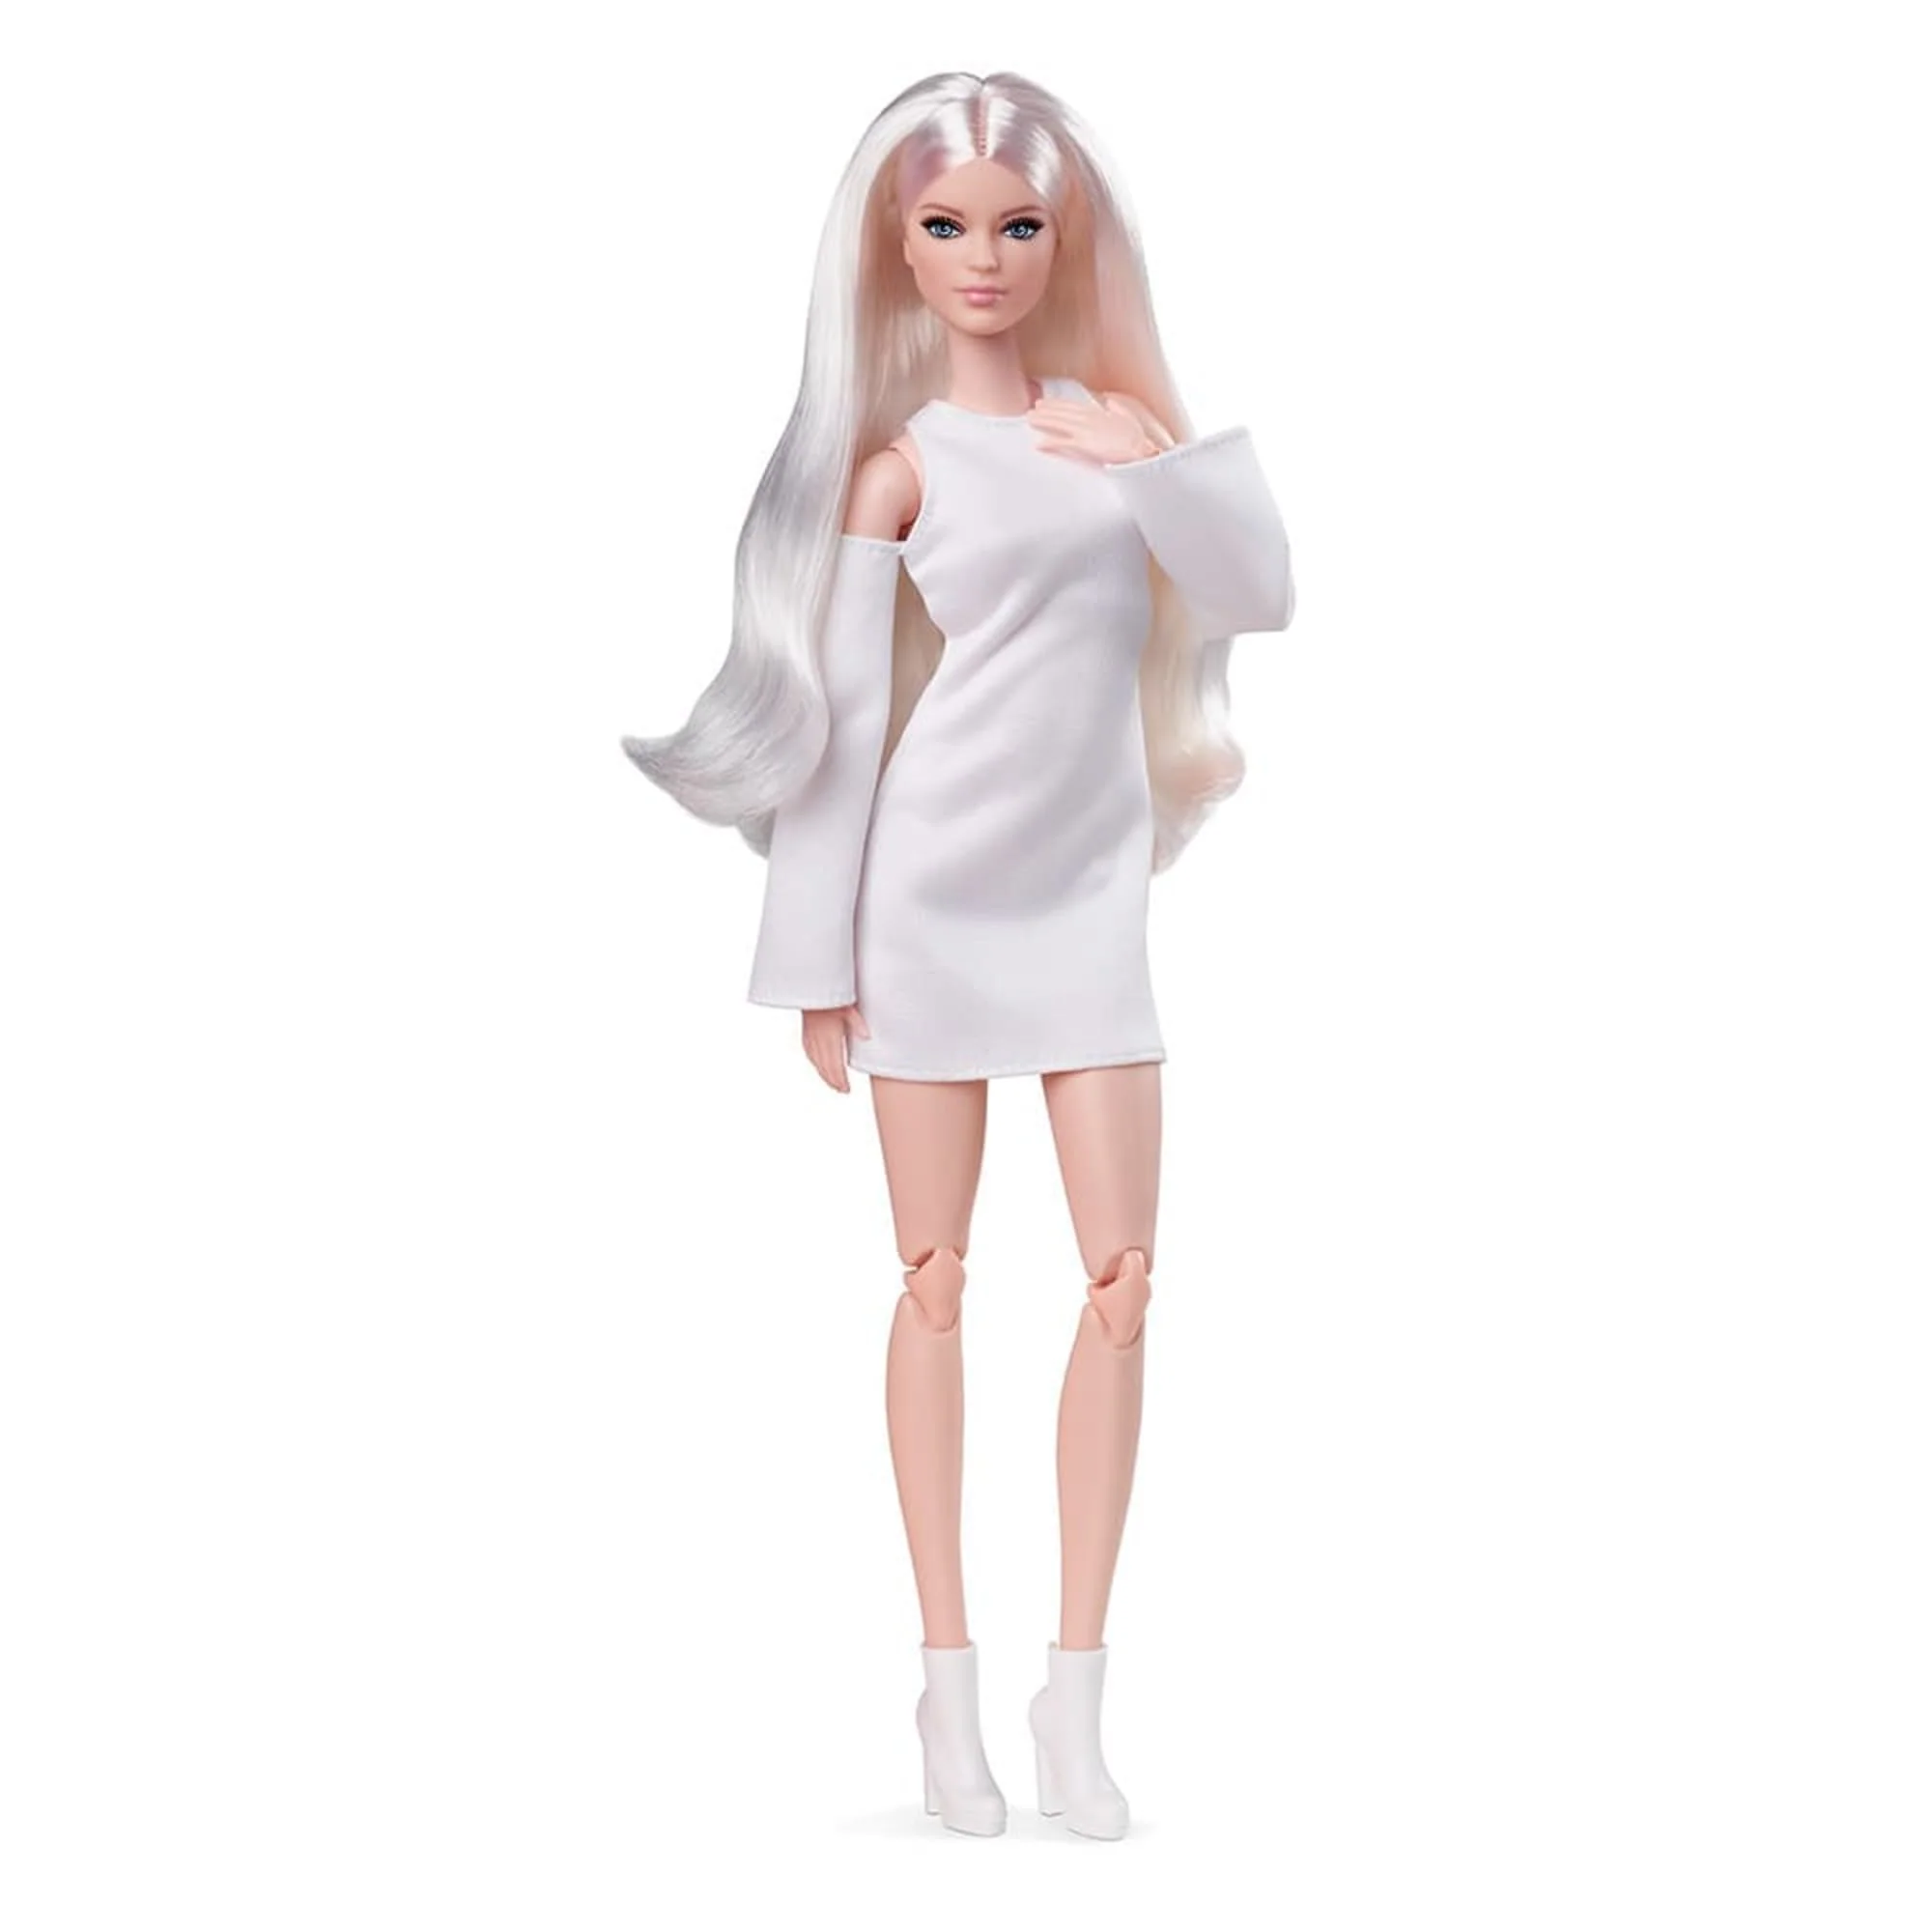
I totally missed the last platinum-haired Barbie release; when I could have bought her for around $35, I kept passing on her, and now she costs around $150. So I bought this one from Amazon last night. Blonde Barbies are usually my last choice, but these platinum-haired ones are everything.
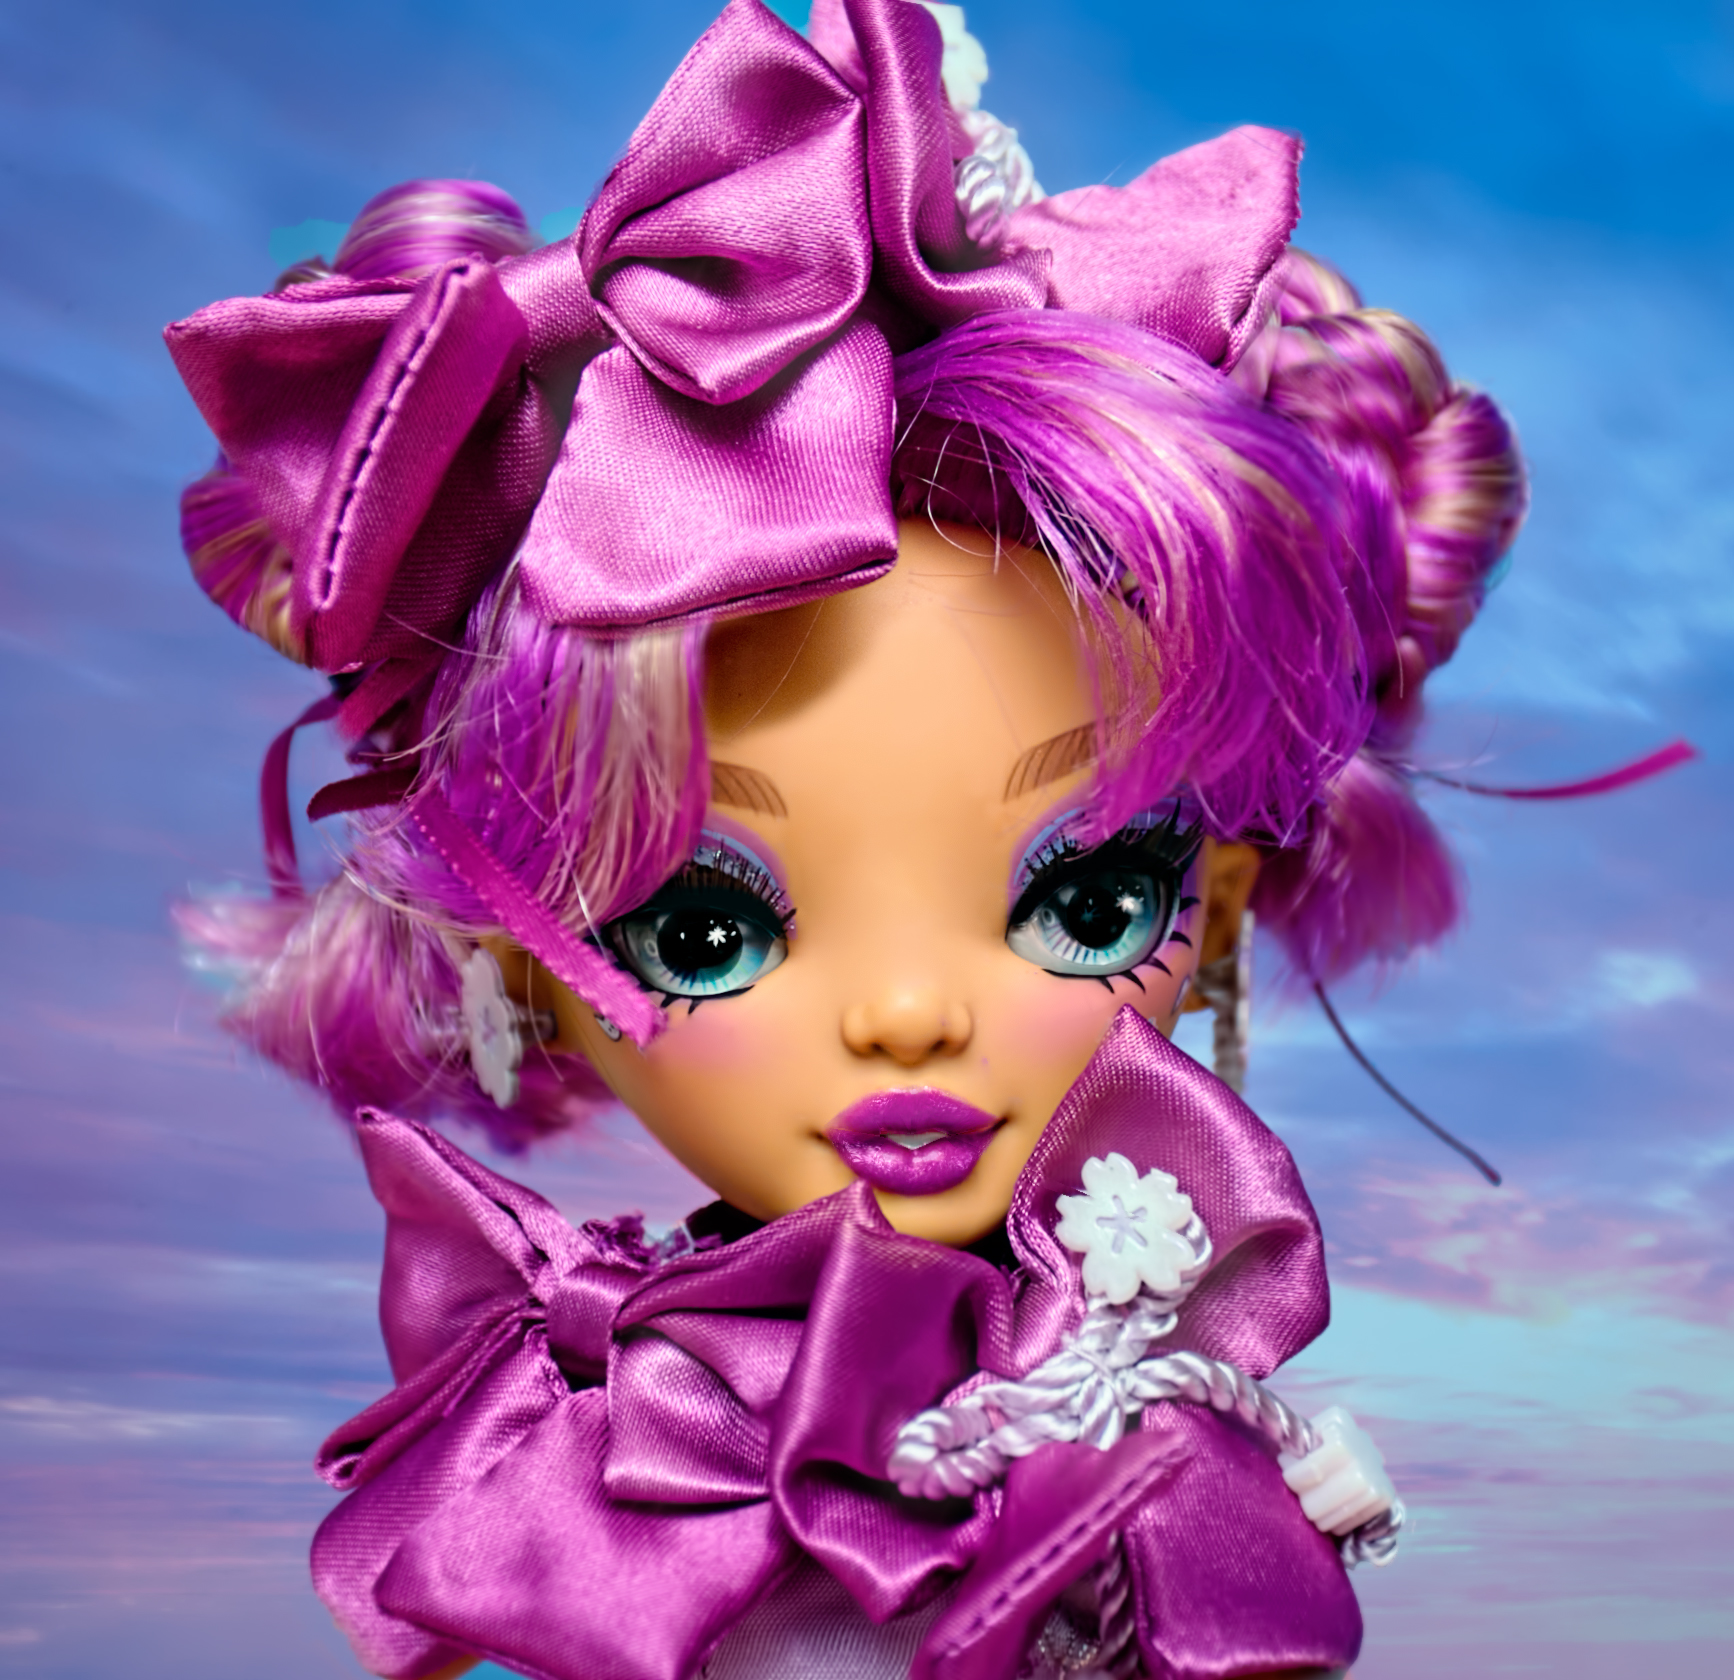
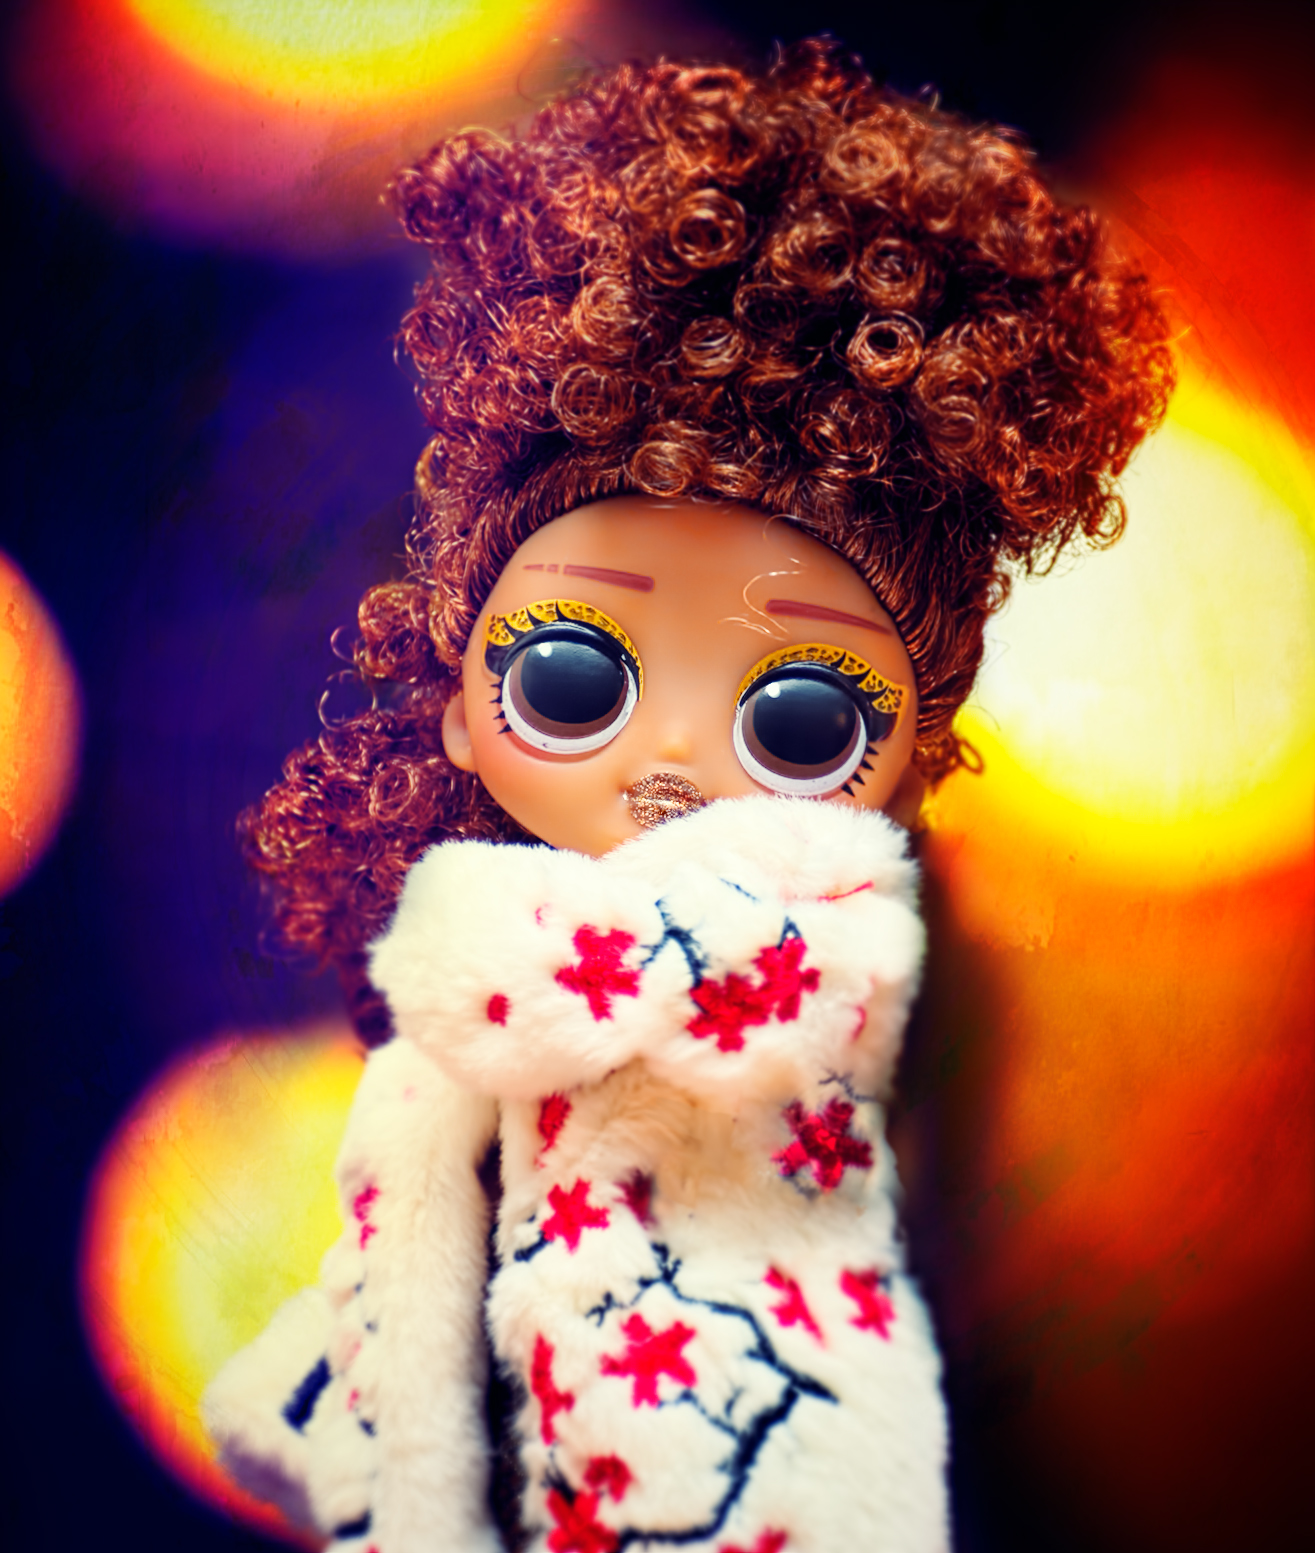
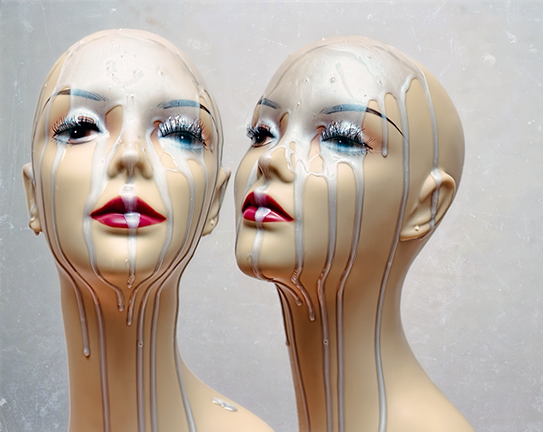
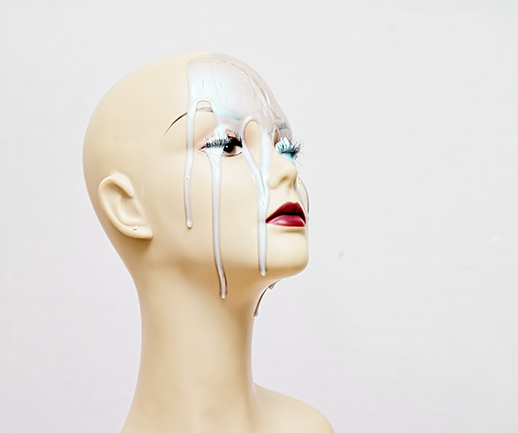
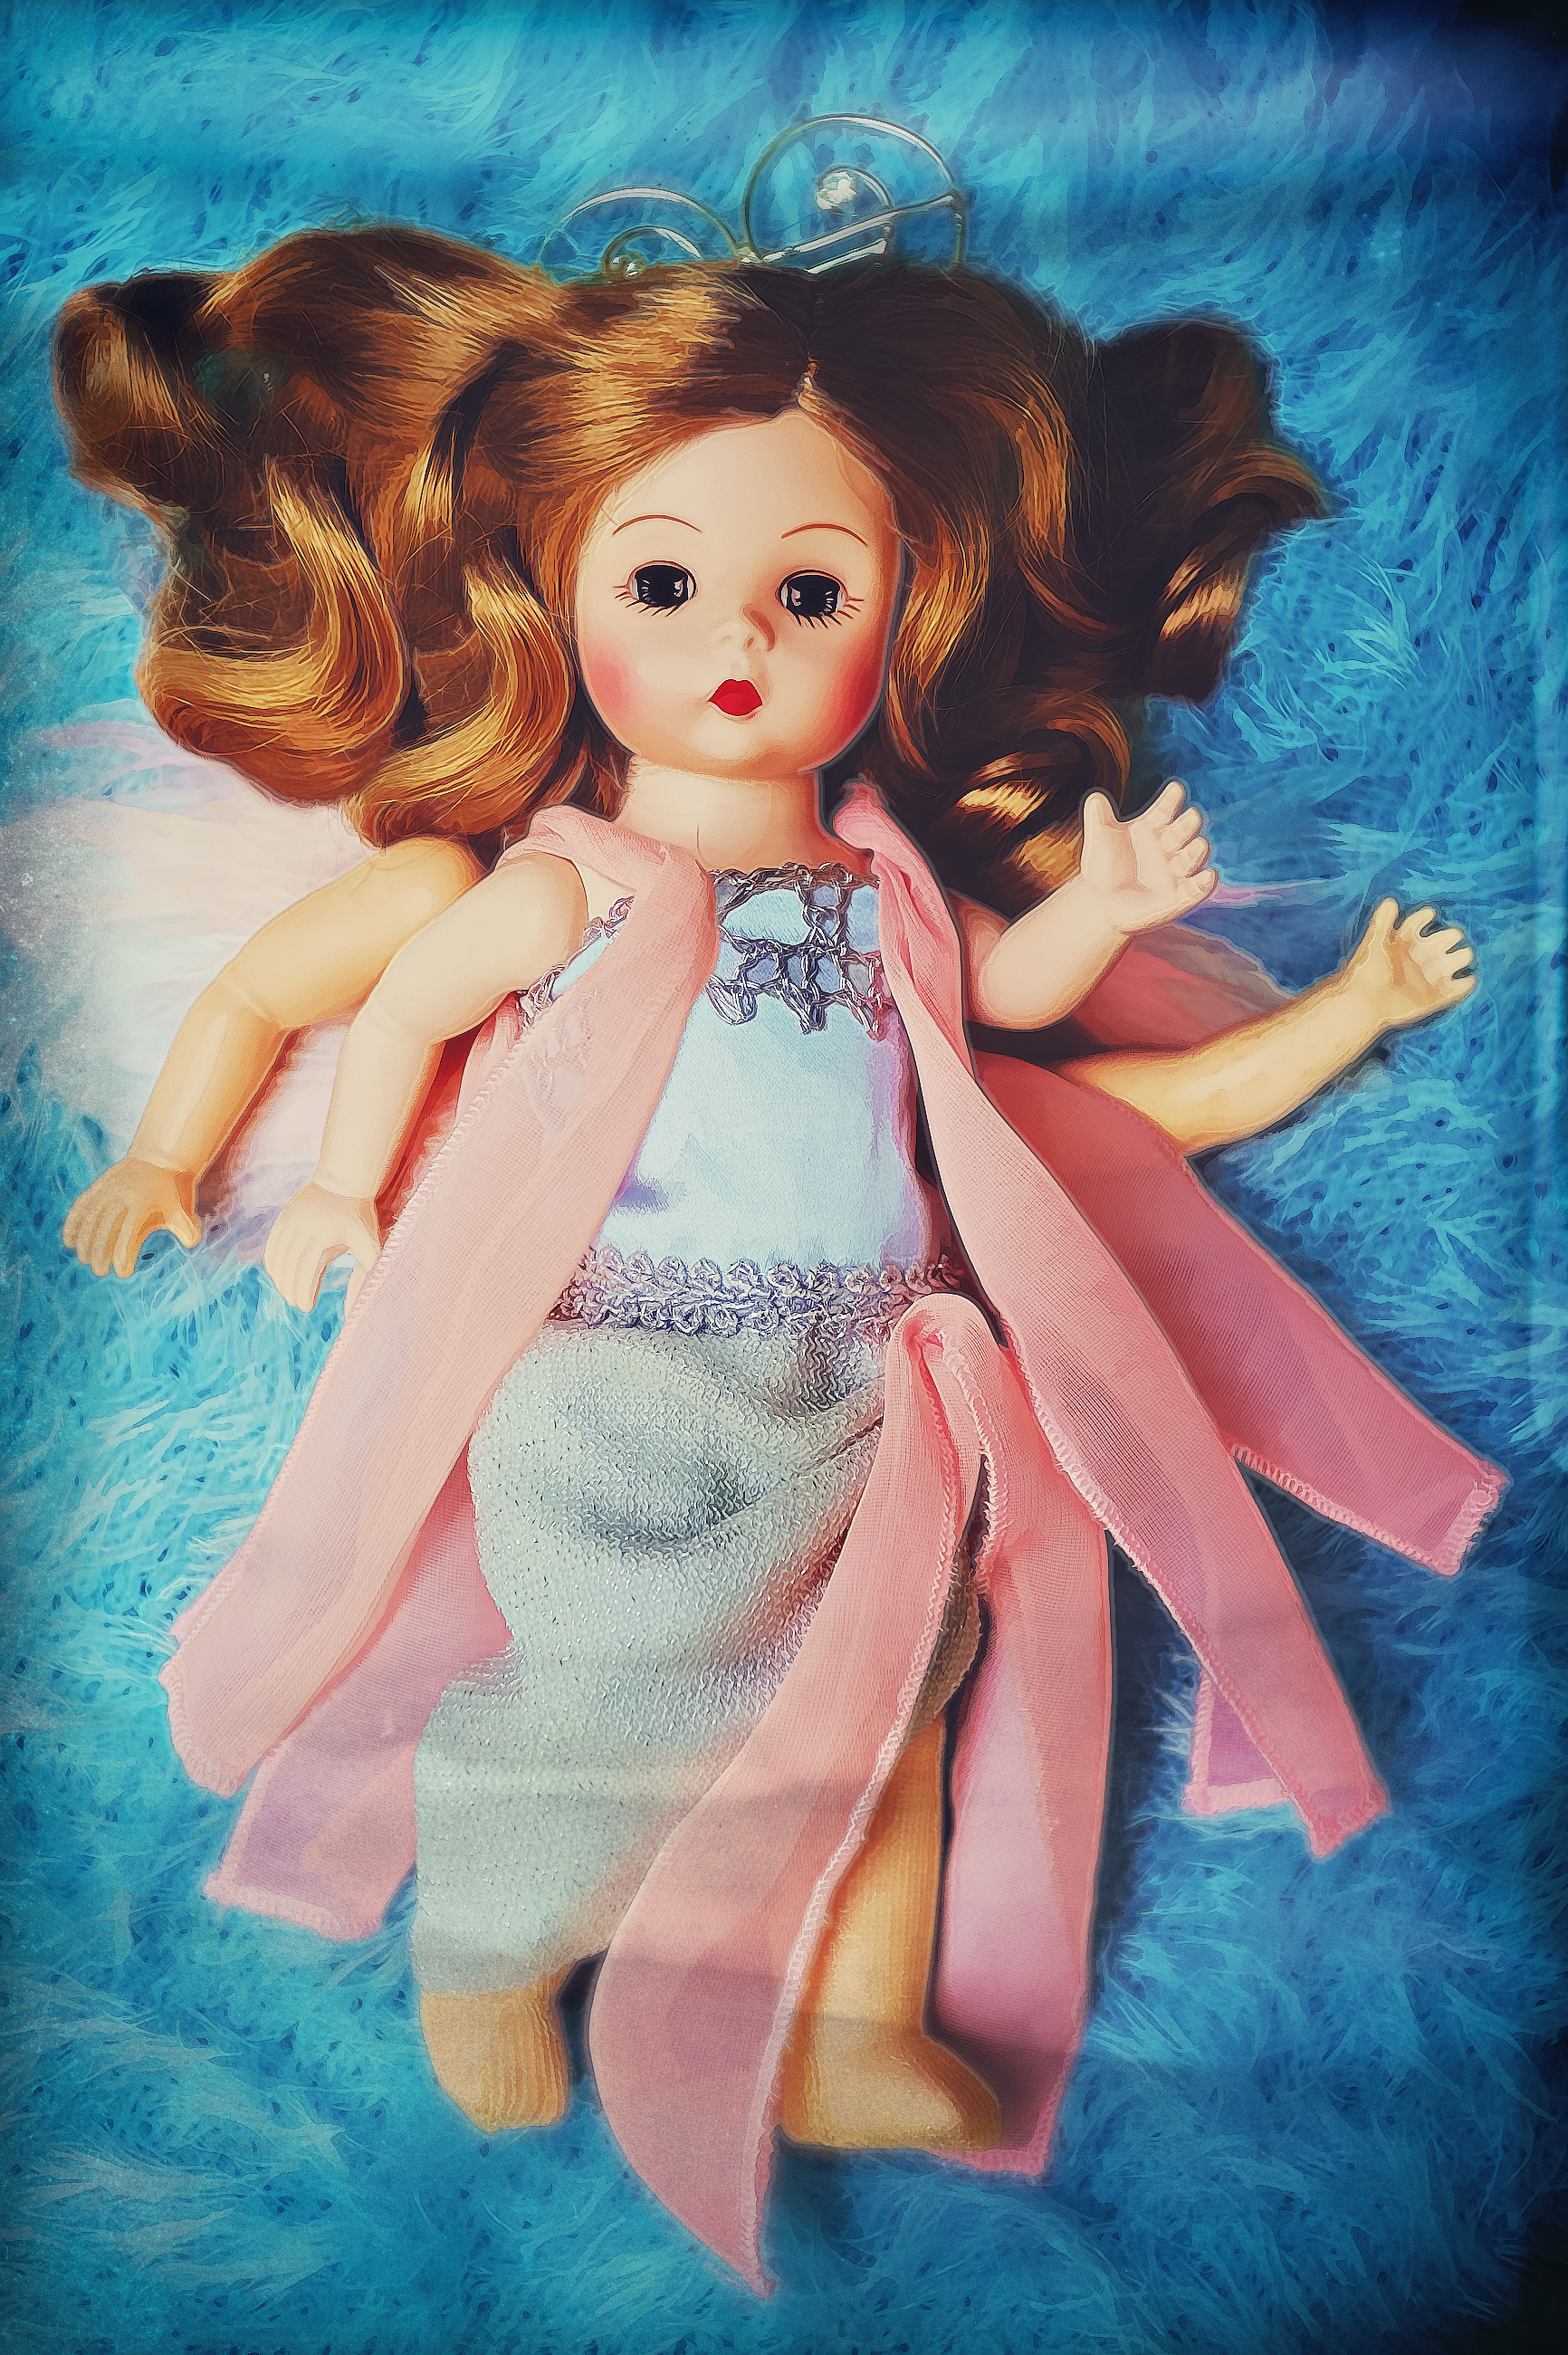
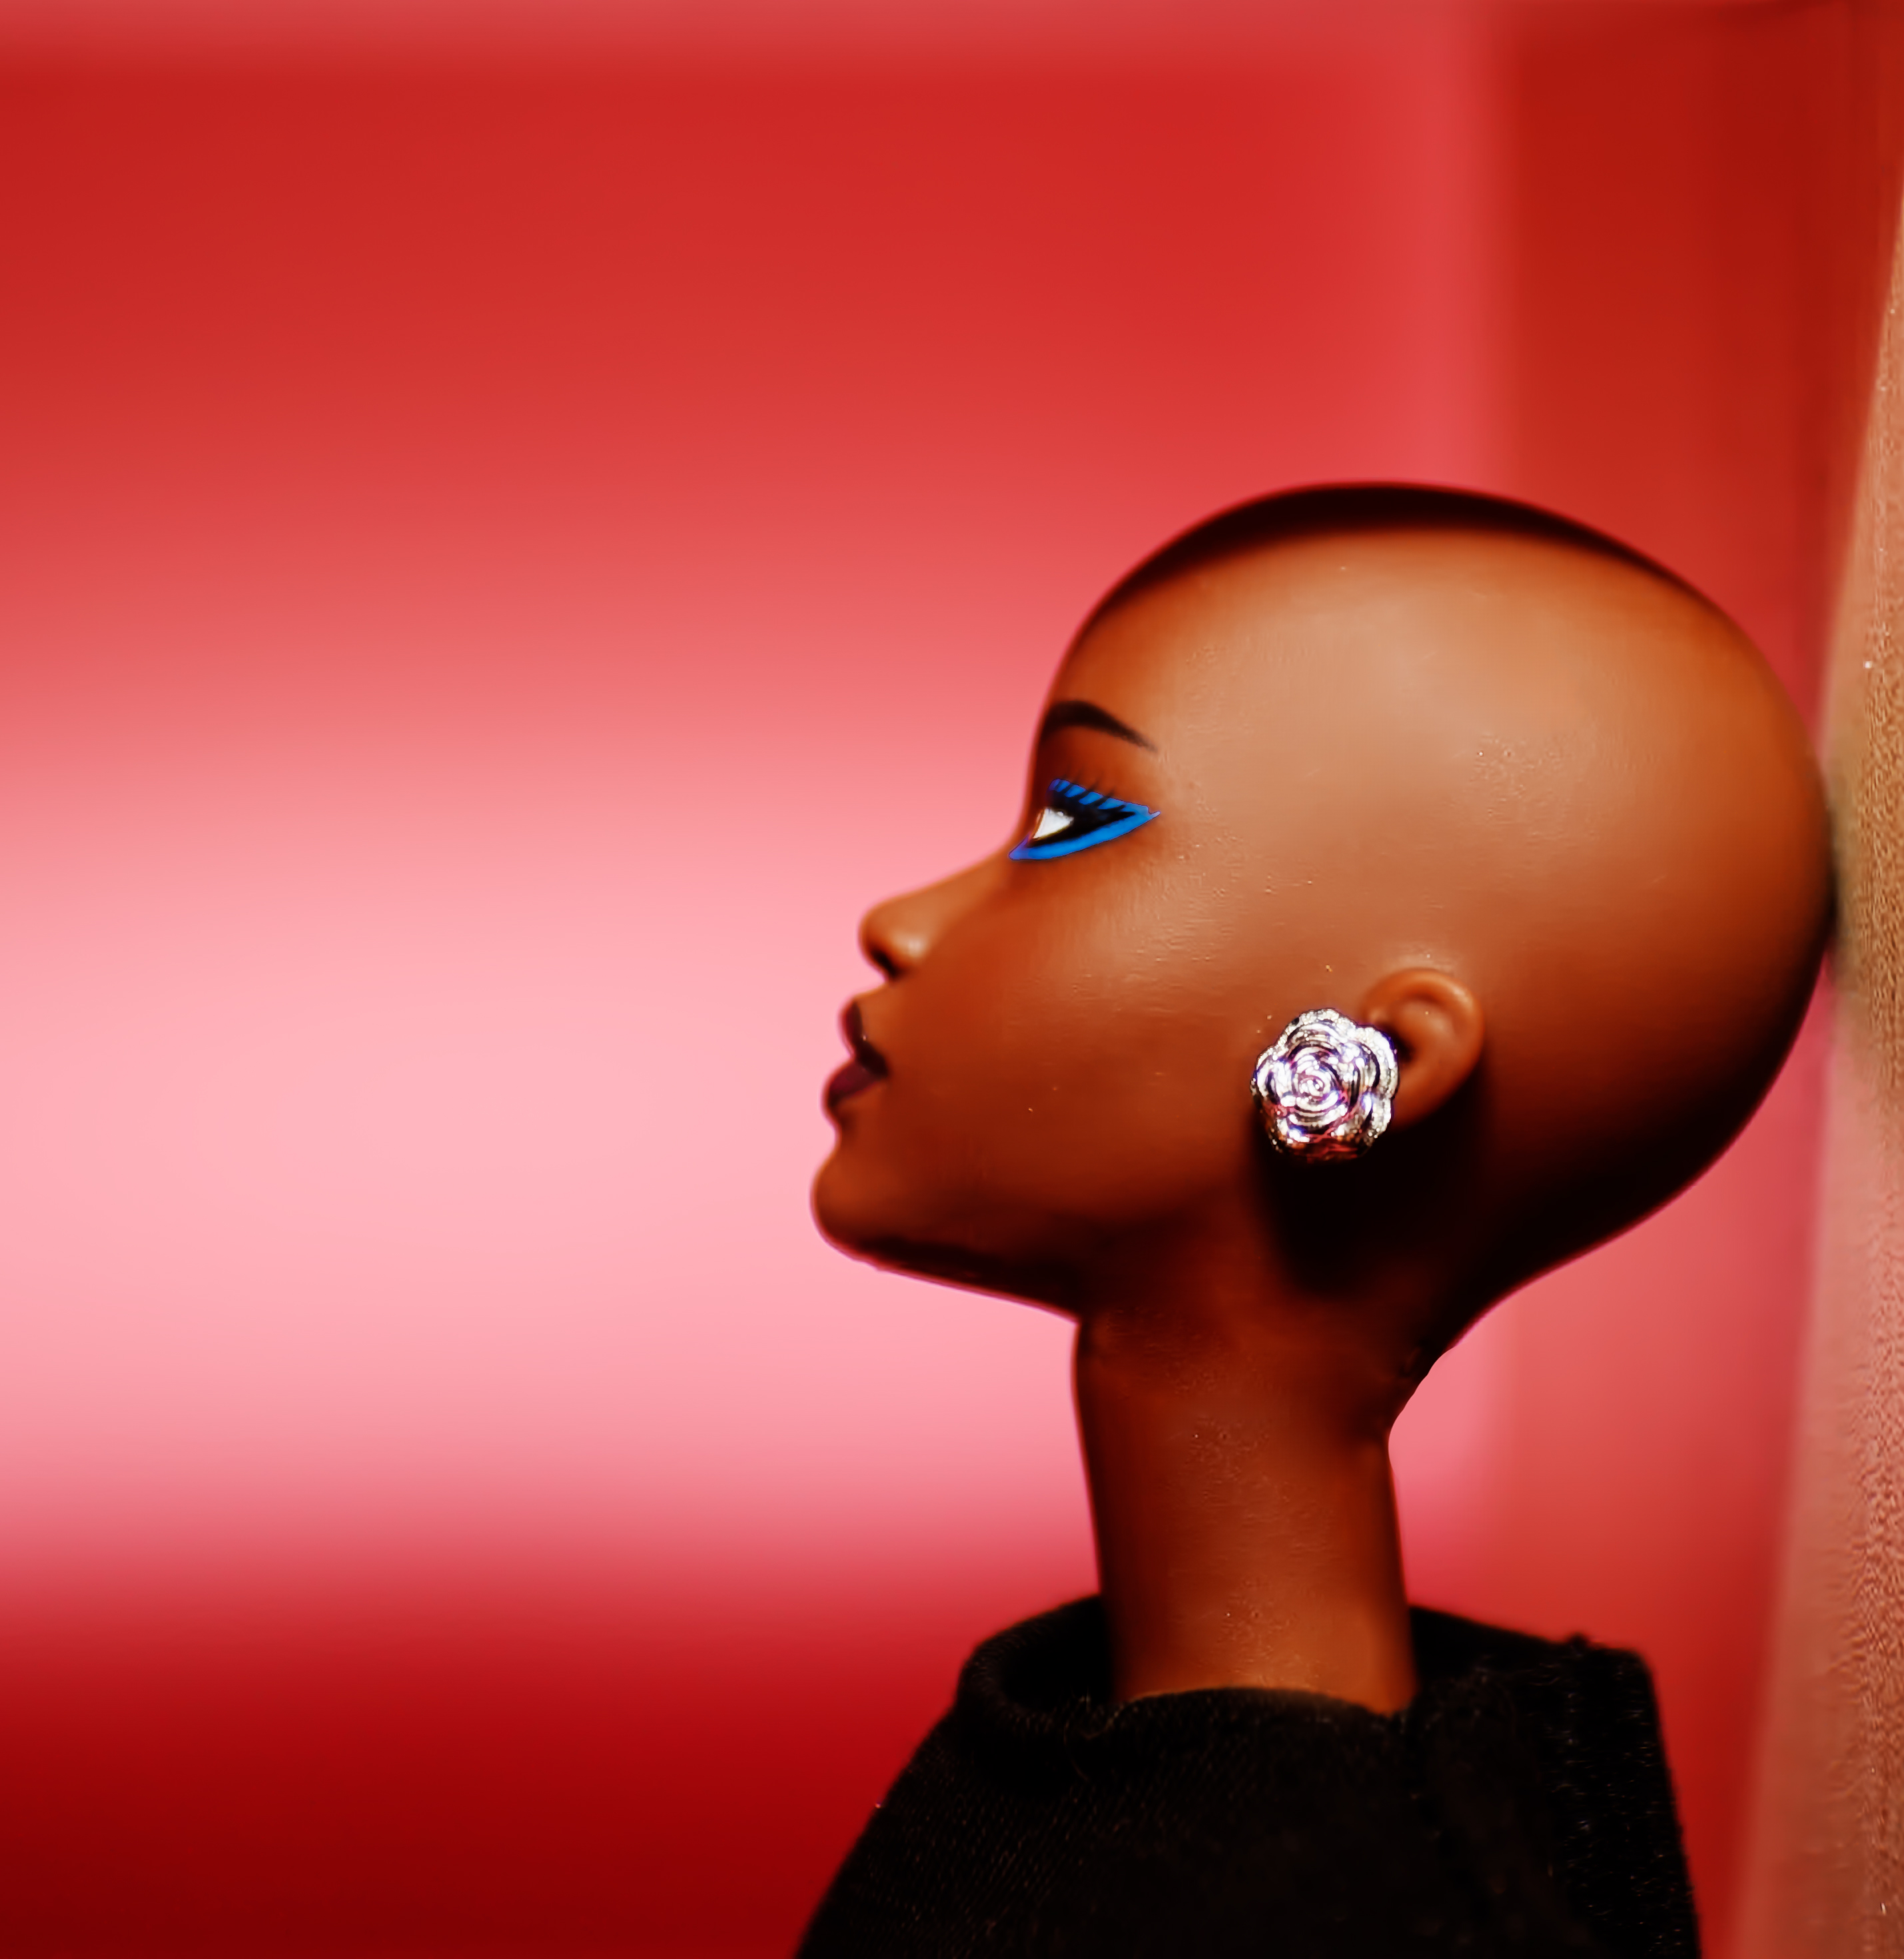
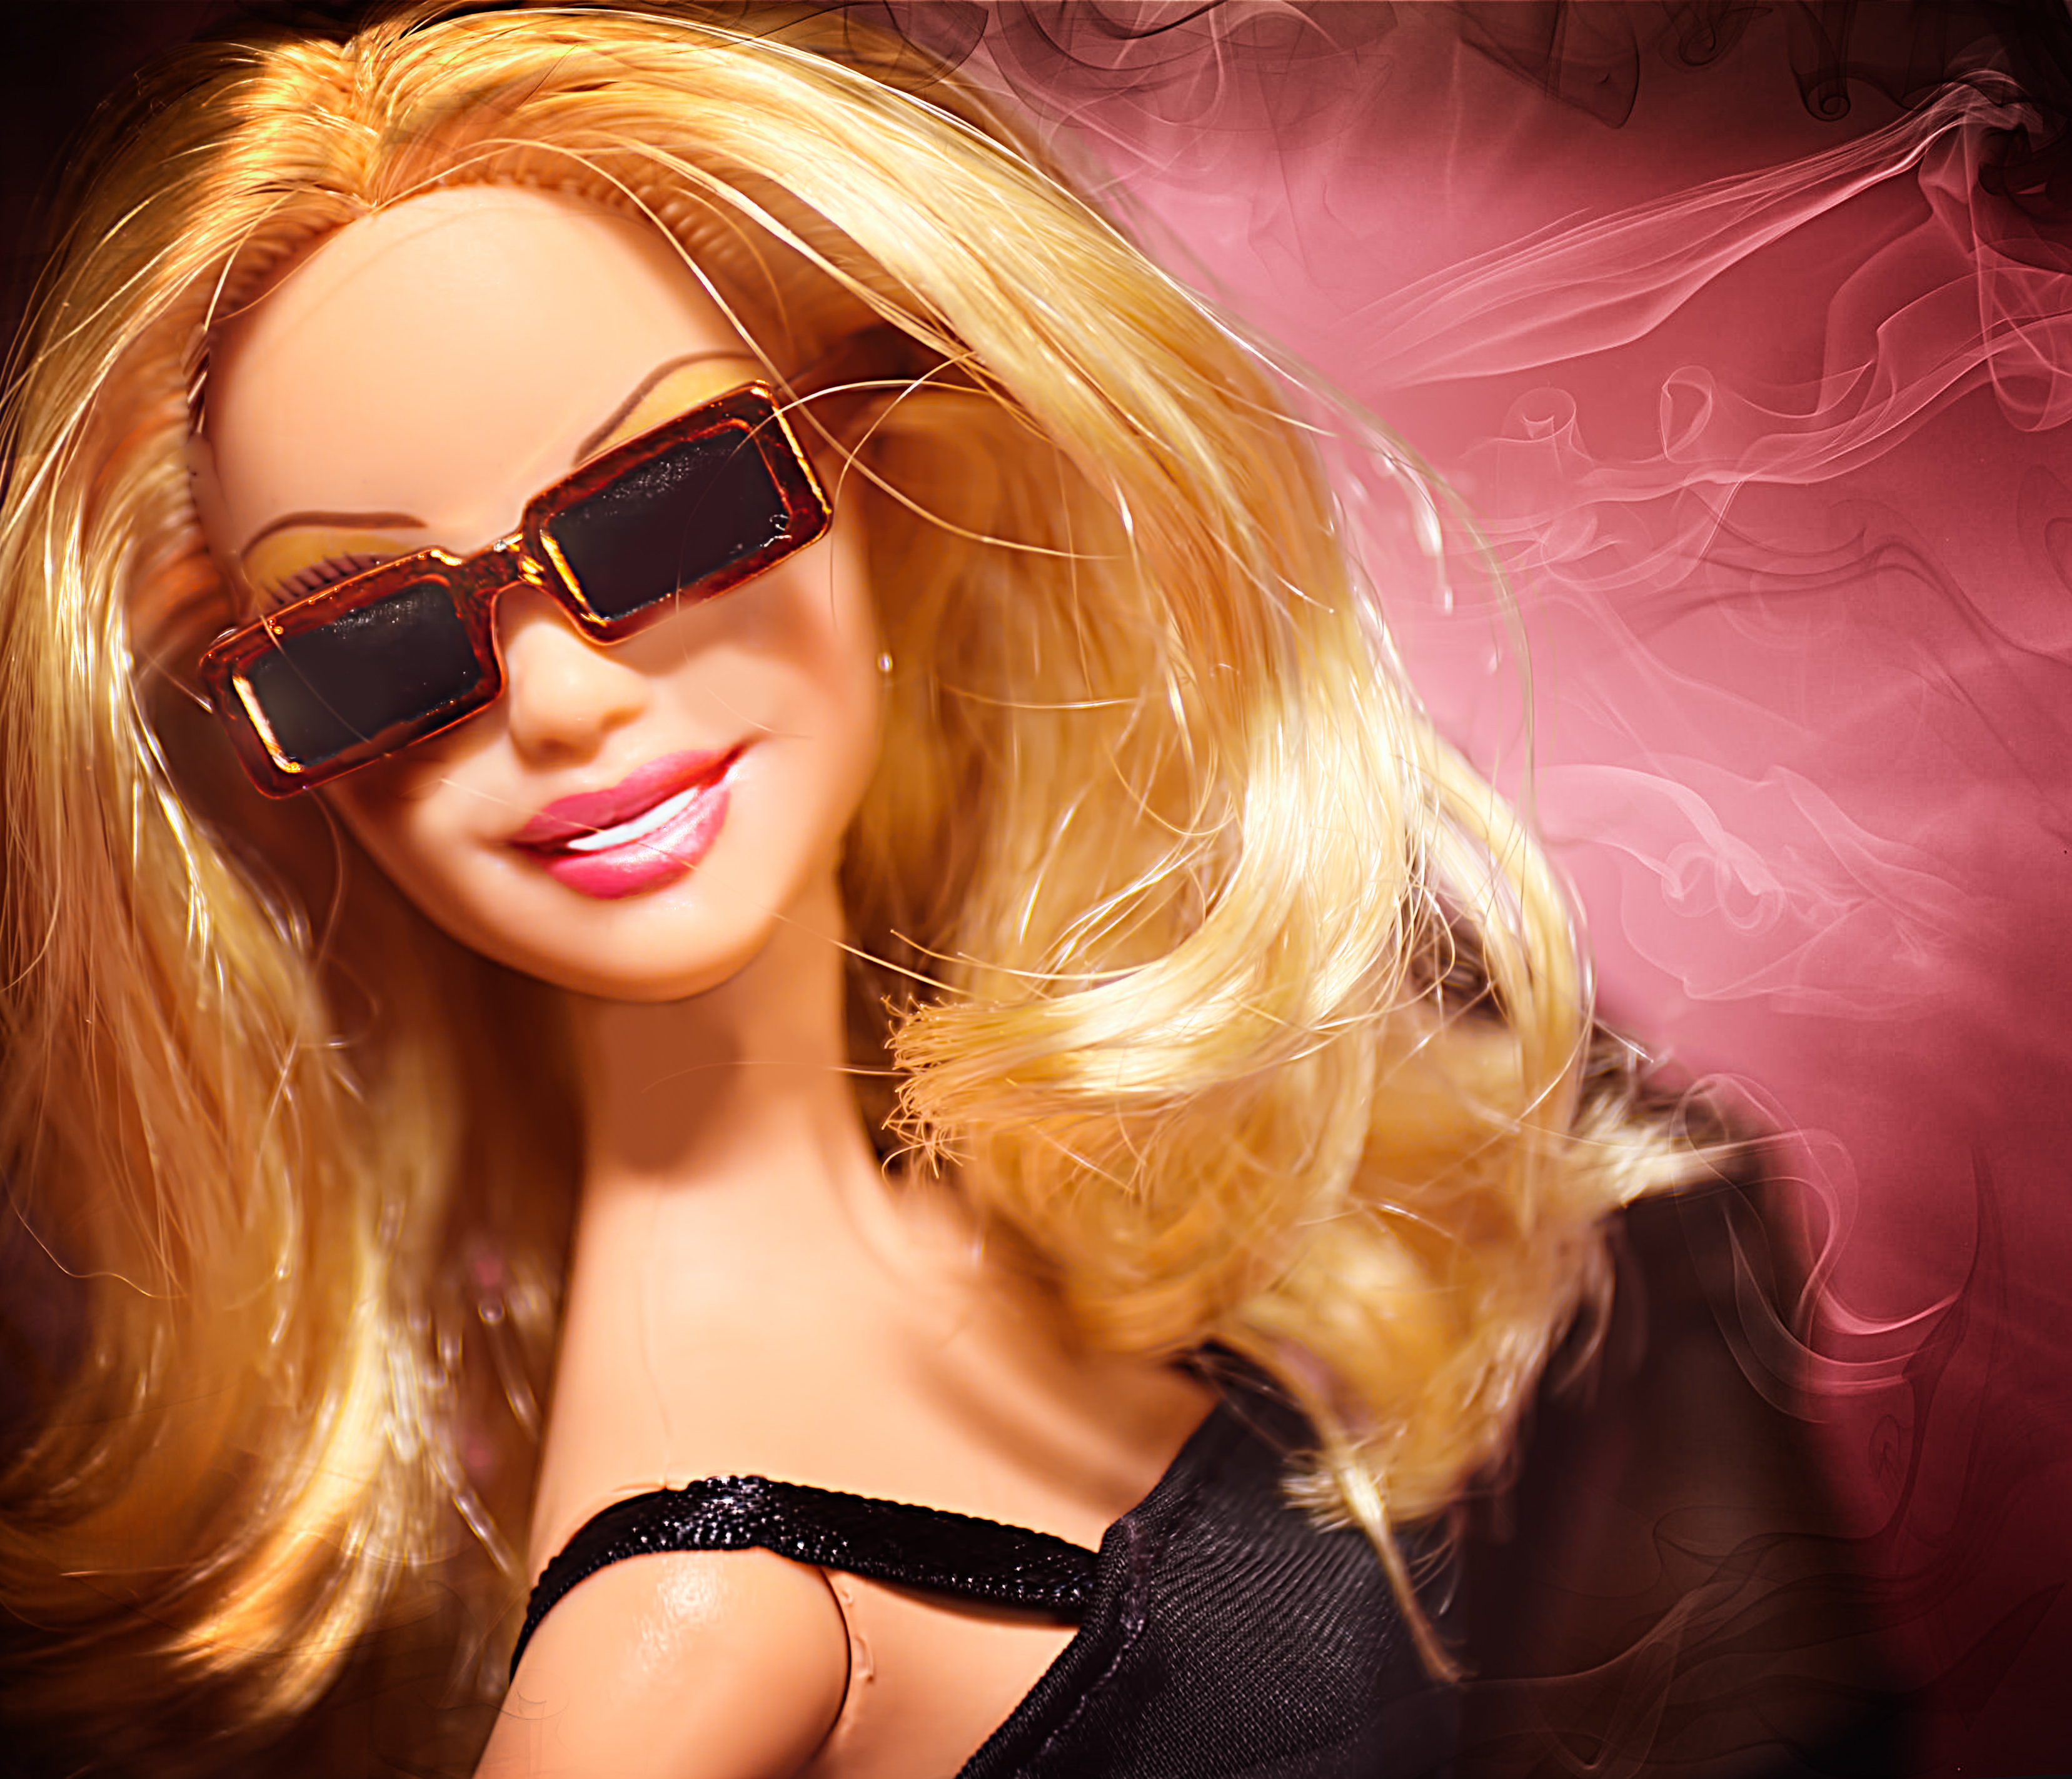
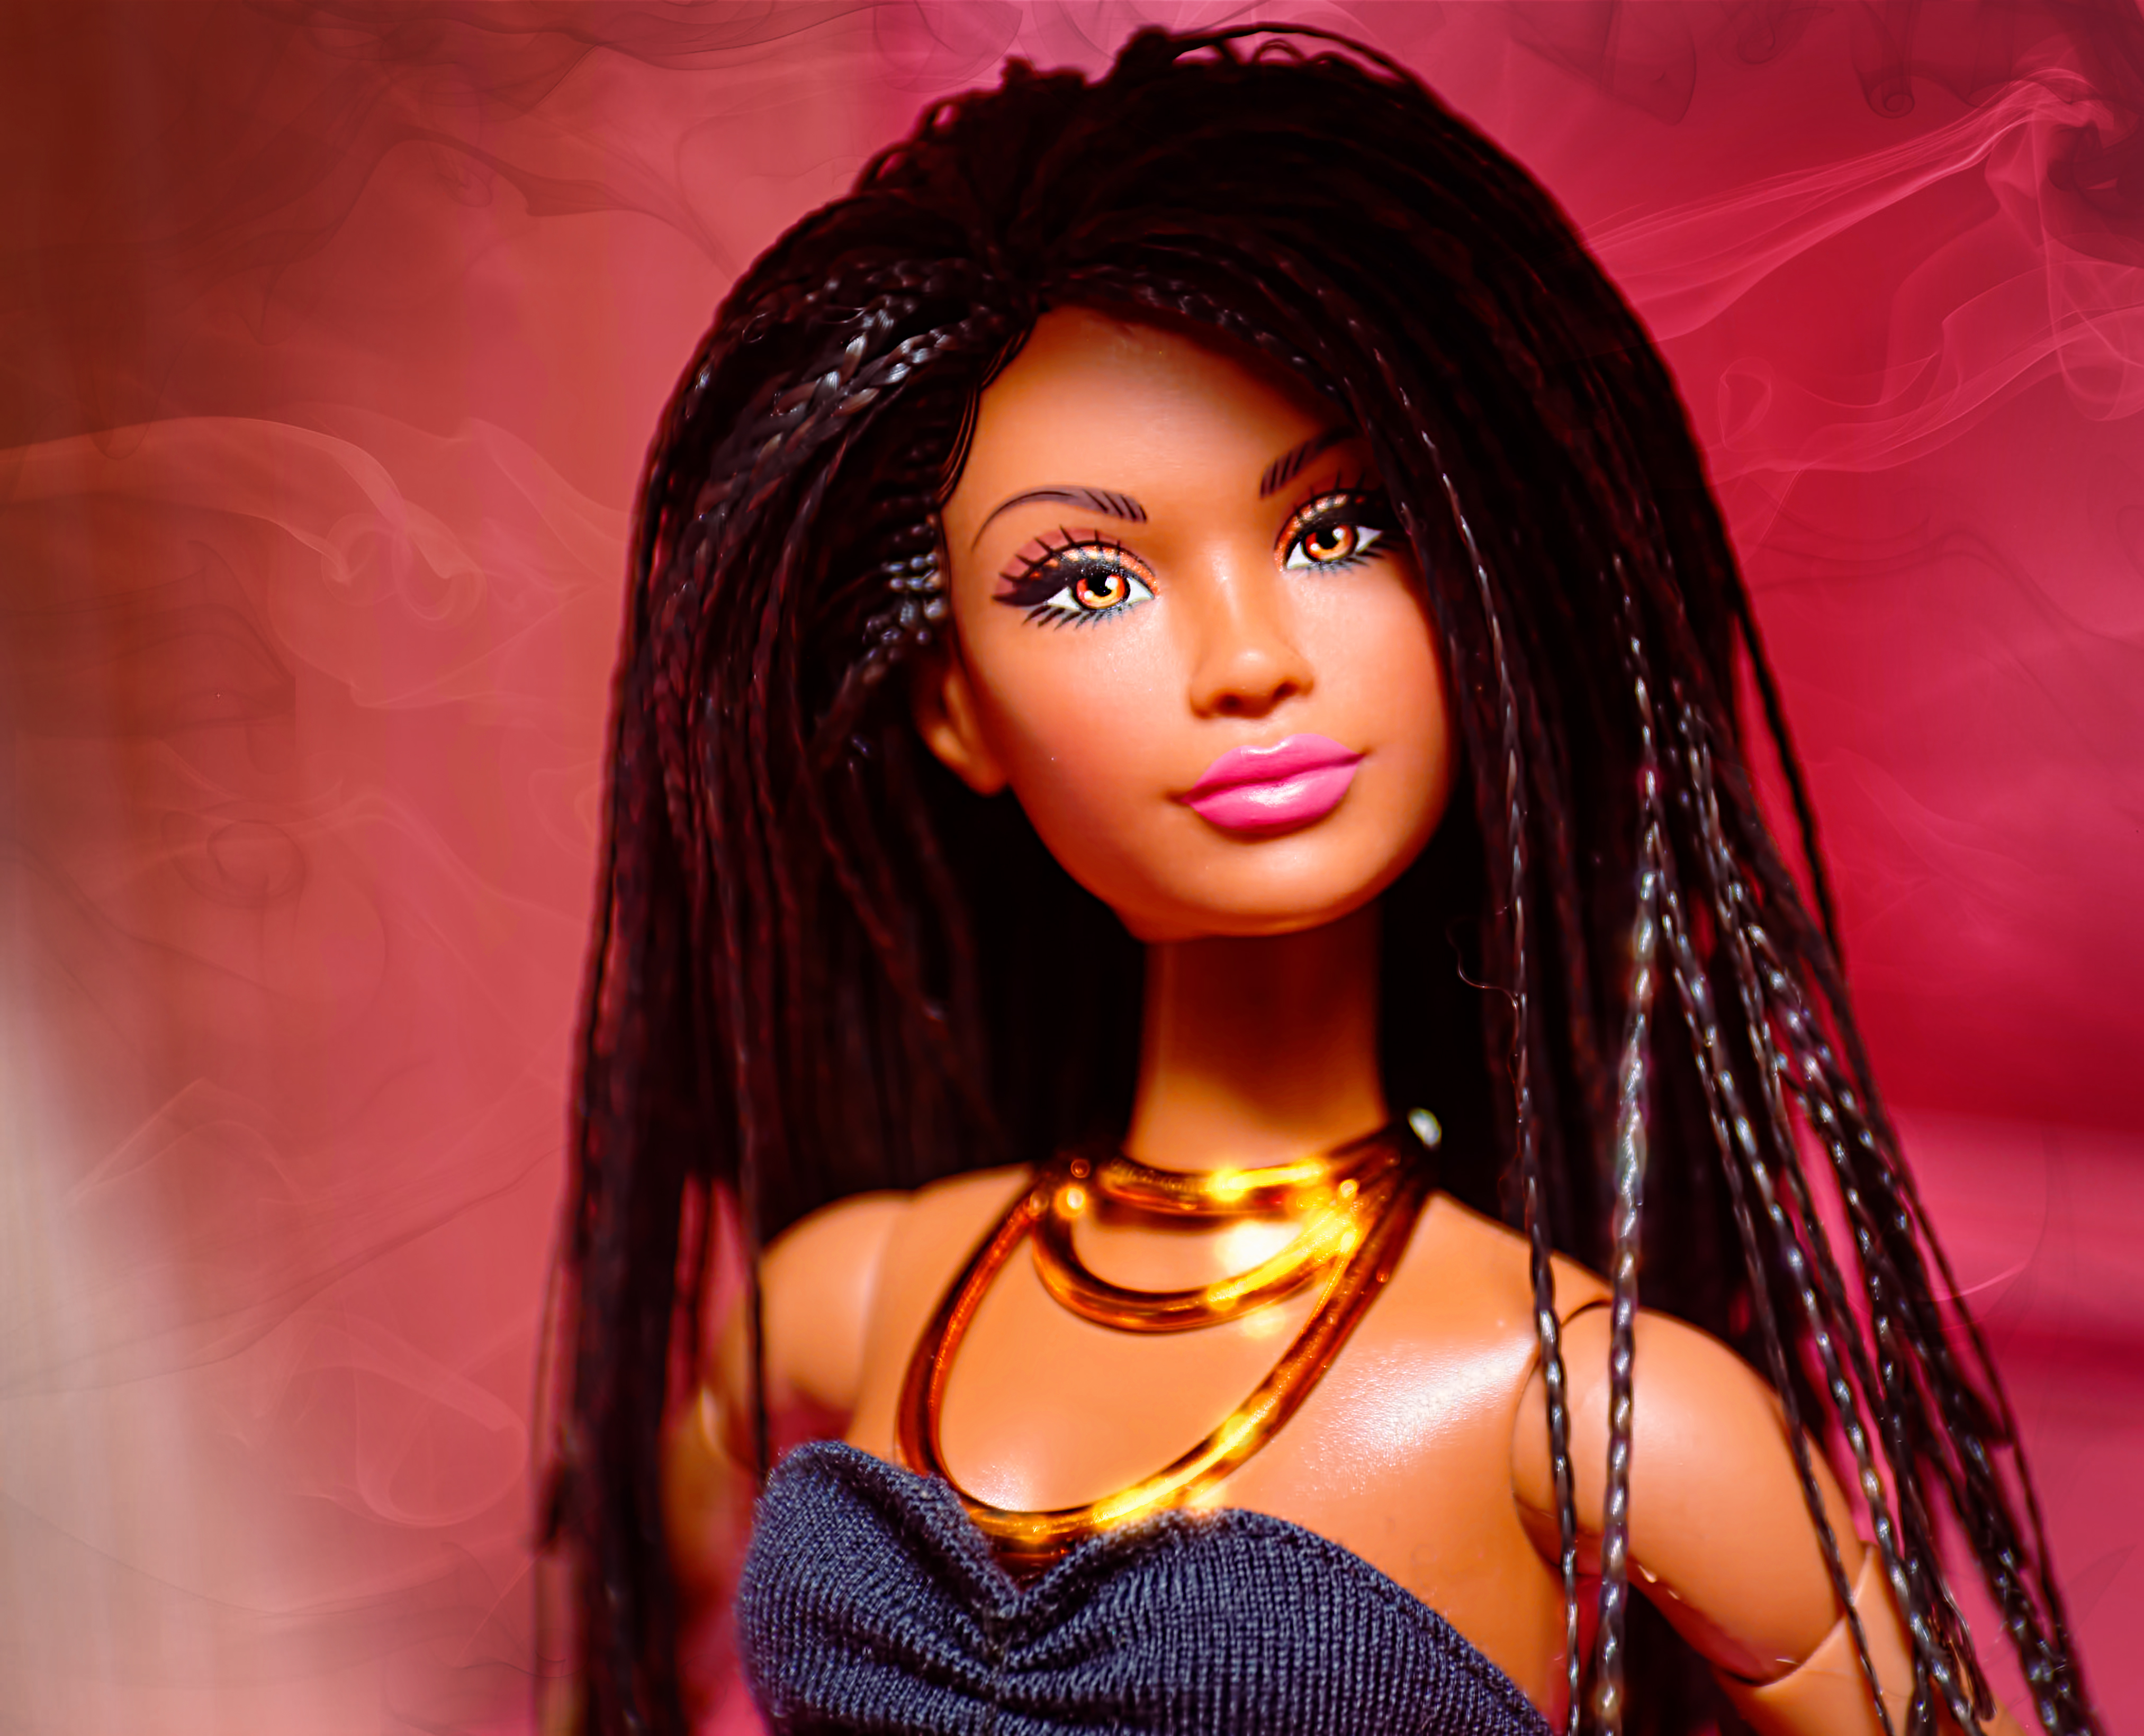
Last but not least, I took some individual shots of the dolls while working on this shoot, so you can see the face detail better.
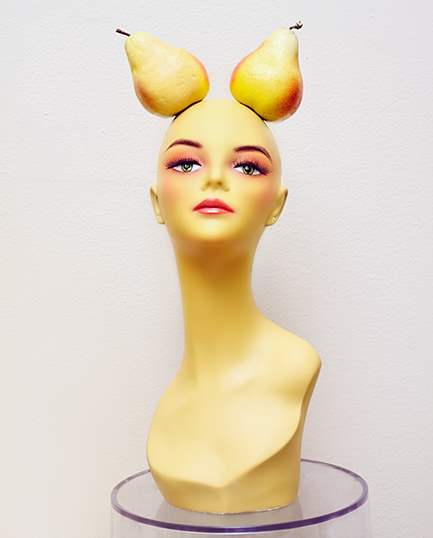
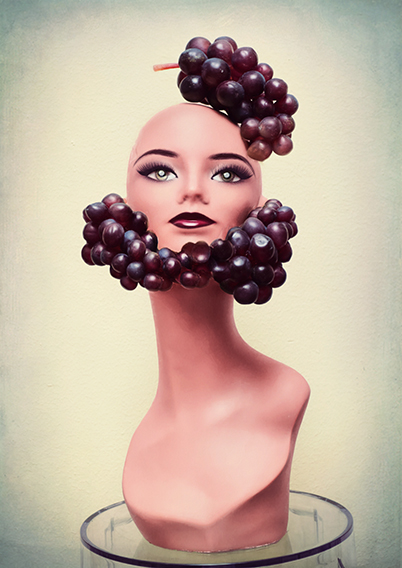
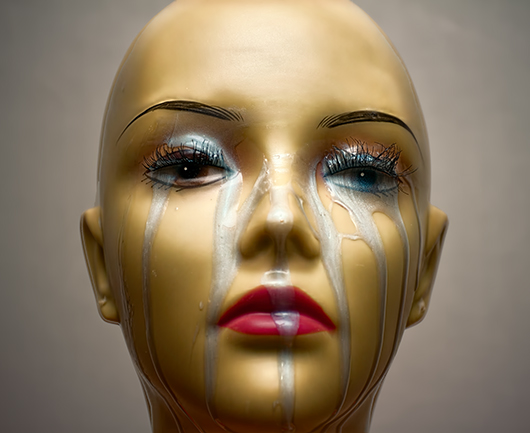
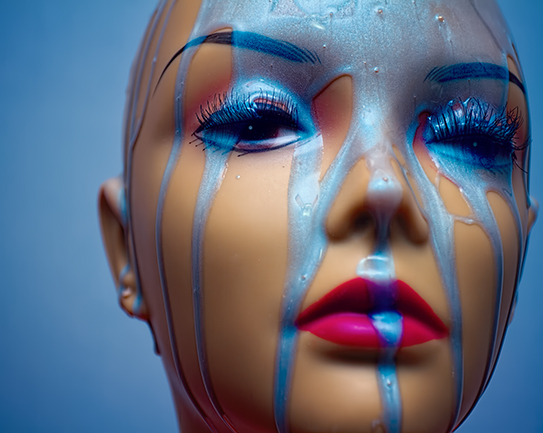
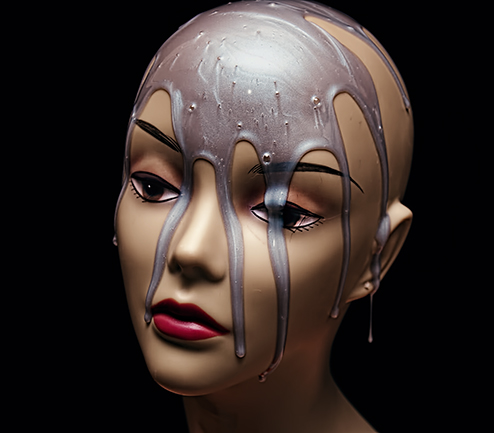
Also, how amazing do these kit dolls look bald?
That’s all for now – I’m sure there will be more doll shots in the near future. Also I am working on another found footage horror review, and have written a few poems I could upload as well. Lots going on!