I got up Saturday morning and decided I wanted to take pictures of someone other than myself. I texted one of my older sisters who lives relatively close by, and asked if any of her teenage kids were up for taking some photos. One of them was, so I threw a bunch of gear in my car and headed on over.

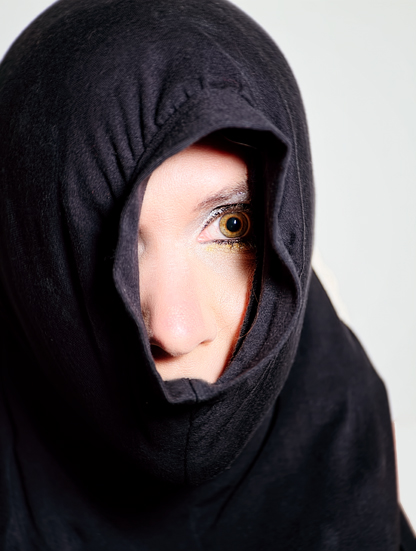
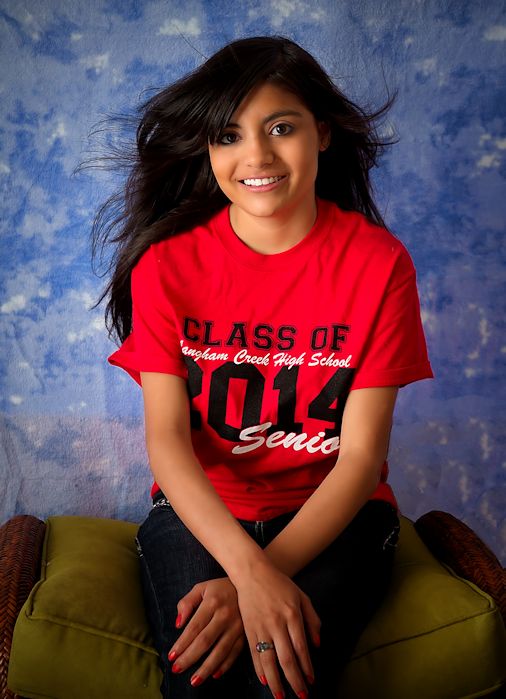
My niece Maegan, the one willing guinea pig.
My sister mentioned to me while I was visiting that she keeps waiting for the day I quit my counseling job and become a full-time photographer, but taking photos of other people makes me too nervous to really consider doing it as a career. Not just taking photos of others, but taking any photos where the end result is important to anyone other than me really throws me off my game.

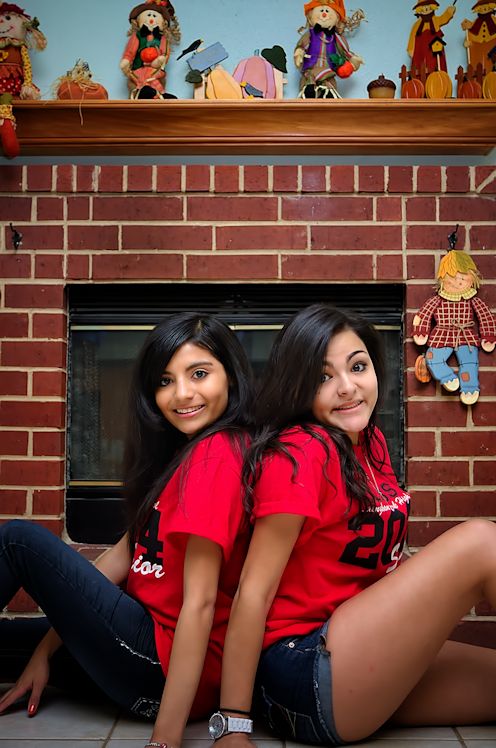
Not that it stopped me from forcing them all to do jump shots.
First of all, when others are waiting on me to get the pictures taken, I become very nervous and rushed, which usually leads to poor decision-making, such as the framing of these jump shots here. They’re crooked, in many of them the subject isn’t centered in front of the fireplace correctly, body parts are cut out of the frame, and the color is really off (the color thing is more a result of processing than photo-taking, so at least that can be corrected). When it’s just me, I can get as picky as I want with every little detail of a shot, but when a shoot involves others I literally forget to care about such things, because I’m concerned with them getting bored or feeling uncomfortable while I stop to sort such things out.

Not bad, because the color and clarity are nice and they both look lovely, but it’s terribly framed. They’re twins, by the way.
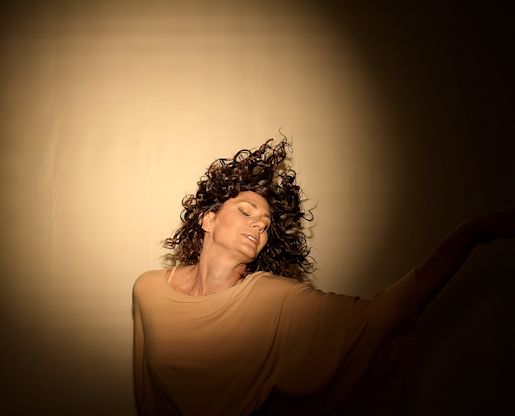
There’s also the issue of camera settings, and the need to constantly adjust them throughout the shoot. It’s another area where I get nervous, rushed, and sloppy. I was switching flash settings as well as ISO and shutter speed throughout the shoot, and doing this is still unusual enough for me that it takes me a long time to get it done, while the model stands around and waits for me to figure it out (when it’s just me, I set everything up once and generally don’t have to change). And for most of the portrait shots I did here I used my portable softbox, which I almost always use for my own portraits because it does a wonderful job of eliminating shadows and lines on my 40-something face. Turns out that on an 18 year old, however, I don’t need that extra hit of bright light on the face, and the result of using it here was that her face was brighter and “flatter” than it needed to be.

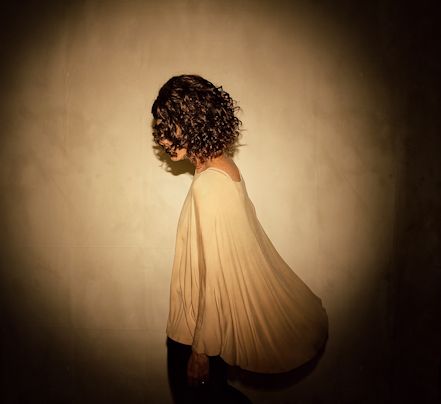
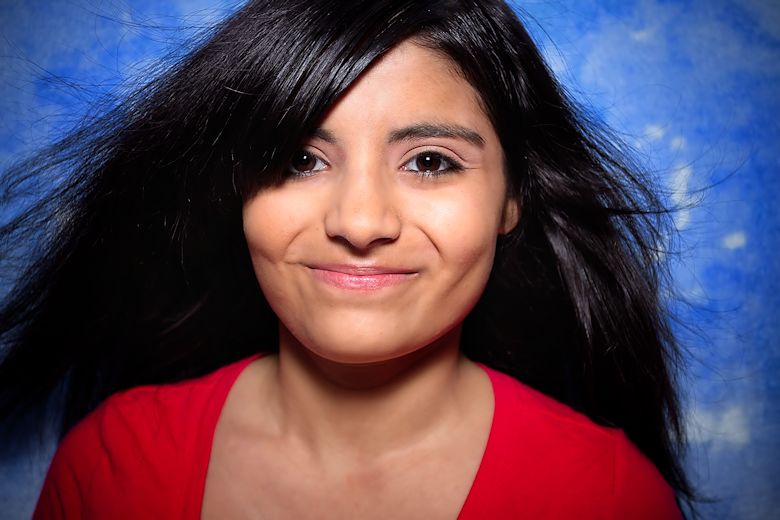
Without the softbox, her face would have had more depth and the background would have been softer.
Take this shot, for example – I had the softbox off for this one, and you can see how much more dimension the entire shot has. This is one of the best I’ve processed so far:

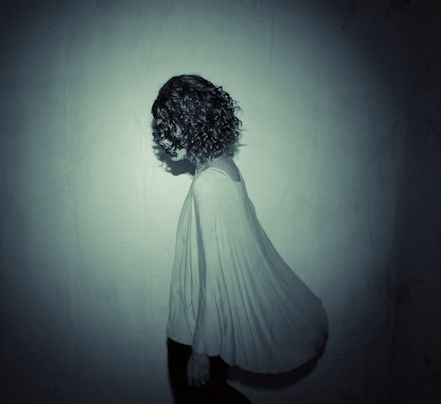
For the hell of it, I’ll show you the original shot for this one – because it leads me to another stumbling block I have to taking shots of other people. When I showed up at my sister’s house, I’d bought along this bright blue fleece sheet I found on Amazon a while back. The mottled color makes it a nice backdrop, and I thought we could throw it up somewhere and make it useful. But once again, I got in a hurry and took the first solution that came up rather than doing things the best possible way, so we ended up throwing this backdrop over a curtain rod that was hung above three big windows facing her backyard. The end result of this was some really weird lighting and background shadows I had to correct in the originals:

You can see the dark line around the bottom of the backdrop; that’s where the windowsill was behind the sheet. I did an OK job of editing that out in Photoshop, but it was a bit of a pain.
I also brought along my big fan, which is why you can see her hair blowing around in that shot. It did look pretty bizarre with the two of us crammed up against the back windows of the den, with a fleece sheet hung over a curtain rod, my niece sitting on an old Pier 1 stool we’d brought in there from the kitchen, and me sitting on the coffee table right in front of her to get the shots. Real professional.

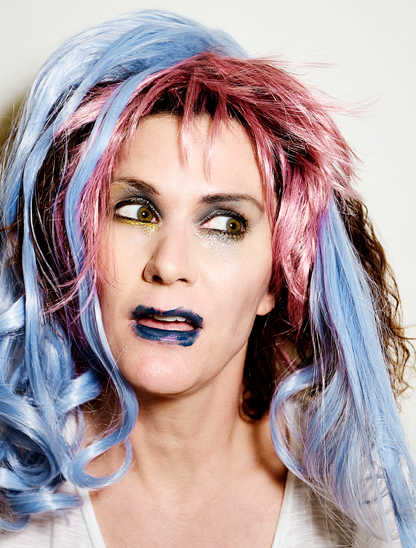
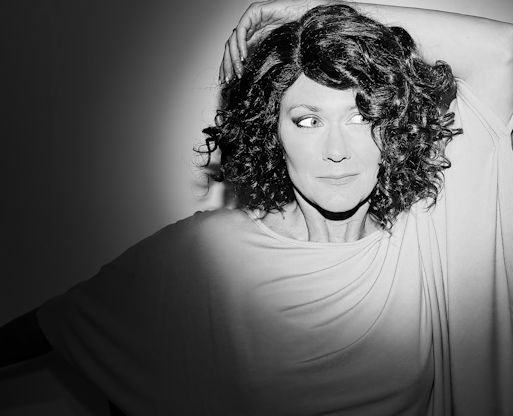
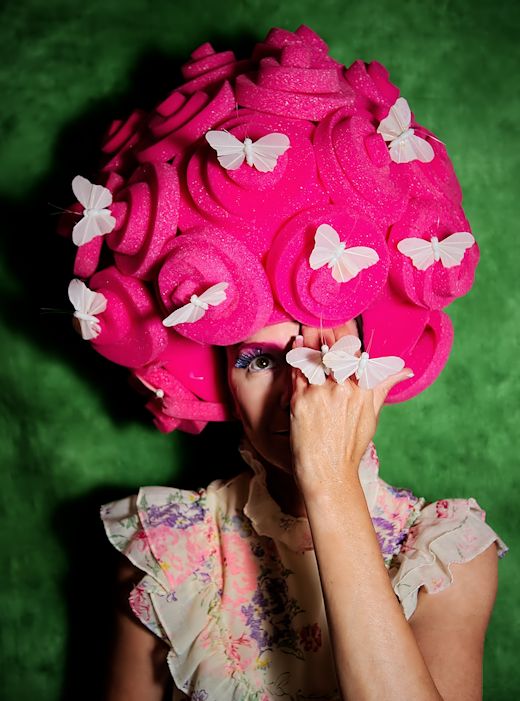
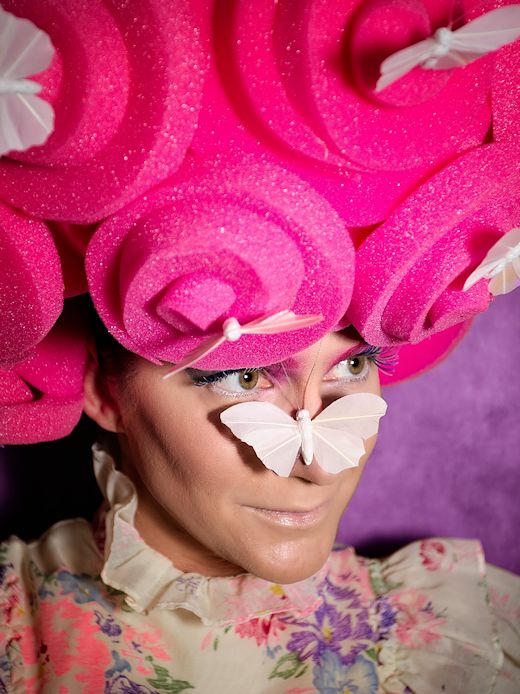
Oh, and I also brought wigs. No softbox on this one either, and it looks so much better.
I would have so much to learn and so much gear to buy before I could ever feel comfortable offering my services to strangers. As it is, at least I don’t have to worry about totally letting people down because I shoot them for free. There’s so much I’d need to learn how to do quickly, like adjust to different surroundings, learn how to shoot outdoors in particular, and also to feel comfortable directing people. My poor niece was floundering for what to do most of the time, and I felt creepy giving her instructions (“fling your hair around a bit” – I mean really, ew) as well as awkward. When it’s just me, I can screw around until I hit on some idea that I like, but with someone else just standing there waiting for me to instruct them or make suggestions, I lock up.

Fortunately, it’s hard to screw up when photographing a pretty teenage girl. Wait – does that sound creepy again?
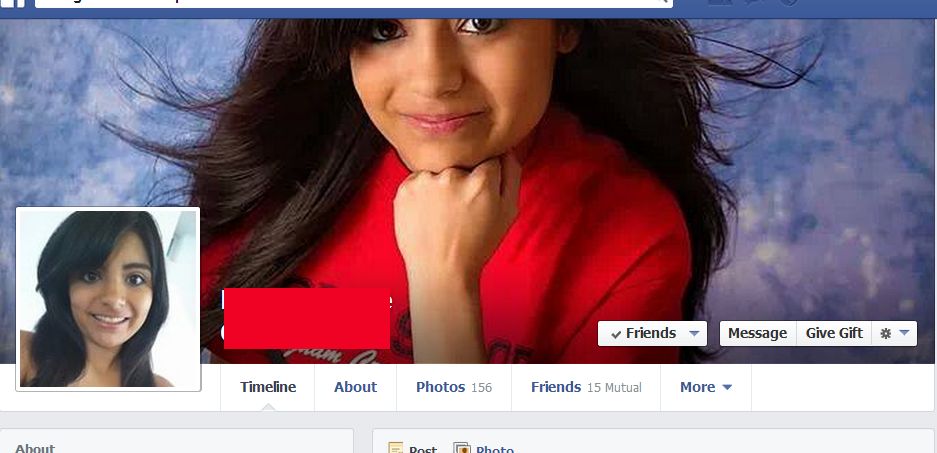
I’m sure my niece and my sister will be totally happy with the shots, and notice none of the flaws in the photos that are bugging me right now. For example – my sister commented when we were looking over the photos on my computer, that she thought it was cute how her daughter was not wearing shoes. Good lord, I hadn’t even noticed that she wasn’t wearing any! She also had on this big red plastic watch that, had I been on top of things, I would have insisted she remove, because it was so distracting. And if we need further proof that others don’t notice such things – when I posted these photos to Facebook Saturday night, my niece downloaded one of them and made it her cover photo. Since Facebook reduces photo quality significantly when uploading, she not only downloaded a seriously degraded copy, but then degraded it even further by re-uploading it to the site. I admit I got pretty twitchy when I saw her Facebook page with this grainy, blurry version of her lovely picture there as her cover. Arrrrgh! I am working on getting the HQ versions copied to a flash drive which I can mail to them, so they have better originals, but I have a feeling she’ll never even realize she should change out the crappy pic with a better one. And here I work so hard to maintain clarity and quality…go figure.

Noooooooo
I certainly never noticed stuff like this before I got into photography myself, either. But looking at that photo above helps me understand why professional photographers guard their originals carefully and have strict rules about what can and can’t be done with digital versions of their work. I’d die if that highly pixelated photo got associated with my professional name because a client didn’t understand how to handle digital images. Not that it’s a real pressing issue with me, because again, I would not feel confident asking someone to pay me for photos until I knew I was capable of producing high-quality work and executing a shoot efficiently. And going out on location and shooting photos of someone else is such a completely different process to what I normally do, that I’m not sure I’ll ever be up for learning. Not that I didn’t have fun today; it just reinforced many of my reservations about going pro.