Knitography!

Well hello everyone! How the hell are ya?

So I haven’t updated since April, and since then I’ve been able to meet up with friends, hang out with my sister, and eat in a few restaurants with Doug. Hallelujah! Except oh wait – this is Texas, after all, and our super-low vaccination rate means the Delta variant of COVID-19 is on the rise in a major way, and Doug and I are back into quarantine mode. I’ll be damned if after committing to avoiding this stupid virus for a year I’m going to turn around and get COVID, even if it most likely wouldn’t be in some serious form since I’m vaccinated, because a bunch of people refuse to do their part and just take the damn shot already. And yes, I have family members and friends who refuse to get vaccinated, and they are all absolutely on my shit list. There’s no way in hell our governor is going to mandate masks, social distancing, or vaccines at this point, so if we’re going to stay healthy AND do our part not to spread the virus (since vaccinated people can carry it asymptomatically) we’re going to stay home. Again. Sigh.

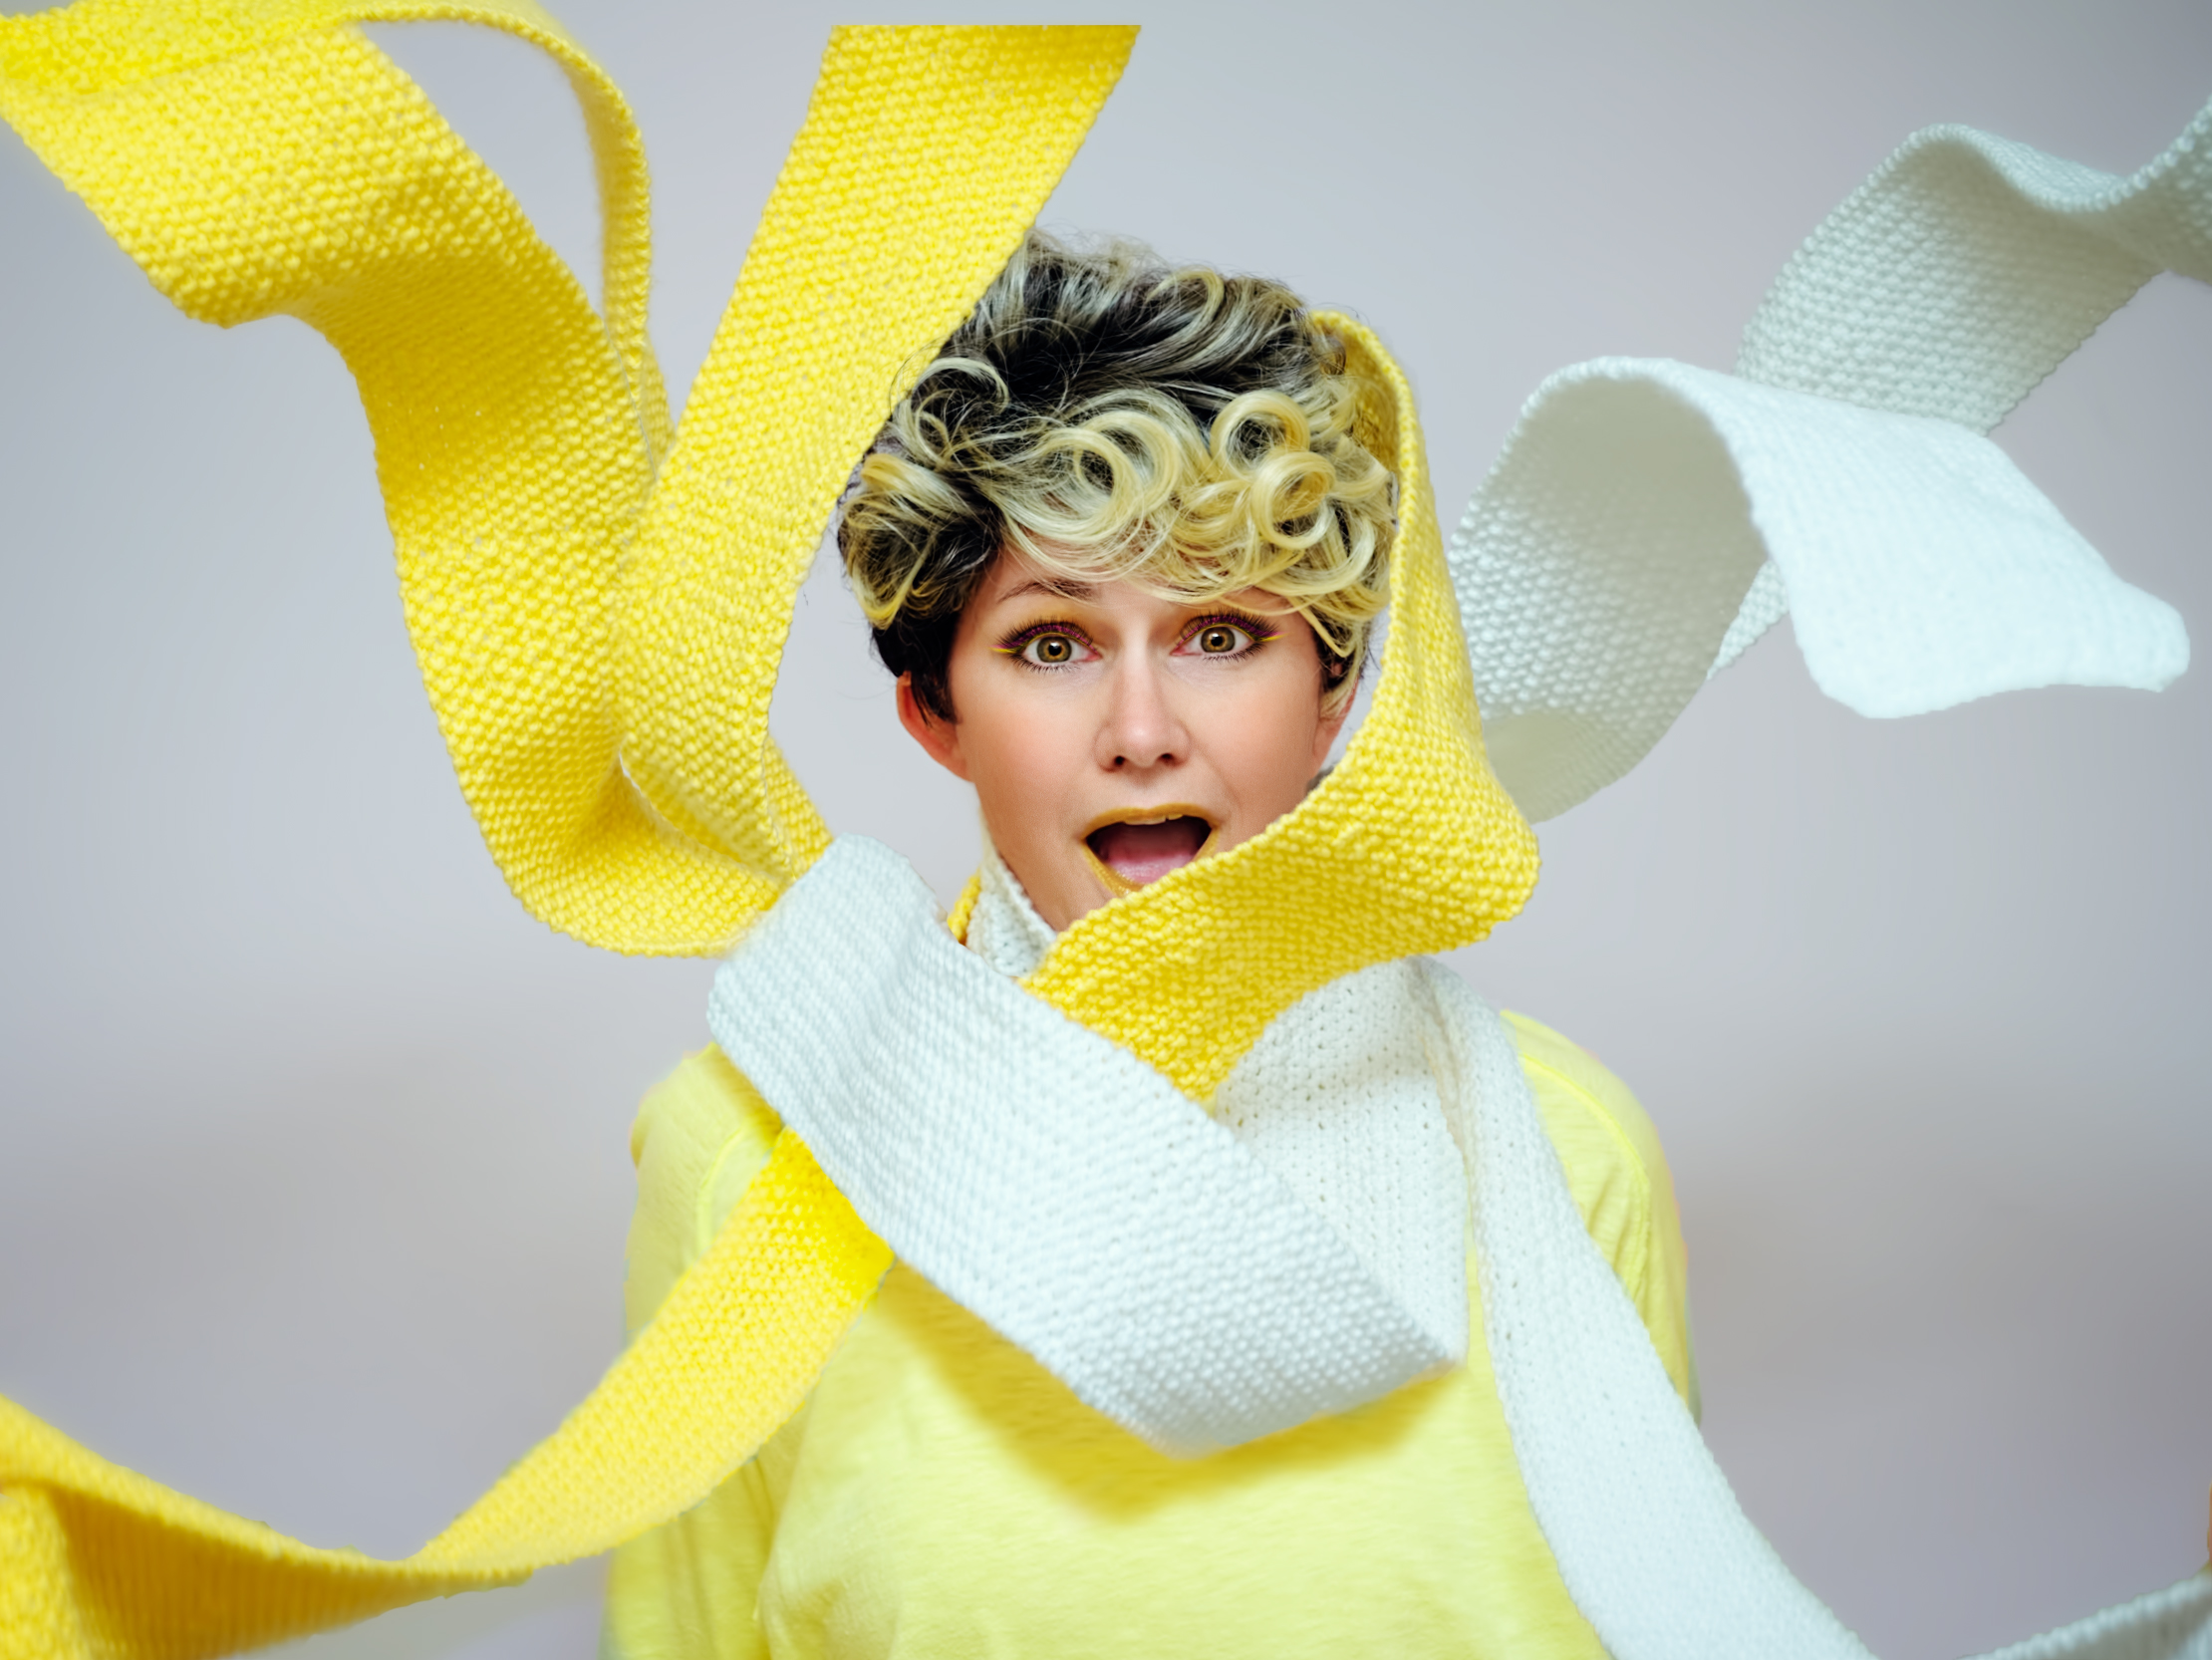
But hey, I did this whole stay-at-home thing for like 14 months already, so I’m good to go. I’m still knitting a LOT, and although I still have much to learn I’ve managed to knit a few decent scarves so far. My plan was to keep knitting scarves until I had several more advanced stitch patterns down – my first full scarf was a basic garter stitch (and that one was a bitch because I bought a light weight yarn that was hard for a newbie like me to work with), then a seed stitch, and then a rib stitch. I tried stockinette with a border but the damn thing still curled up, so I don’t know what I did wrong there.

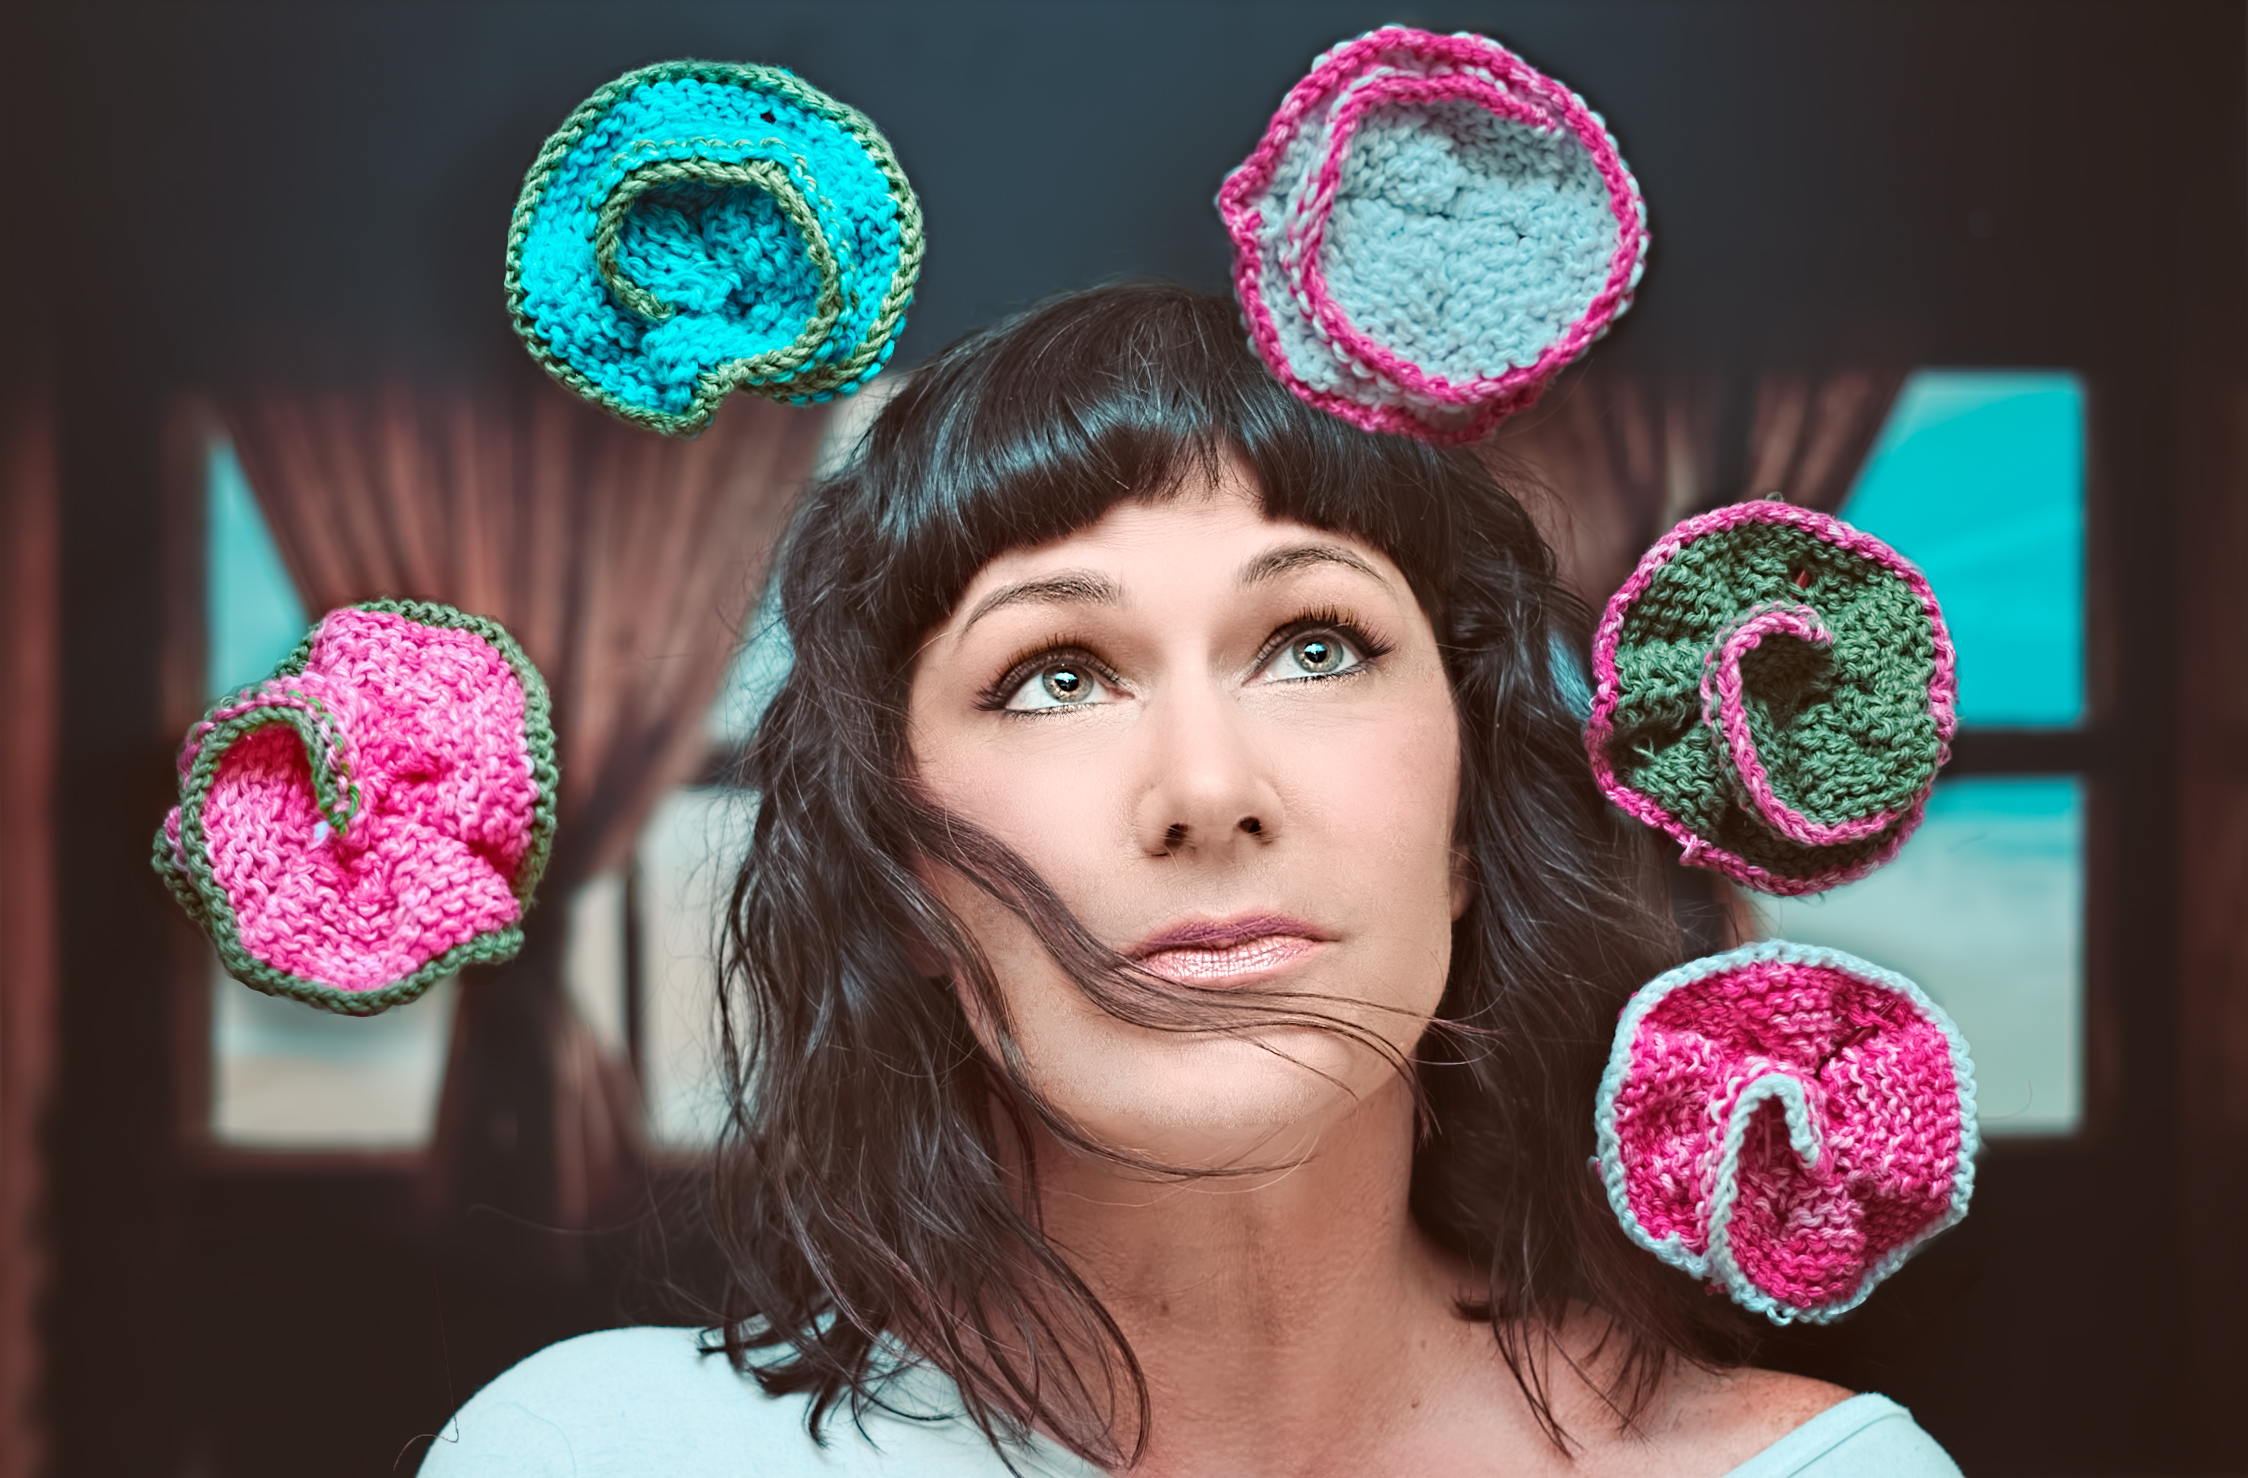
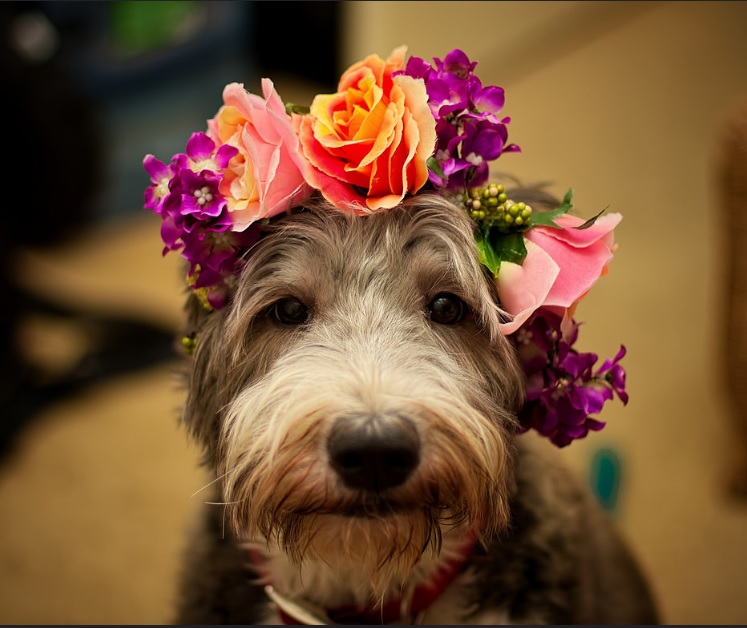
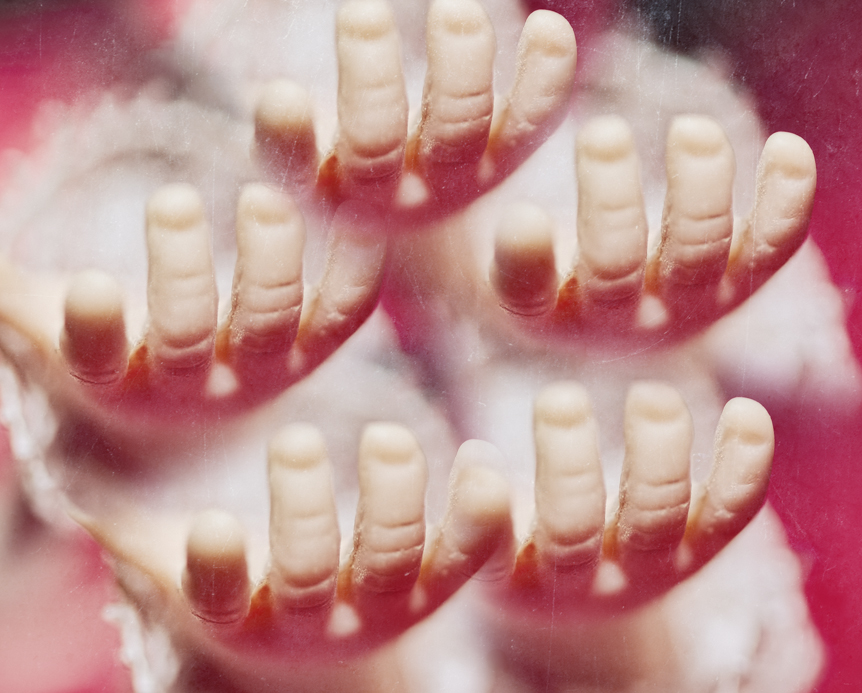
I was going to move on to a basket stitch when I got the idea to learn how to knit roses – and now I am obsessed. My goal is to knit a shit-ton of roses together to make a blanket, but that’s going to take a while, so in the meantime I thought I could at least get enough made to use in photos. Even that was going to take awhile, so I got the bright idea to just use photoshop to pretend like I’d made a shit-ton of roses. Problem solved!

This was done with only three different roses

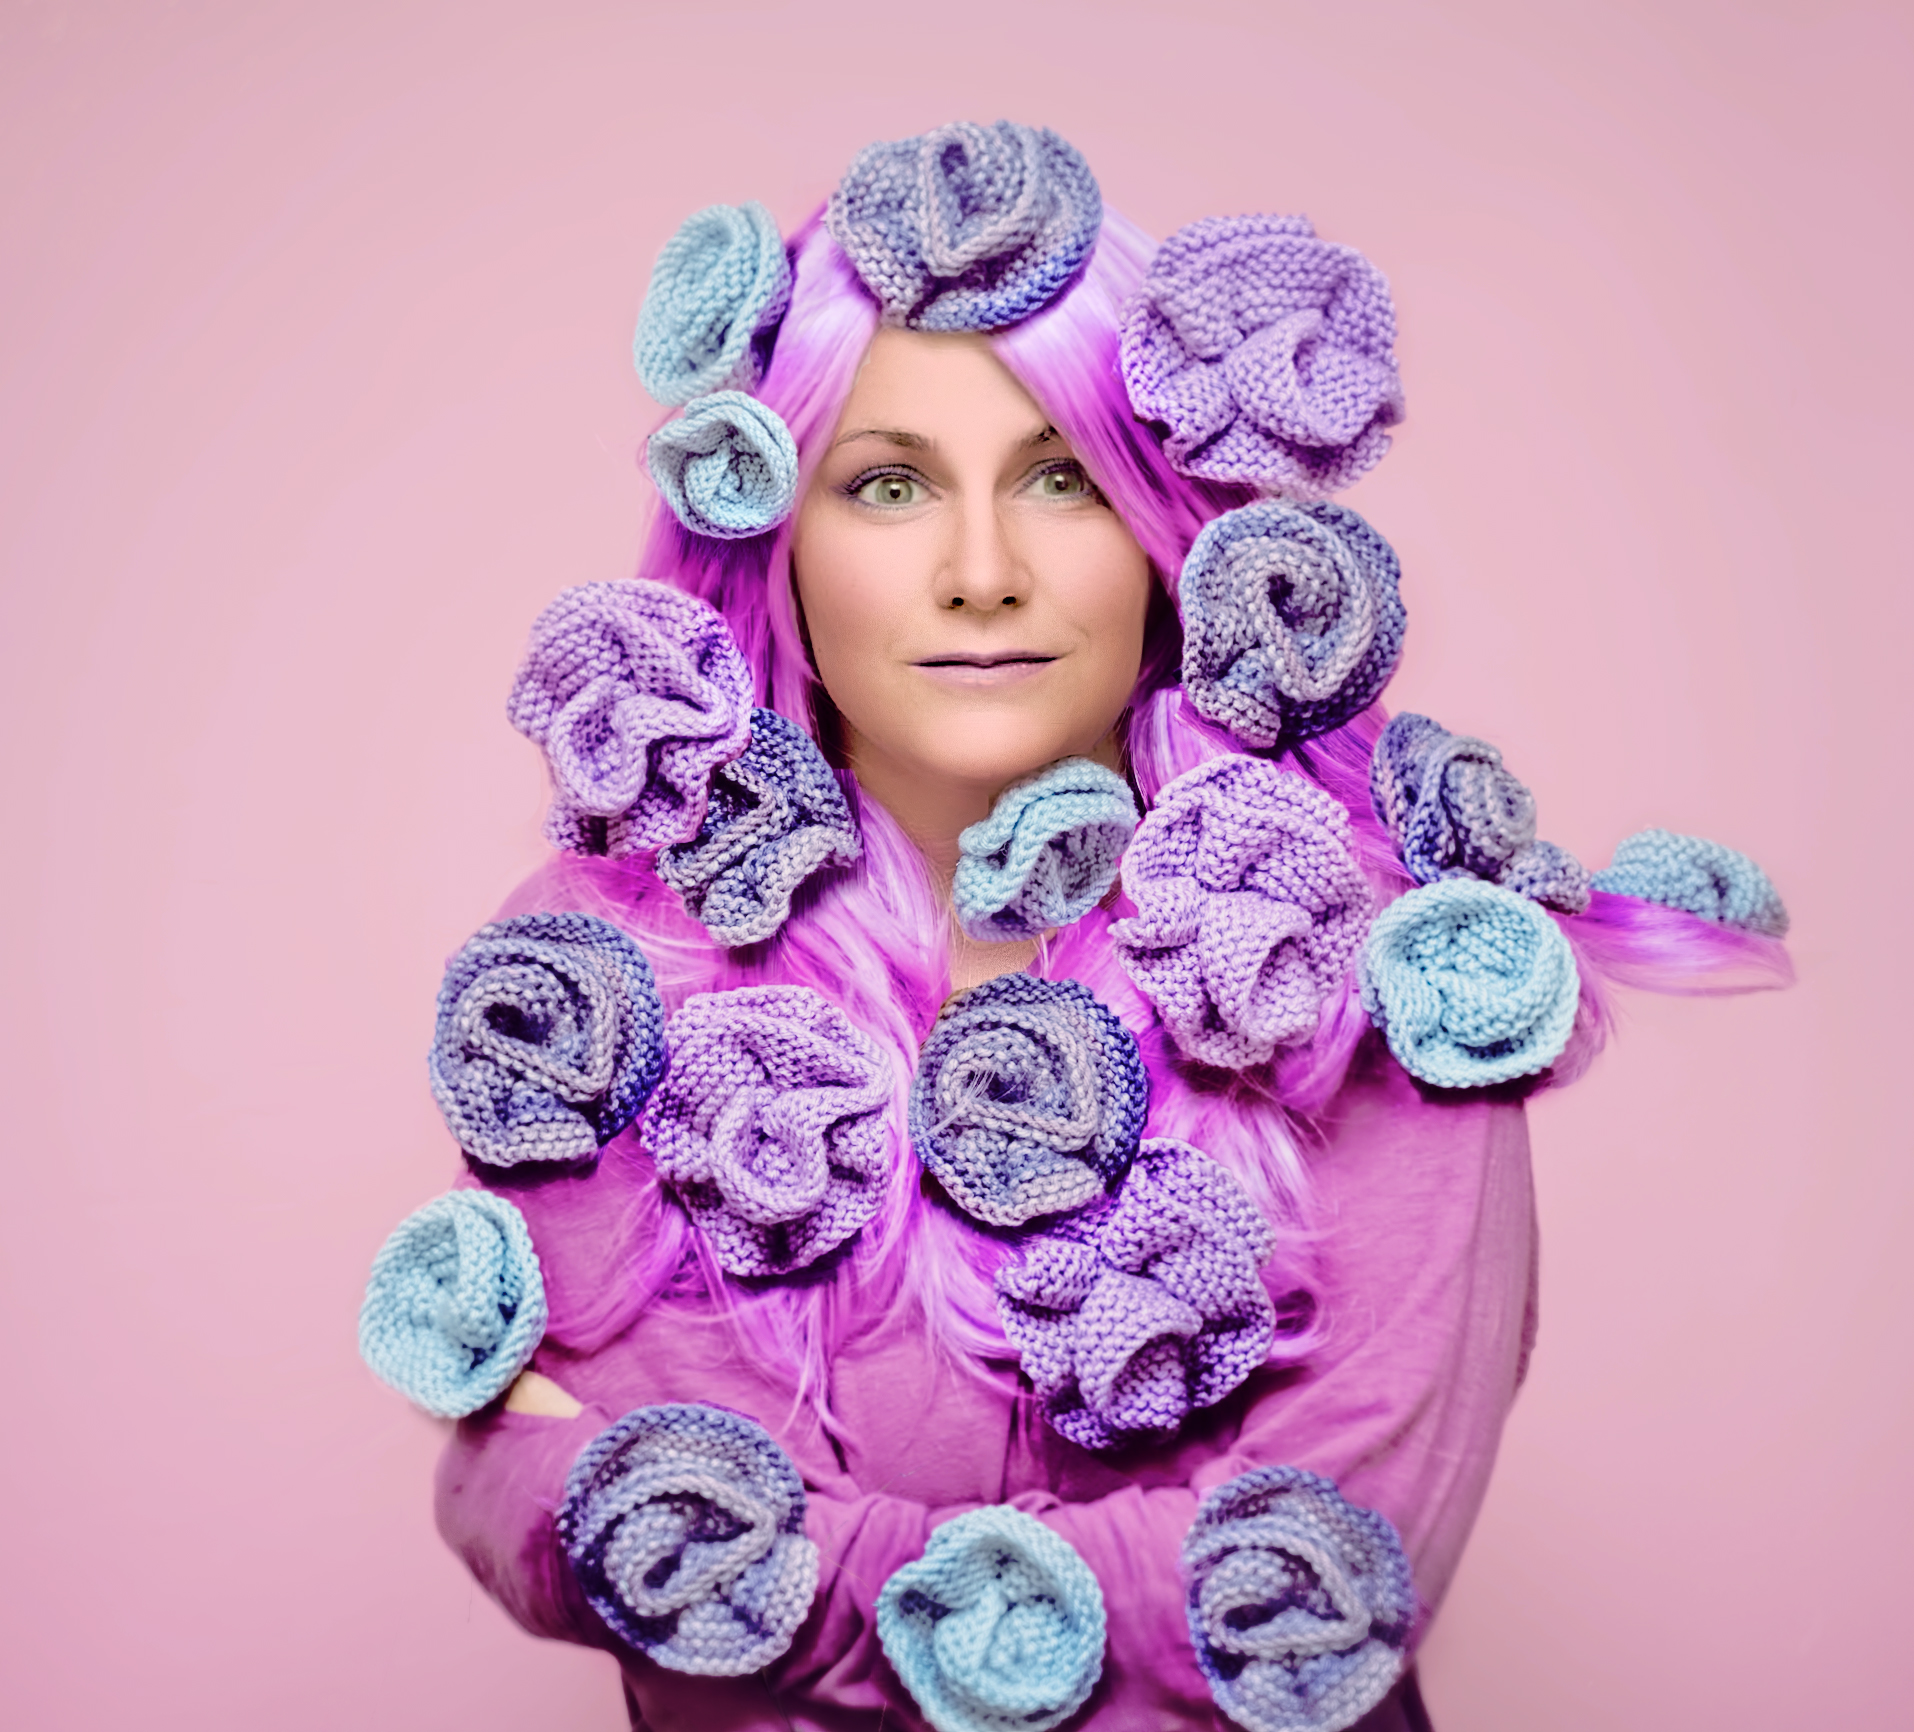
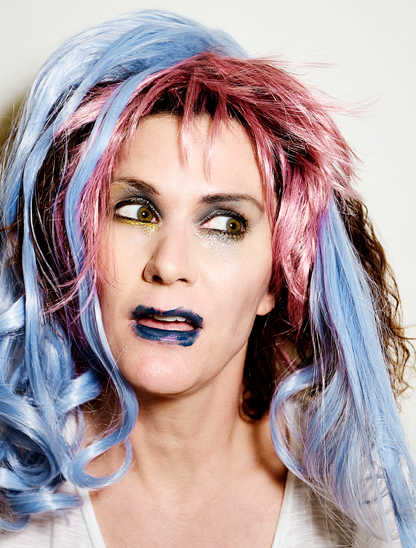
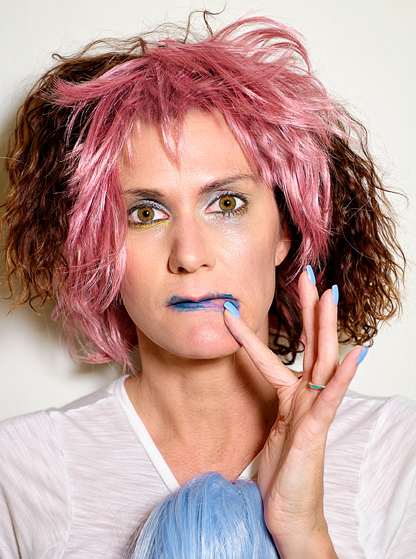
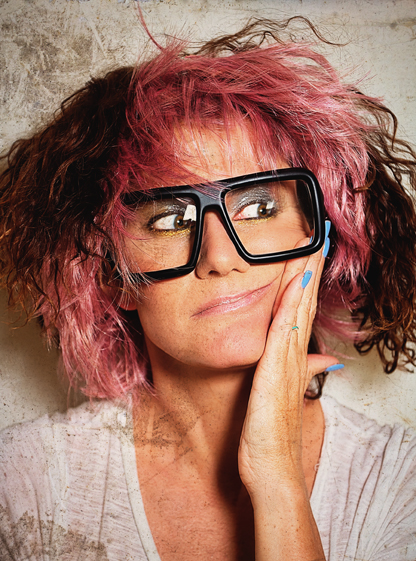
I just snapped a photo of myself, then stood in the same exact spot and stuck a knitted rose on a knitting needle and held the thing up in all the different positions I wanted it to be, and then layered them all on to the original photo.

Yep-more roses

These little roses I turned into tea light holders, and they sit in a little silver platter on my office table. I’m pretty pleased with them! I’m currently learning to knit leaves I can add to my roses, but that involves both increasing and decreasing stitches, which is a new skill for me, so I have so far successfully knitted — one. I have a long way to go folks. But thanks to the Delta variant and a plethora of stubborn Southerners who won’t get vaccinated, I have plenty of time now!

*And yes, I realize many, many people cannot get vaccinated for various reasons. I do not fault those people one bit. In fact, the high risk of COVID to people who cannot get vaccinated make me fault the ones who could get it but won’t EVEN MORE.

This was done with one rose

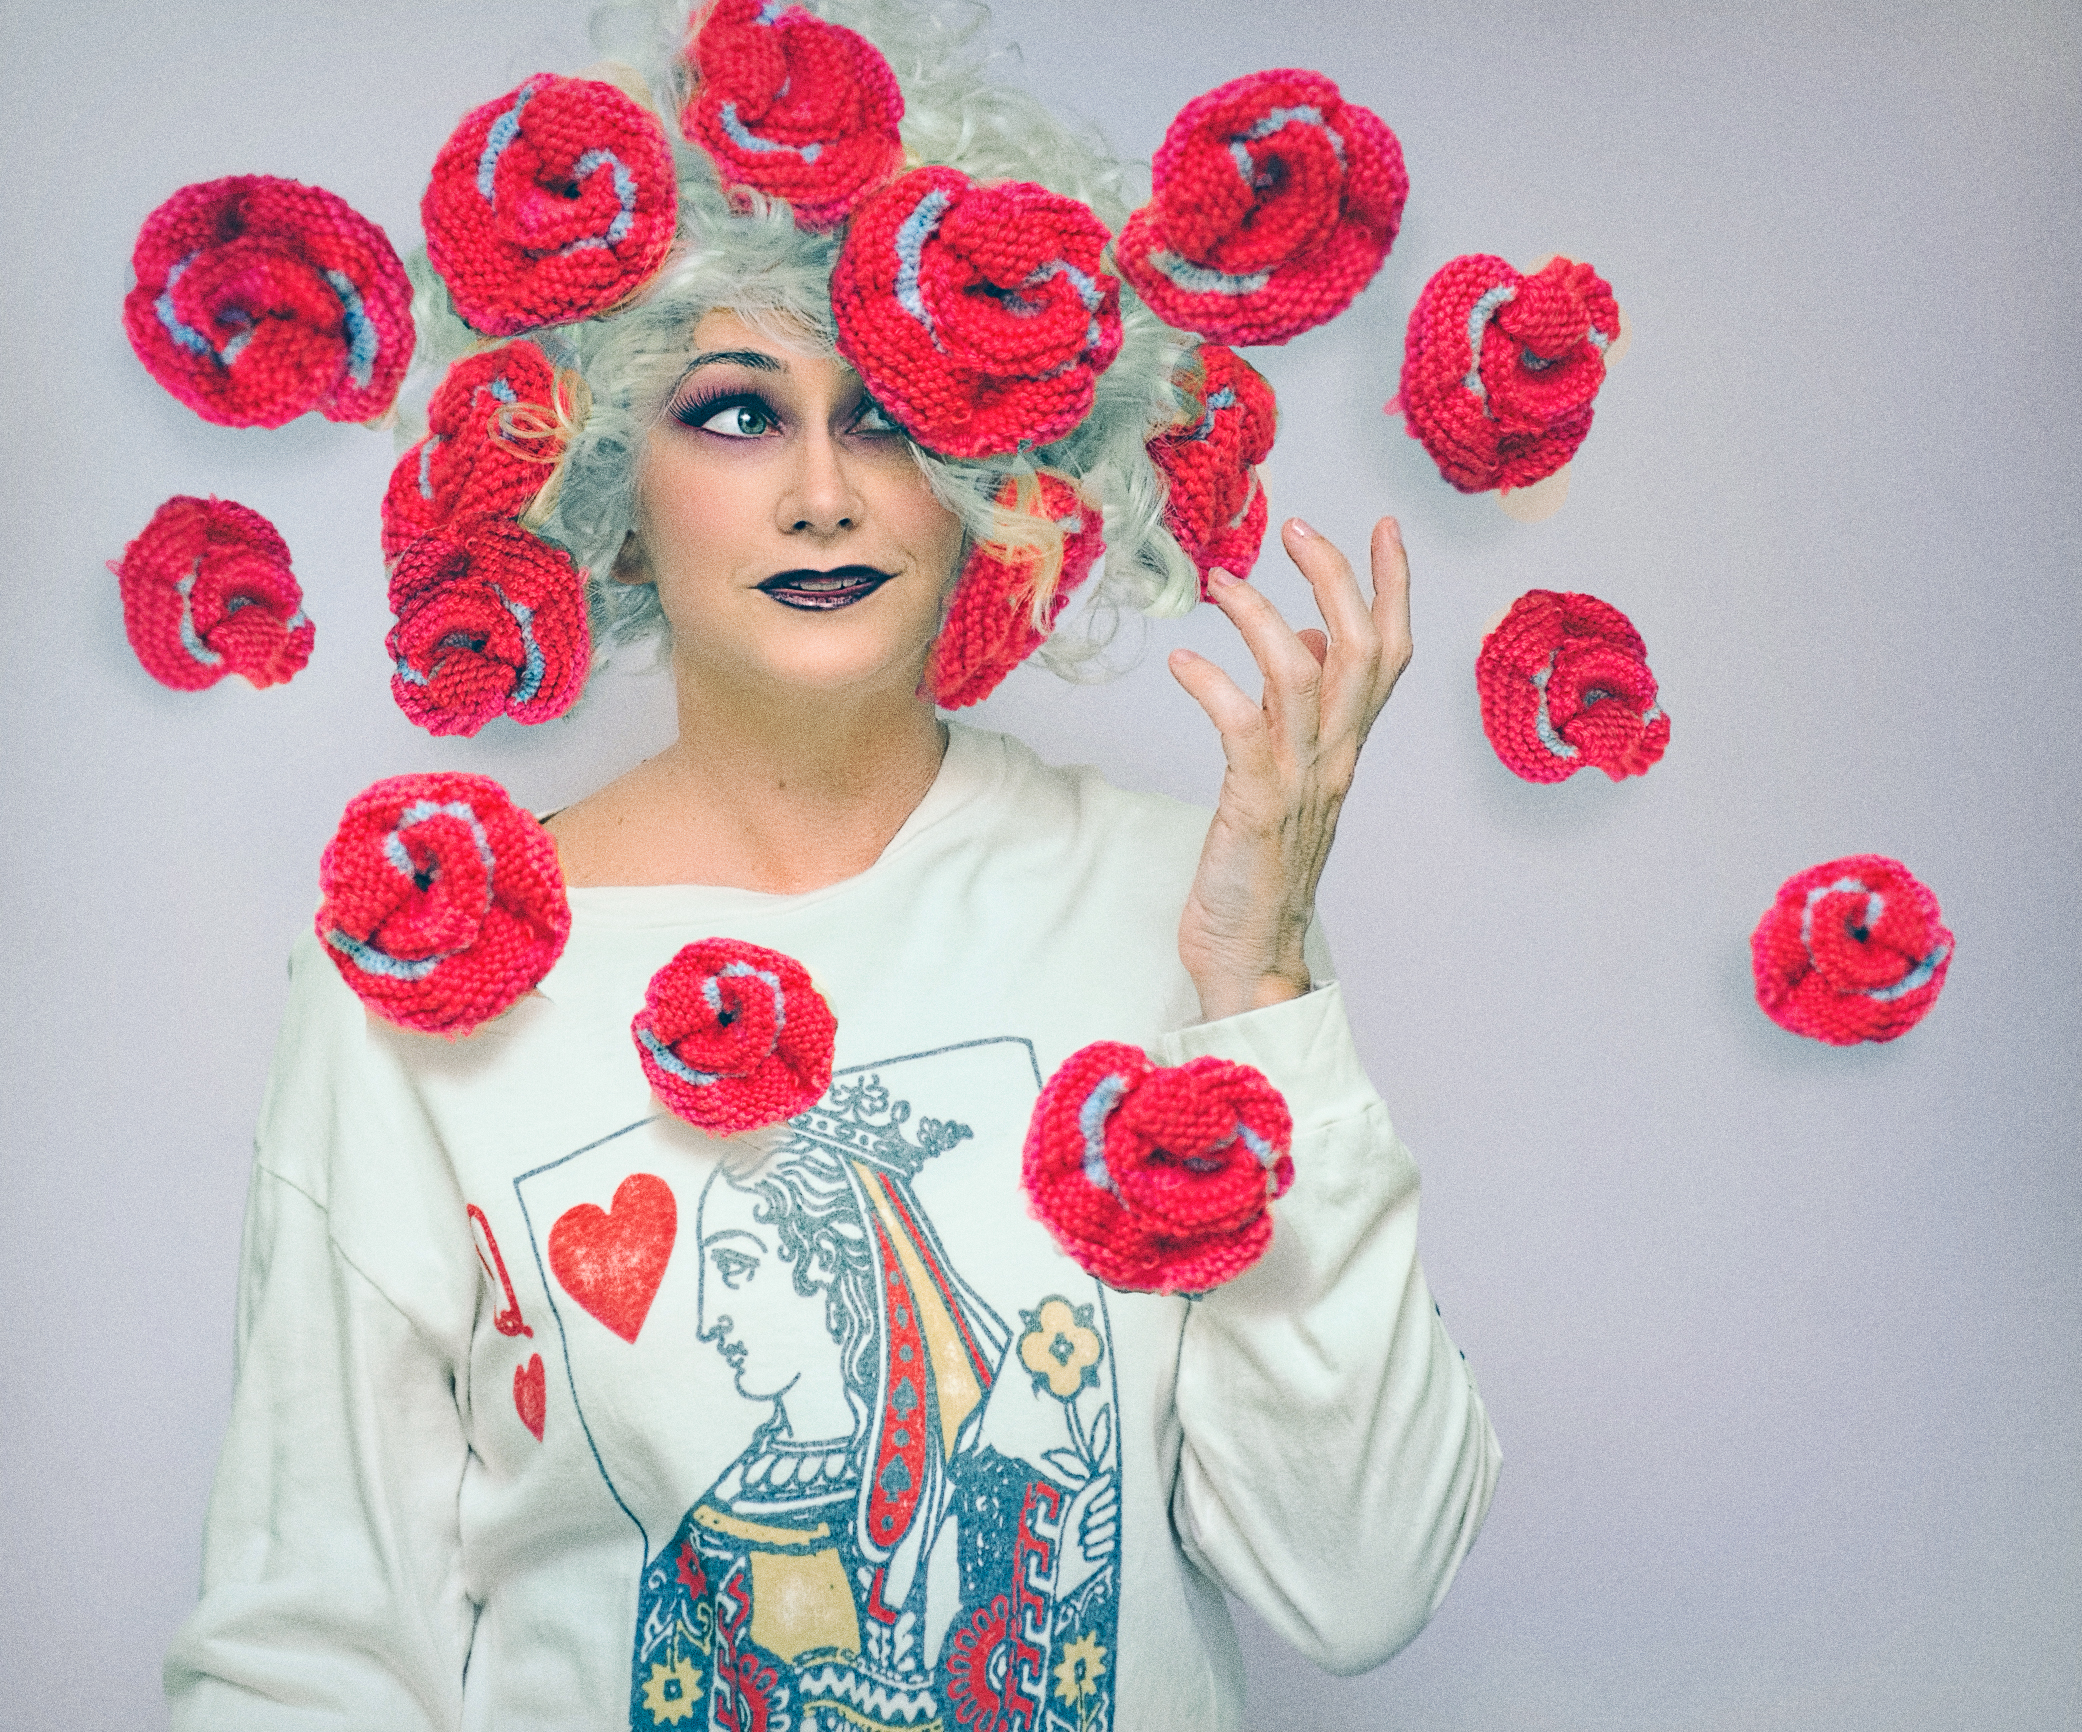
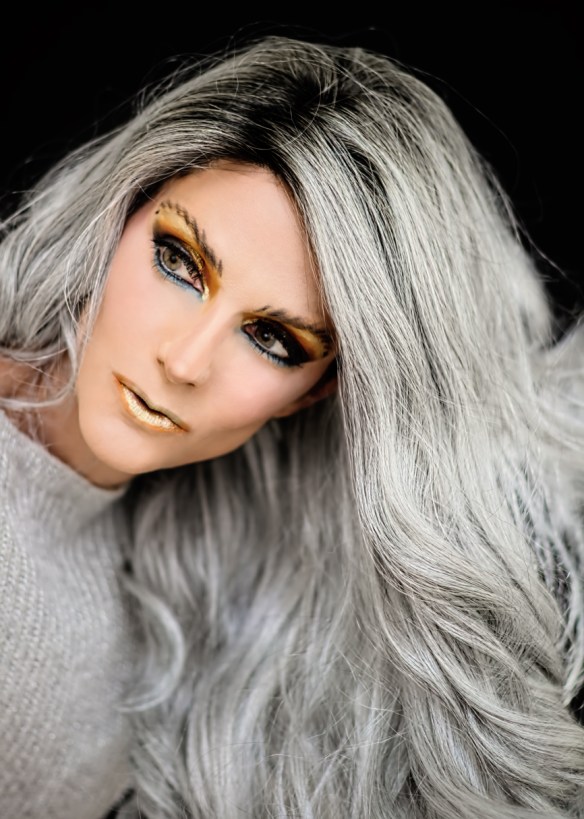
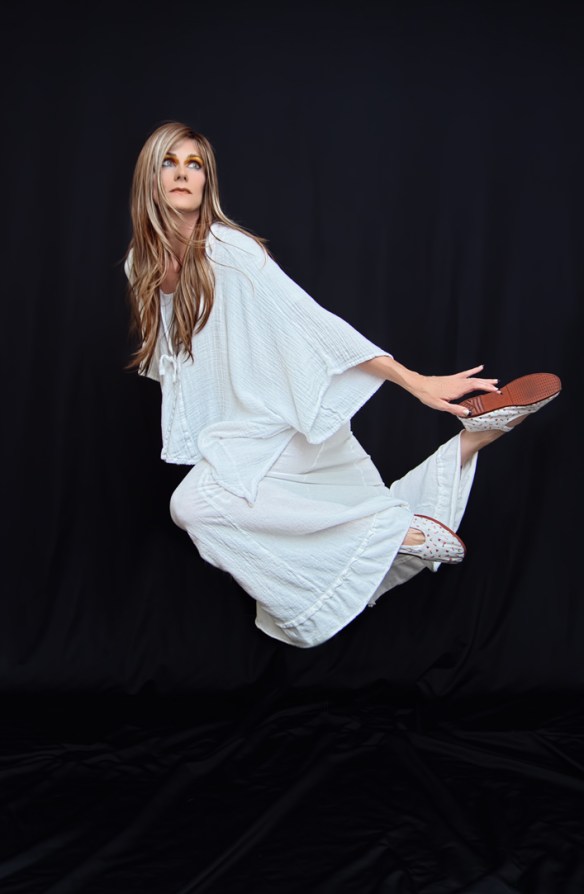
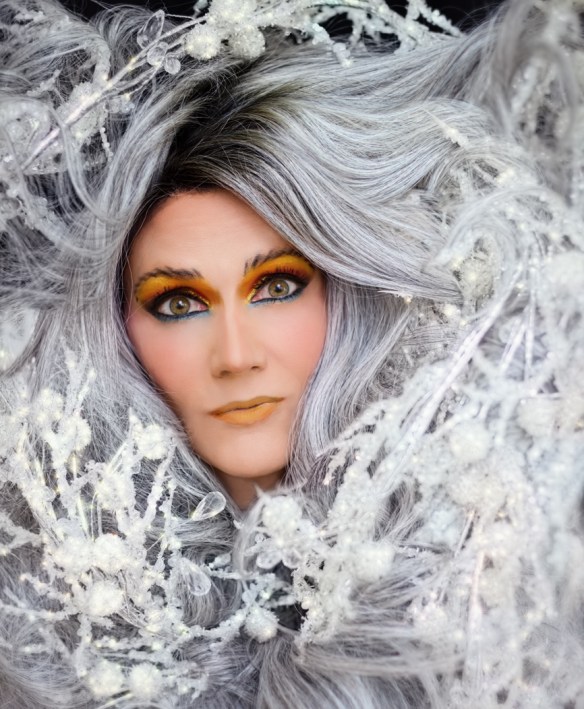
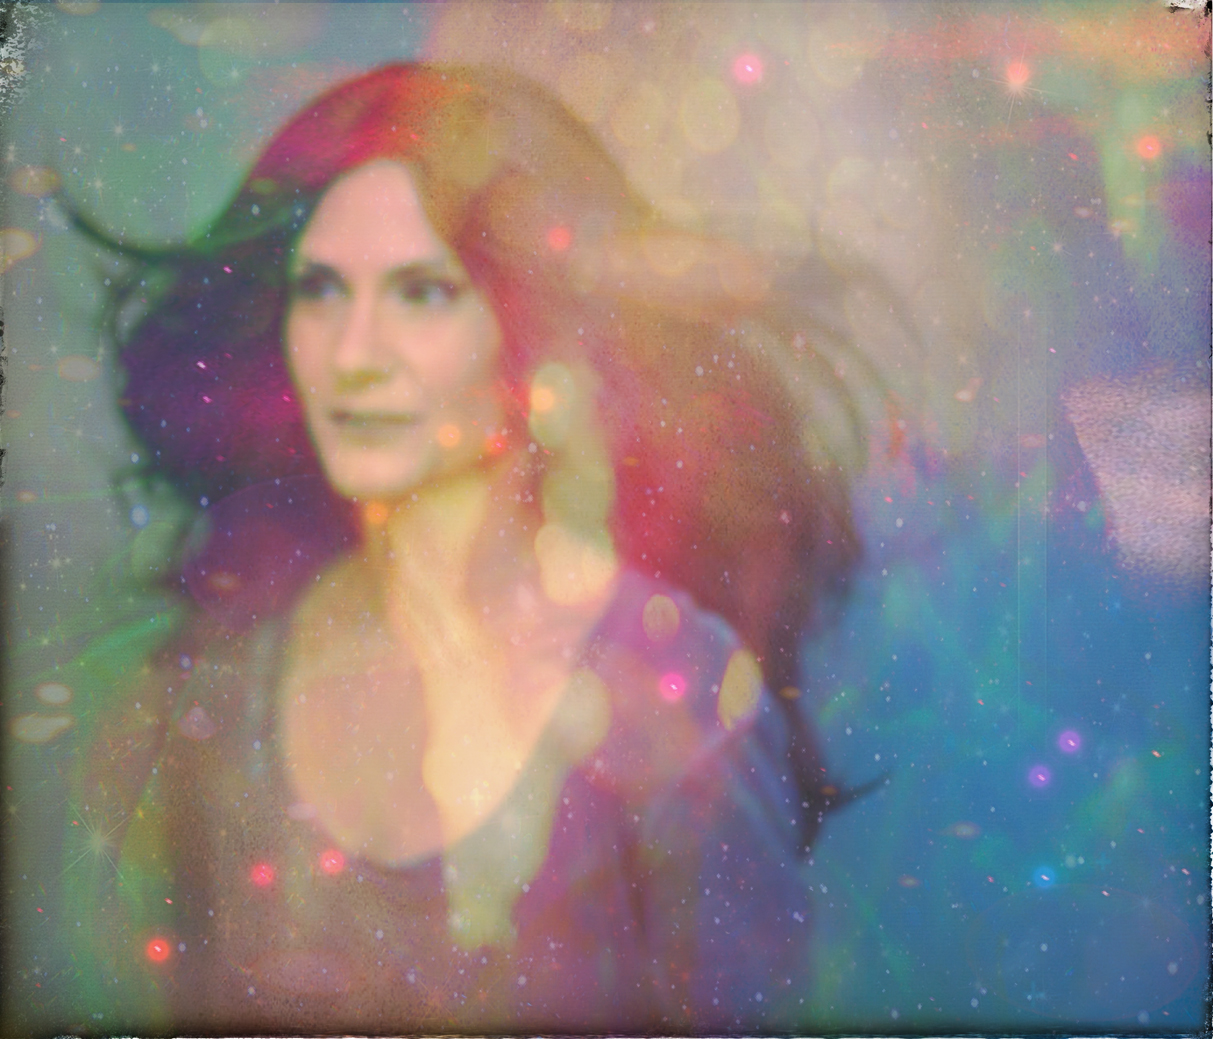
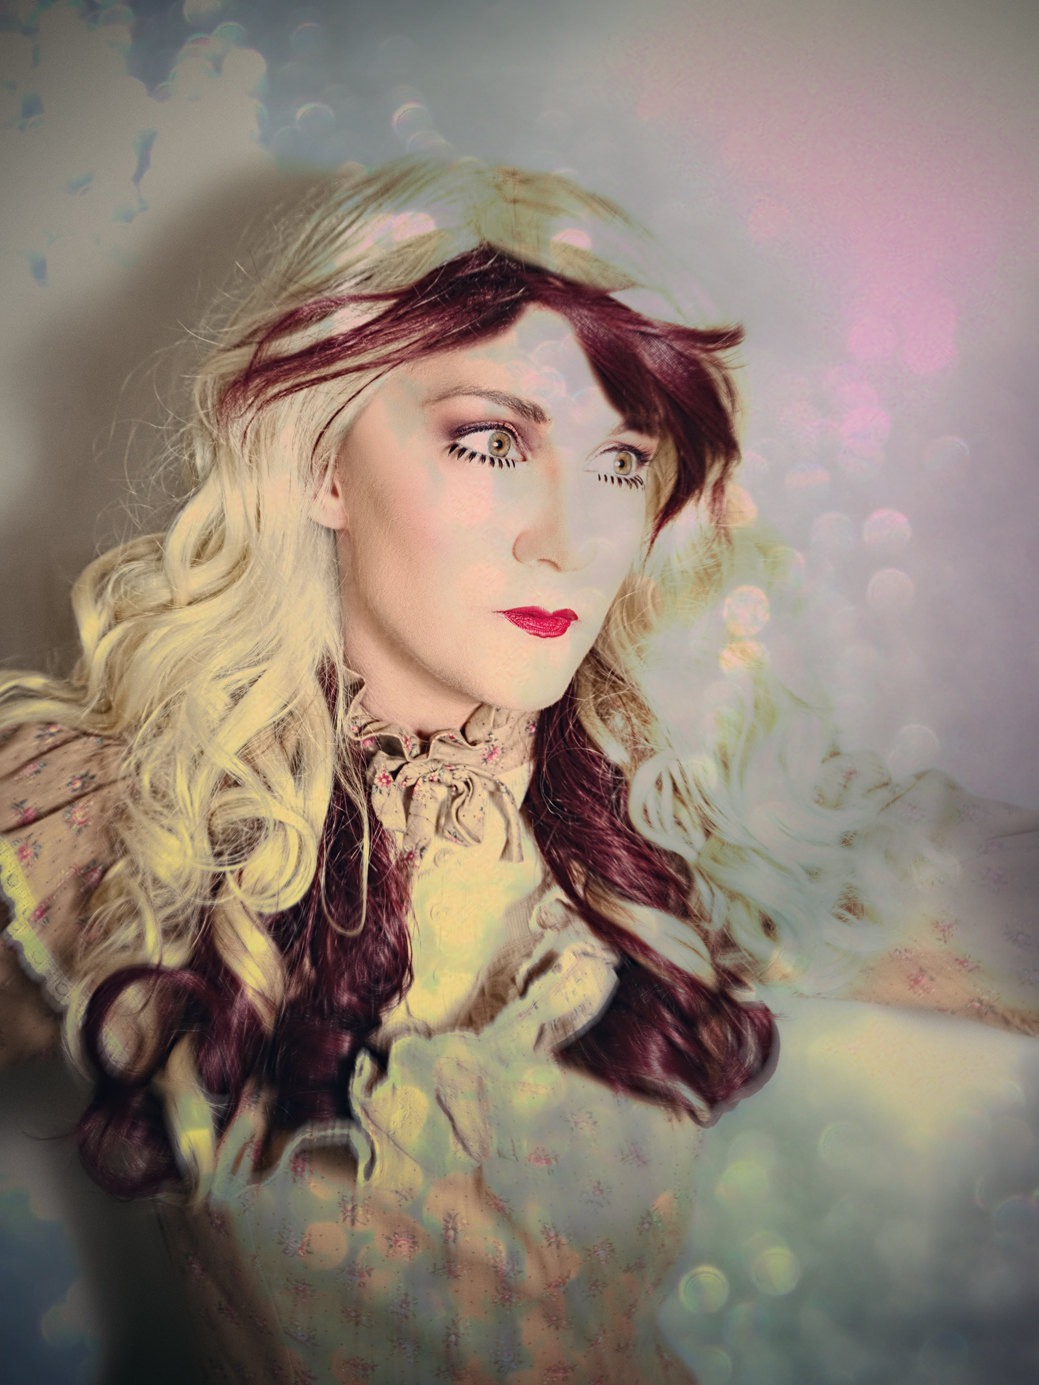
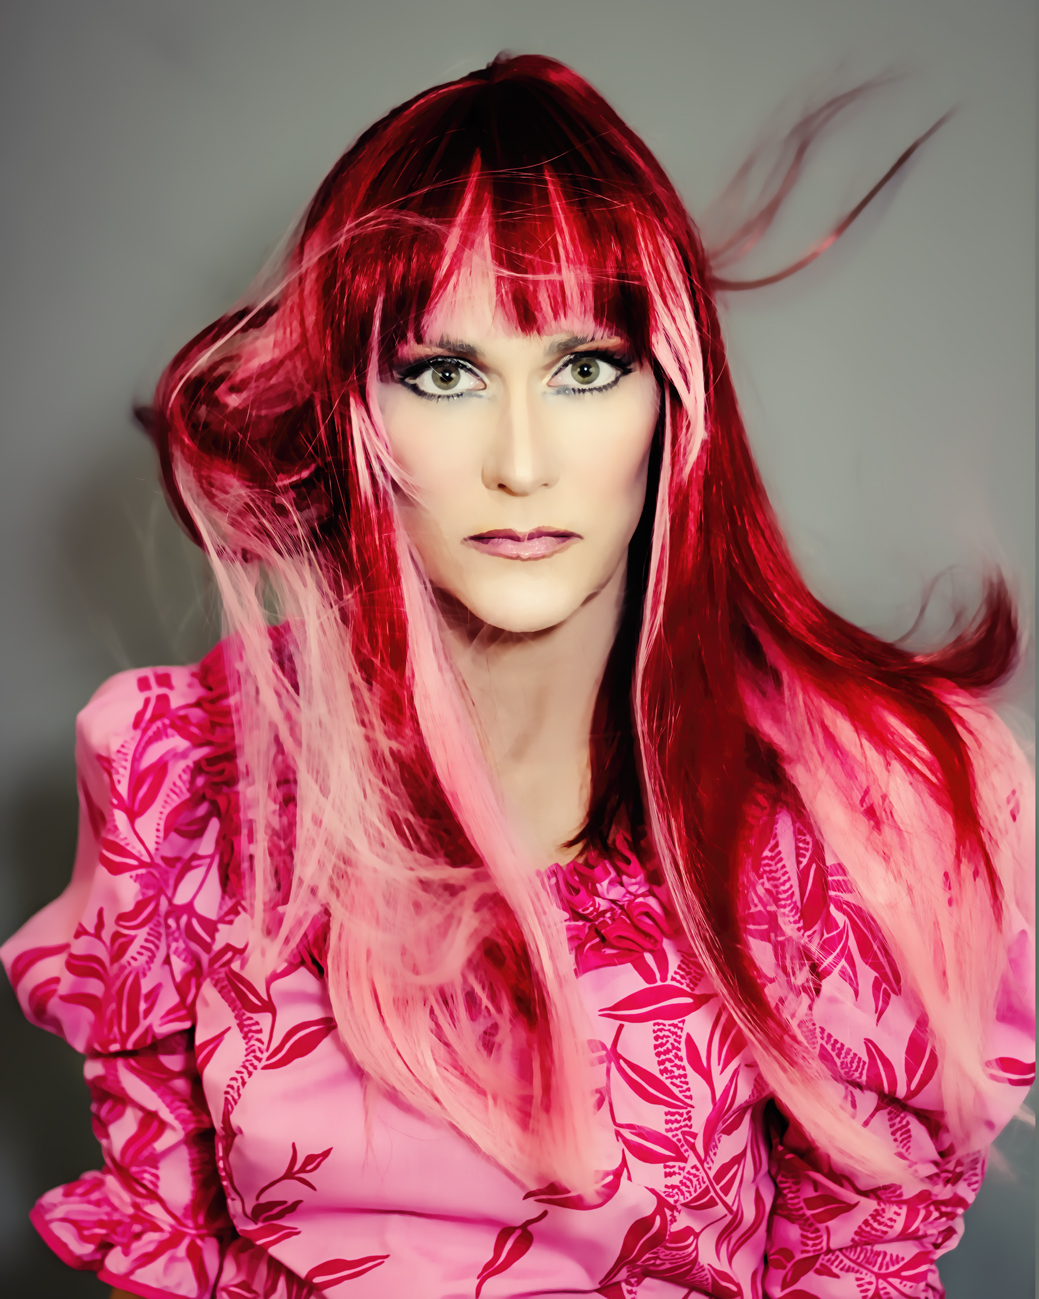
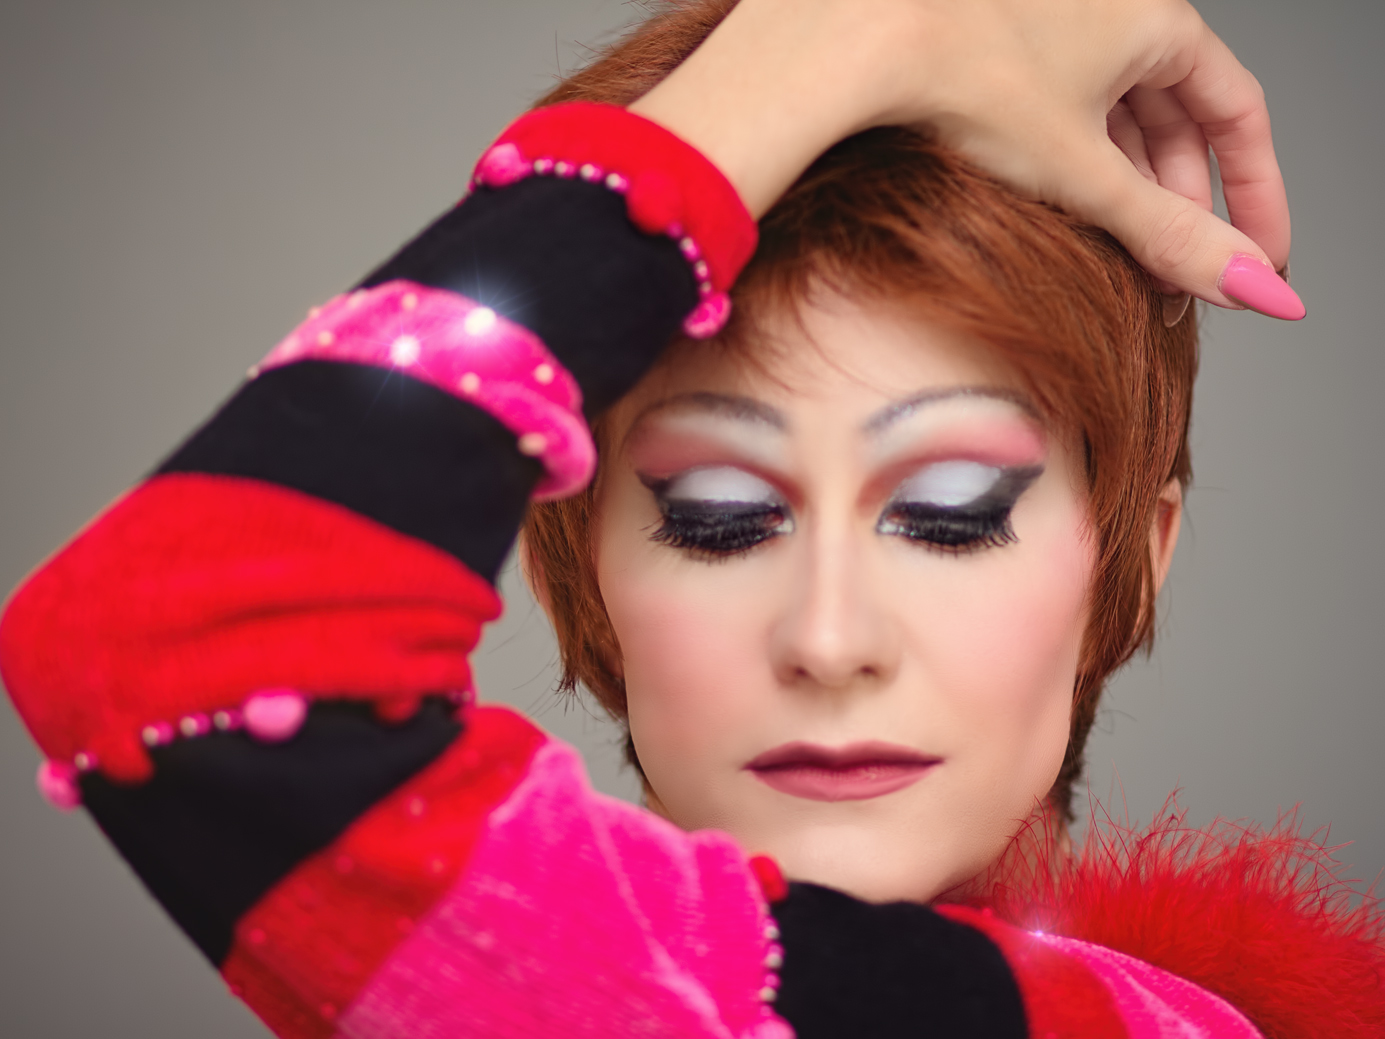
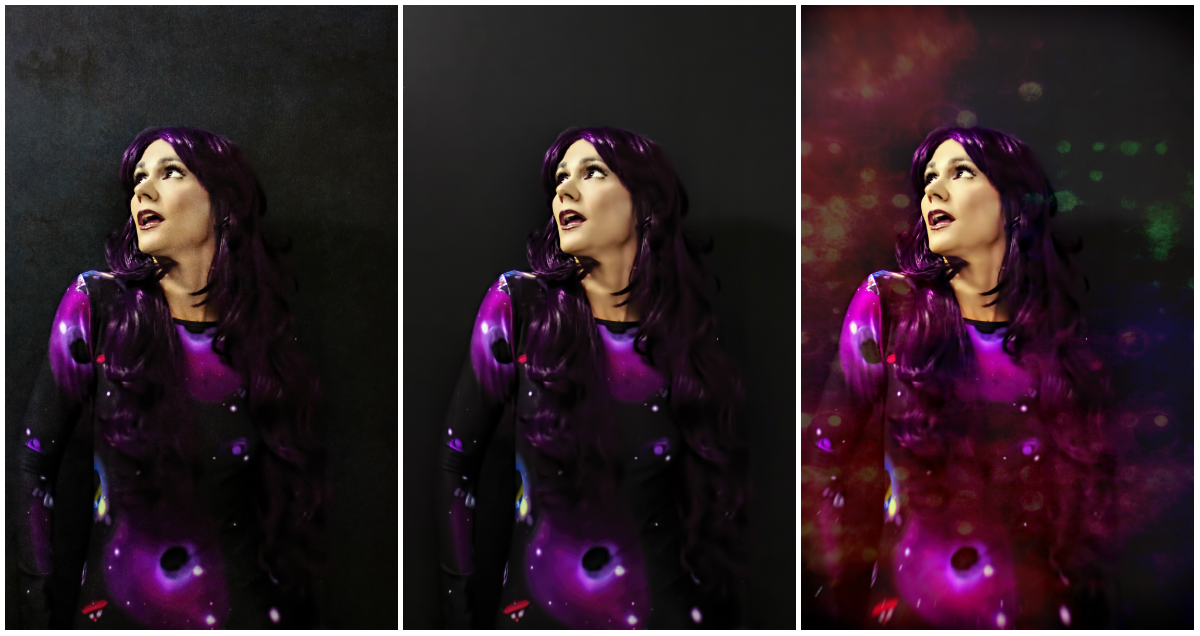
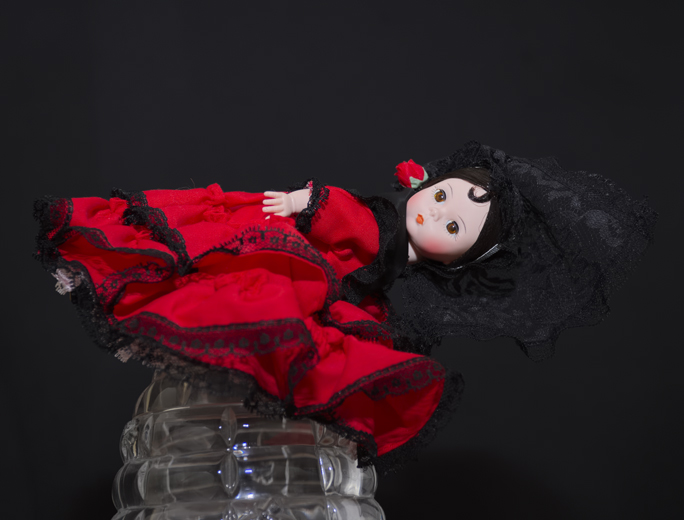
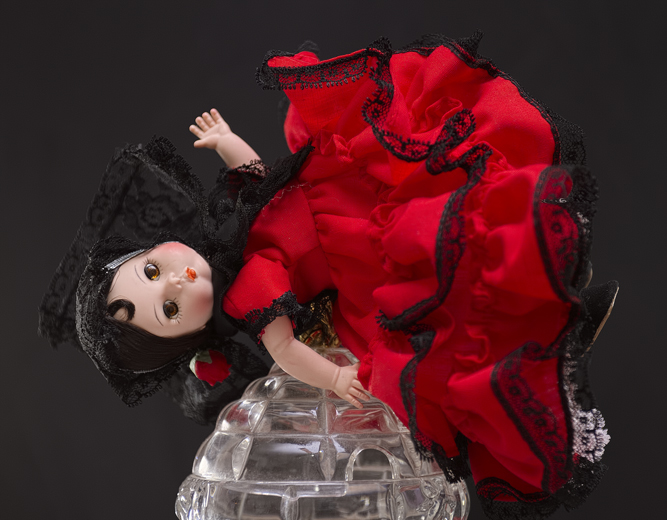
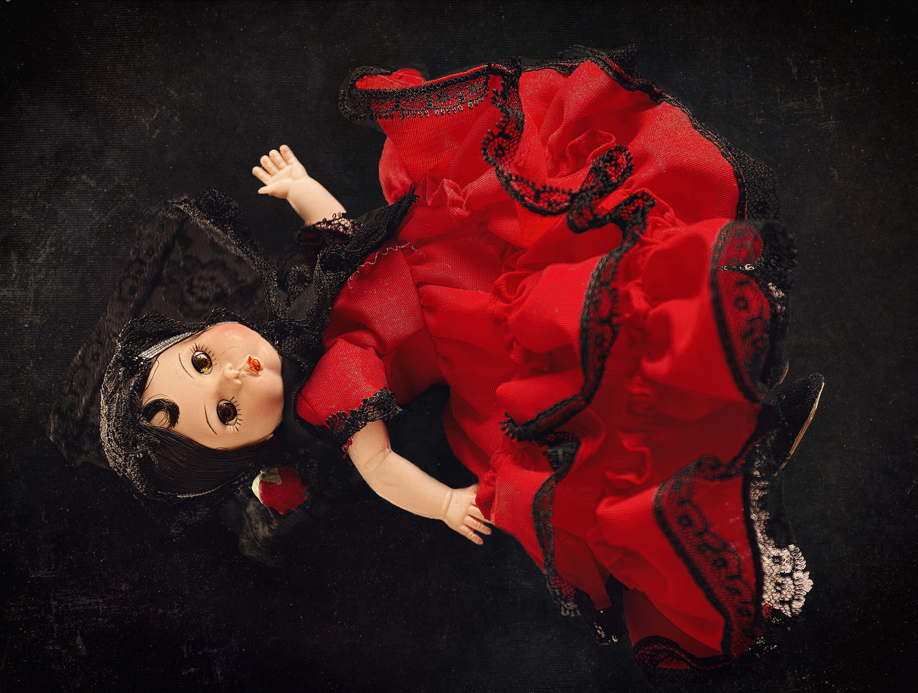
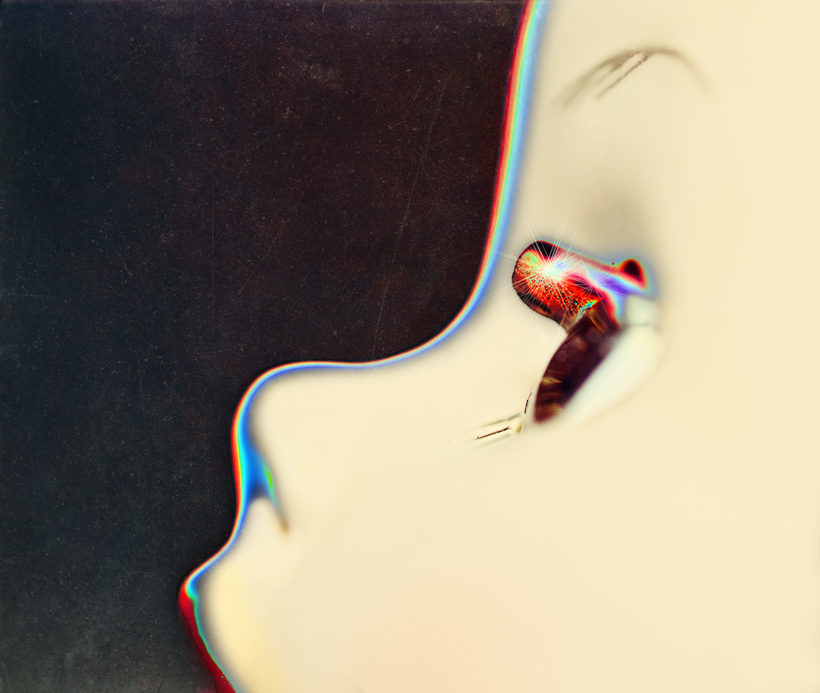
Anyway, I’m enjoying both the knitting AND how I am finding ways to incorporate it into my photography – or knitography, as I have taken to calling it. I feel like there is loads of potential here to take both activities in some fun new directions.

This is one scarf I made that is half white and half yellow – I just layered several different shots of me throwing it around into one photo.

Aside from this, my summer has been light. I have put on some weight again, and tried to taper off my Lexapro since I dropped 20 pounds the last time I stopped taking it, but emotionally I couldn’t handle it. I finally realized it was ridiculous to put myself through the wringer mentally to lose a few pounds, so I went back on it and am trying to get the weight down without having to lose my peace of mind in the process. It ain’t easy, but at this point I have at least stopped the weight gain, which was really starting to climb. Haven’t lost any yet, but am no longer putting it on, so that’s a start.

Penny!

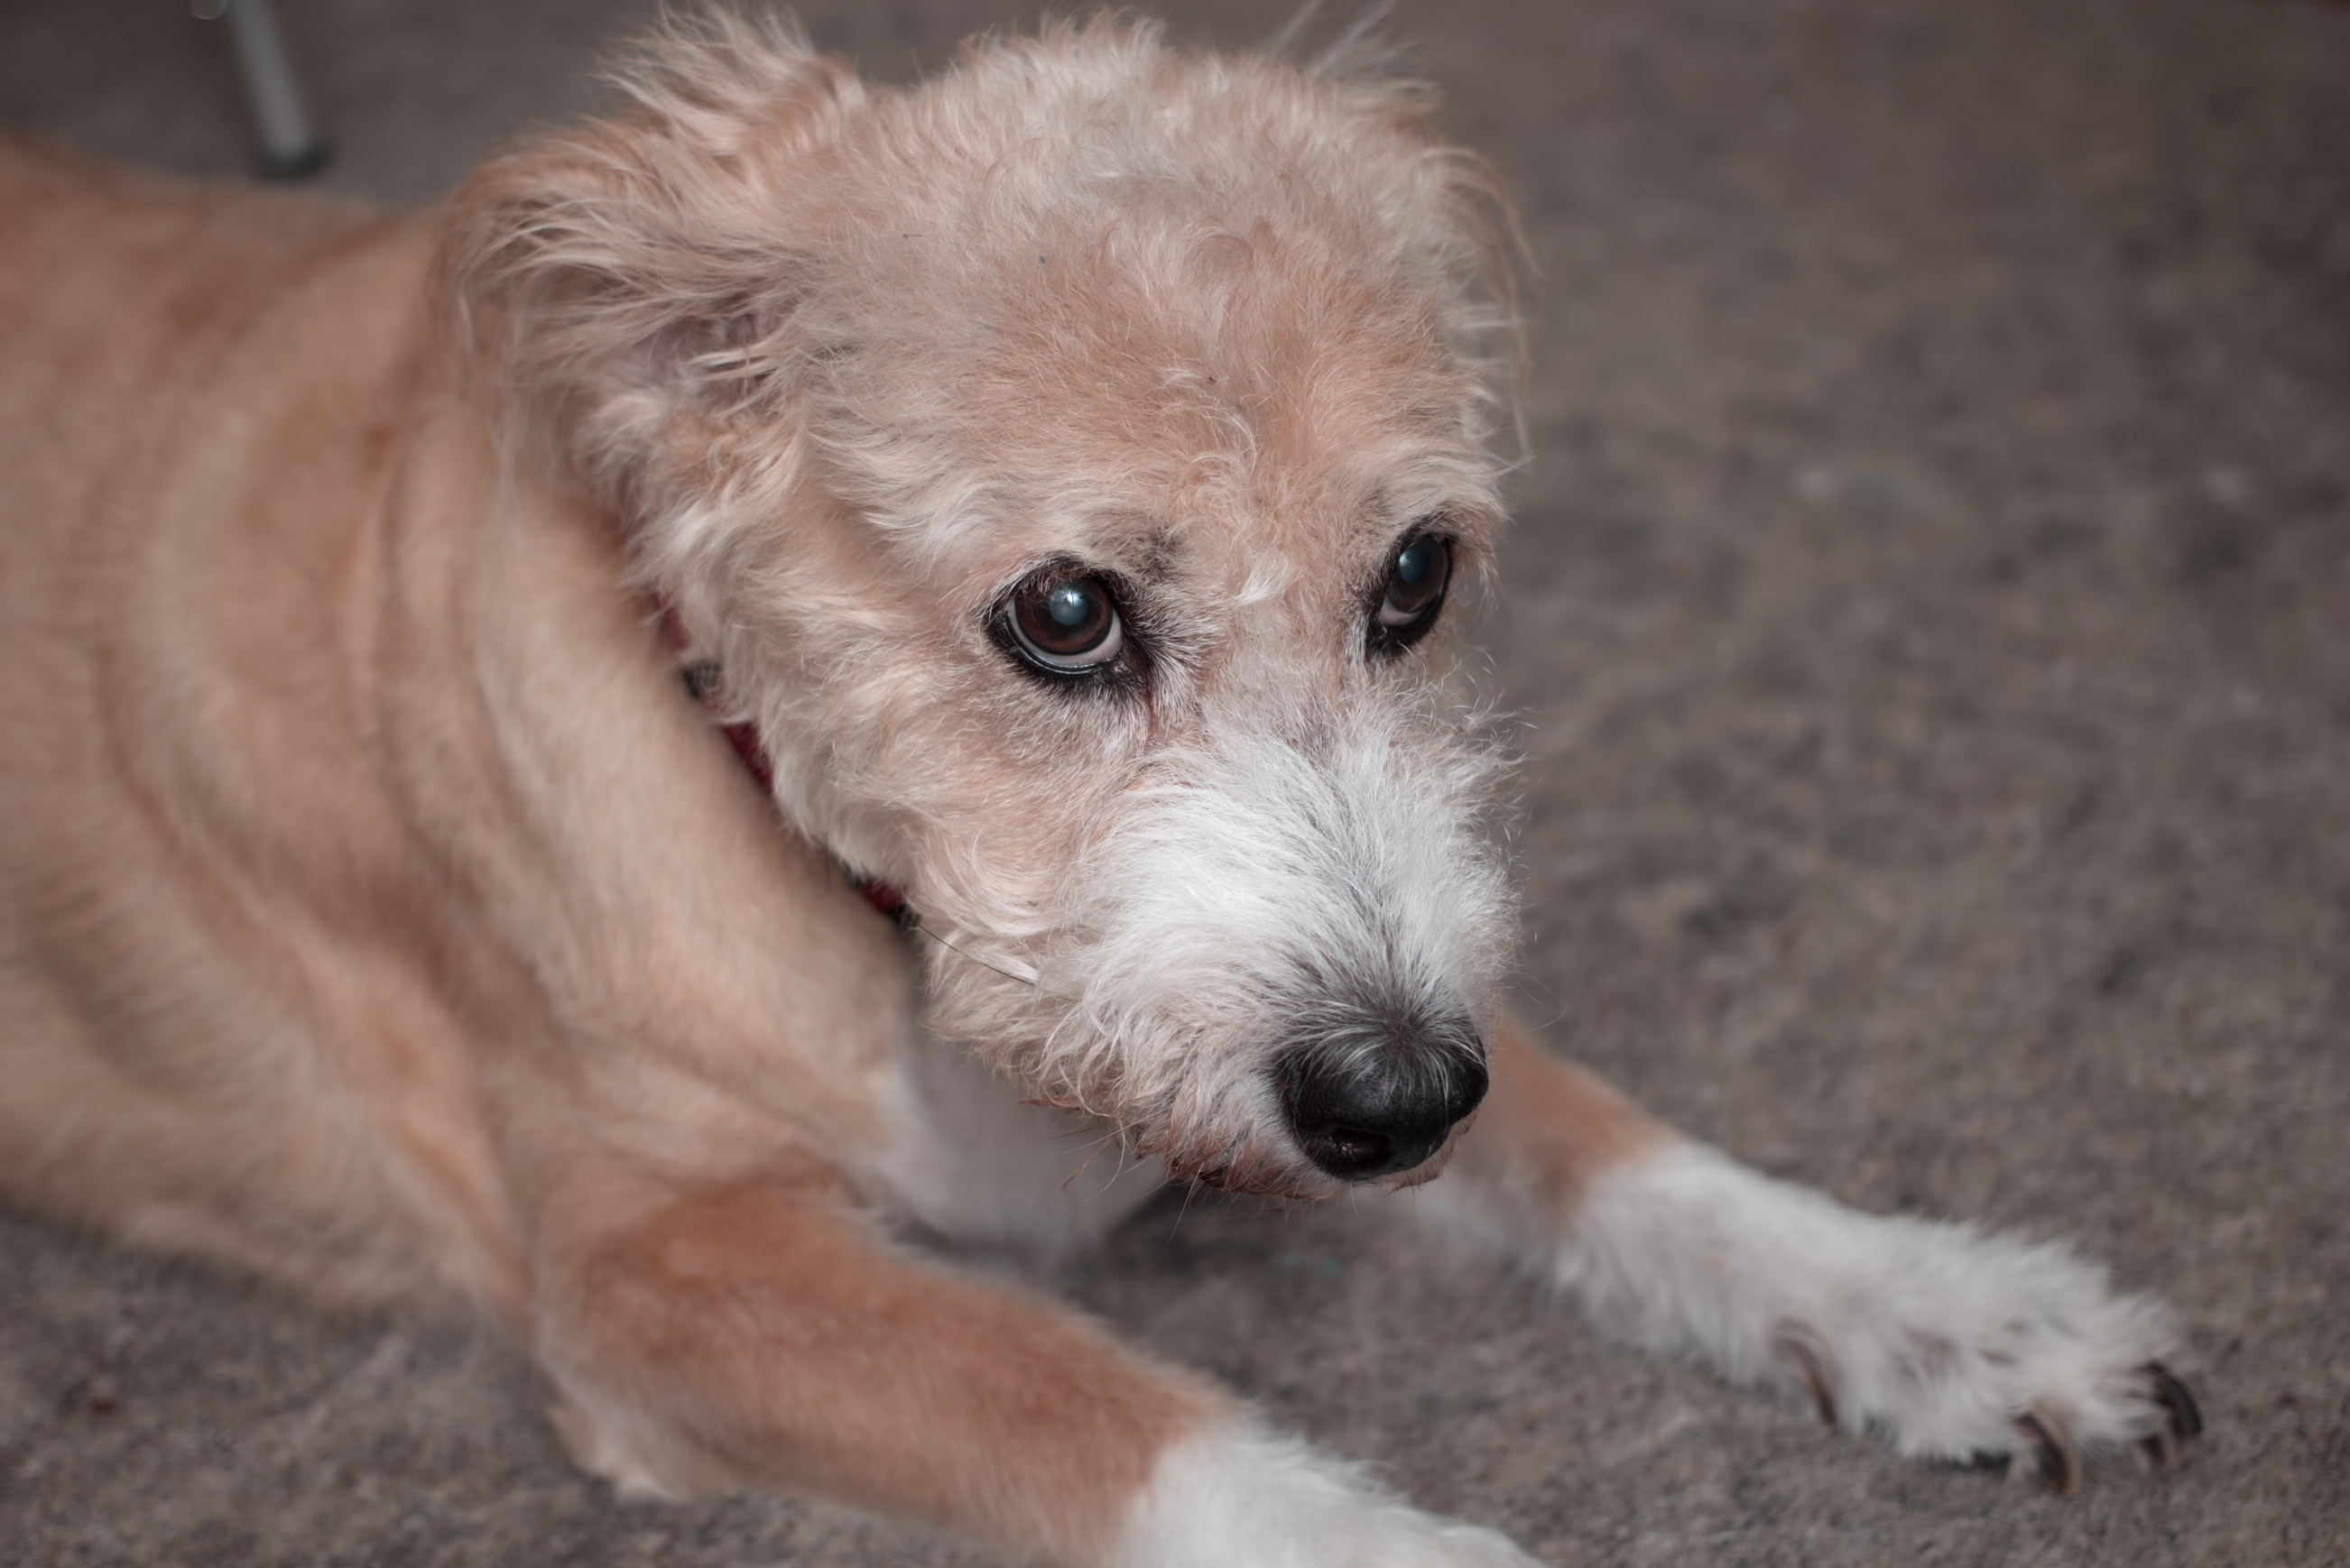
Our old girl Penny had a rough June. She has vestibular disease, which is common in old dogs. It’s essentially when small blood vessels burst in the inner ear, and the symptoms can be scary because they mimic a stroke, but vestibular is much less serious in the long run as dogs generally recover from them 100%. Penny has had three vestibular “events’ as we call them, where she gets major vertigo and struggles to walk and stand. Initially she also gets so nauseous that she throws up, but now that we’ve dealt with this before we have medication on hand that helps her with both the dizziness and the nausea. Mid-June, she had another bout of this; she was lying down on a beanbag chair when all of a sudden she rolled off it and started shaking her head around. We knew right away what it was, and tried to get medicine in her before she threw it up. It was unpleasant night as she couldn’t walk well enough to go outside, so she peed and pooped in her dog bed for about 24 hours before things kicked in enough for her to be able to walk with our assistance.

Dog harness

We bought a harness like the one pictured above, and it was a real lifesaver once Penny regained enough balance to be able to walk outside. She was still terribly dizzy, but she COULD walk, and with this harness we were able to help her keep her balance. Her recovery took a while this time – it’s been a little over a month now and it’s just been in the past few days that she’s been completely back to normal. We still keep the back harness on her all day and use it when she goes out, as her back leg strength still isn’t as good as it used to be and it allows us to help her stay upright when she goes to the bathroom. But she’s finally back to walking around the house on her own, and even being able to sleep on the bed with us again – although she still needs help with the stairs that get her up there. For the first three weeks, when she couldn’t get up on the bed, I actually slept on the floor in my office right next to her, which was not good for my back let me tell you, but it was good for my heart. After losing Sprocket in December, we are both even more sensitive towards any pet that gets sick right now. Even after so much time has passed, we still miss that old boy something terrible.

RIP Sprocket. We miss you!

That’s all for now, although I do have a bit more Knitography to process. So maybe we’ll be speaking again soon!

Quick Silver

As I mentioned in my last post, I finally got a chance to put on the full face and take some portraits while I was on vacation last week. So here they are:

tuesday2a

That wig cost about $35 and is called Elveen, by Janet Collection. After a few hours of shooting, the synthetic fiber was starting to frizz and dry out noticeably; I have to comb through a wig every few shots when posing in them because they get thrown around and messed up so much, and brushing isn’t good for even a high-quality synthetic fiber, much less a cheaper one like this. On the plus side, though, the fiber here is heat-friendly so I could probably use a blow dryer or curling iron to smooth out some of the frizz. I wasn’t looking for longevity anyway; I was just so curious about this lovely color that I decided to try one. It is gorgeous; at least for photos. Although as a so-called “ethnic” wig, the lace front is way too dark for me. Moving on.

tuesday8

Many people who’ve seen these photos have commented on the interesting makeup choice I made here; truth be told I didn’t intend to take all my photos in this wig and had several other costume changes planned, involving far more colorful stuff that would work better with all that orange and gold. However, I got the wig on and started snapping, and everything was just working in it so well that I decided to stick with it; I didn’t end up shooting much in the other wigs and costumes I’d picked out at all.

tuesday4_pxr (2)
This was one of the others I intended to use more – glad I didn’t

I was really surprised that even the makeup application process went smoothly; I found a stock photo online with makeup that inspired me and decided to copy, and even though i didn’t completely go in the direction of the photo, everything from contouring to shading and even applying false lashes went off without a hitch, turning out almost exactly as I planned and without any major screw-ups to correct.

Reasons-to-choose-your-makeup-artist-wisely

The photoshoot went the same way; well, at least until I took off the silver Elveen and tried some other hair choices – nothing else worked as well, and I was starting to get tired and bored by that time so my heart wasn’t in it. I tried a few leaping and levitation shots, but I’ve only processed one so far because by the time I got to that point in the shoot (I always save the jumping and movement stuff for last, since it tends to mess up the makeup) I was way too sloppy in my execution for anything to look stellar. Plus, it was really the silver stuff I was interested in processing, and I knew that by that time, so I probably shouldn’t have bothered. I did process one though:

tuesday5

But back to the silver wig. After some straight up makeup and hair shots, I wanted to play around and create some holiday looks, so I dug out the Christmas stuff I bought last year at Pier One and decided to mess with it a bit:

tuesday7

When I processed this one, I was annoyed with all that orange and gold glaring at me – although it did really work visually, I wanted to compliment the silver hair and sweater more than all that bright color was able to do. So, I actually used a black and white filter to change the makeup and layered it on over the original shot. Notice I even managed to pull off the stripey eyebrows – yeah I told ya, the makeup all worked out well for some reason this time.

tuesday9a

I was just goofing around here, obviously; I don’t think you can tell but I used Pixlr to add in a bunch of patterns to the ornament. If you look closely you can even see tiny birds flying around in there – those came compliments of a Pixlr filter. And yes, my nails were fabulous.

tuesday1a

One thing I noticed when working with these photos was how nicely neutral the silver was; I could really manipulate color in all sorts of ways and create different looks entirely. The only issue that created was skin tone; I struggled in most of these to keep my skin from going too gray, and in some shots I don’t think I pulled it off very well, but hey, I tried. Skin tone is always a bitch in photos anyway. Here I obviously added a lot of blue, and I even stole the sparkle from the center of the magnolia in my hair and placed it over my real eyes.All that glittery-goodness was added to the sweater in Photoshop, although in real life it does have a bit of shimmer.

tuesday4_pxr

This one wasn’t working for me at all, mostly due to the skin tone issue, until I pulled it into Pixlr and attempted to cover it with some sort of overlay that might disguise the splotchy, odd-colored skin that was bothering me. I often do that with photos I can’t get quite right (I did the same with the one photo with the short blonde hair); I figure if Pixlr can’t save it for me, it probably isn’t worth saving. This overlay was from a very geometrically-shaped collection that I almost never use, but lo and behold this one gave me exactly what I was looking for. It added just the bit of interest I felt it needed, as well as covering up my skin a little and distracting the eye so perhaps no one will notice it’s weirdness.

tuesday3_final

I also struggled with lips in this set; mine are quite thin and dry (I often widen/thicken them in post) so this is nothing new, but I made matters worse by choosing to use gold glitter lip liner as lipstick and then outline it with orange – you can see it in the first shot above where I didn’t edit that mess out. For most of my other shots, I changed it in some way, because it looked pretty sloppy. In the photo directly above I just did my best to change the lip color to orange all over, and then soften it. This photo is my favorite, by the way – it’s a composite of three different shots of the wig since there’s no way it has near this much hair. And the wreath wrapped around me is a Pier One prop I used last year, too.

As always, there’s more from this set I want to edit, and it looks like my red dress from China is set to arrive today, so there will, of course, be more coming soon. Although I may not get to the red dress photos until Christmas break. We’ll see!

Hair-itage

Ugh, terrible title, sorry. I’ve written so many posts with hair-pun titles, it’s either start to repeat them or just go for awful. I think you can see which route I chose.

newhair_1_collage

And now you can also see that I finally got my hair cut and colored into some sort of STYLE. With the exception of the roughly 4-6 months I enjoyed having a perm, I’ve not had hair I actually liked for almost 5 years now. My initial goal was to keep growing until it was at least mid-way down my back; but as it grew I began to realize that my baby-fine hair was never going to look on me like one of my Angelicas or Brandis, and that going beyond shoulder-length was not the best use of what I’ve got. Then, once I decided to bob it off, I also decided I didn’t need to keep worrying about damaging my hair with a dye job, because it’s short enough that any damaged ends can just get trimmed off without too much trouble. Getting this effect took two tries, though; because the first time the dye didn’t take and the stylist left too much length (not her fault, I originally chose a style that was a bit too long). I went back two days after the initial cut and color and we tried again – and I have been thrilled with the results so far.

newhair4a

Finally I eliminated that awful shoulder-length hair-flip I had going on, and my hair actually looks like a real style. Chopping off a few inches really gave my hair the little bit of bounce it needs (and the dye helps as it makes my hair a little more coarse) and the color, I think, is going to satisfy all my wig-friends who are constantly reminding me that even though my bio hair really is that dark, when I choose wigs that closely match it the effect isn’t the best. In other words, your natural hair color may be dark brown, but natural just doesn’t look that good on you. It was really miss Robin by Noriko that sealed the deal for me – I loved those highlights in the Chocolate Swirl so much that it was the day I got that wig when I decided to color my hair again for certain. Moving on.

heart11a

I have a few more edited photos to share, but not many – it seems that in the last full week of my summer vacation, I finally decided to get out of the house and venture out into the world, so I’ve spent this week meeting up with friends all over town and even doing a little shopping. This seriously has not happened all summer – for the most part, I’ve stayed up super-late (4 AM at most) and slept in late (getting up around 9:30) then sat around in my pajamas all day catching up on documentaries and editing photos or videos. Seriously. I’ve never done so much nothing for so long in my life, but I guess I really needed that sort of rest, because it hasn’t bothered me at all. Obviously I also filmed a TON of videos and took lots of pictures, but still – both of those things can be done in at least half of my pajamas (I may be wearing a lovely top in my wig vids, but below the waist it’s strictly sweatpants, trust me. And bare feet. With a rock plopped down on the floor between said feet, so I don’t start shifting while I’m talking and turning around to show the wig, which would move me out of focus because my camera has no autofocus. Ah, the glamour of the wig reviewer).

heart12ab

I did film reviews for my new Angelica, Seville, May, and Code Mono, so those will be uploaded soon. And I still have a Stevie by Amore that I got in the mail Monday and have not even taken out of the box – which proves I’ve been busy because usually, I will rip into those boxes as soon as they arrive. I think being happy with my real hair now is part of the reason, too, since I’m less consistently inclined to cover it up right now.

119 E
How short my hair was when I started

My birthday came and went without much fanfare, as usual, except as I pointed out to Lana I’ve been basically buying wigs with abandon all month and claiming “birthday present” with each purchase, as well as putting yet another Fendi Spy bag on layaway. And in case I forgot to mention it, another Stitch Fix came and went without so much as an iPhone photo, because I decided not to keep anything and I didn’t think I’d have enough time to take decent photos before my three-day window to ship them back passed. It was a nice enough fix with only one thing I didn’t like (a mini-dress), but with all the wig-shopping I’ve done this month I decided to just let the whole thing go. I do kind of regret the olive-green lace biker jacket I sent back though; it was really cute.

heart12abc
Modified version of an above photo – not sure why I like this weird edit, but I do

I’ll be honest, I don’t have too much more to add here and am just throwing in words as filler between photos. Thank you for reading.

heart8
This was not a leap – just Photoshop levitation trickery

Drag Days of Summer, Part Two

OK, here we go with the actual photos! The ones I’ve had a chance to edit, at least, from Wednesday’s shoot. But first:

skirt3a

I actually have some shots to share from June that I never posted. First up is a few more with this fab striped skirt I got from The Gap – it really photographs well!

gapskirt1b

That was actually what I call an “unjump,” meaning an attempted jump shot that I timed wrong and did not capture properly. Both the unjump above and the next one are also composites – the top half of me is from one shot while the bottom half is from another:

skirt2a

In both cases, I just didn’t like something that was going on in the top half (I think in one my hair was completely covering my face and in the other I just didn’t look too graceful) so I did my best to layer two different shots together. Took a long time, but I think I pulled it off OK.

Also, not gonna lie – in the shot directly above, the shadows were hitting my face in an unflattering manner, causing my nose to look unnaturally big. So, I used Photoshop to make it thinner. Then, I realized my eyes looked wonky with the thinner nose, so I worked some more magic to move them a leeeeetle father apart from each other, and thus  balancing them with the nose. Have you ever heard how if you try to get plastic surgery on one part of your face, you often have to alter another to make it look right? Well, that’s kinda what happened here, only, not permanent. Still, in the end I look a bit less like myself than normal, but whatevs. I already had a torso from one shot and the legs of a different one, so why stop there, right? Moving on.

Here’s another shot I took of Robin when I was messing around with her after making my video review:

Robin3bb

As in the last shot I shared, this one is also two different pics of the wig combined to give it more interesting movement. And lately I’ve been experimenting with some softer light filters than I’ve ever used before; I’m in a phase of feeling less insistent on absolute clarity and trying out softer looks. Who knows why. Always something to change up.

Brandi1

This is a shot I took of Brandi during the same shoot where I took the Robin pics (obviously, since the clothing is the same). Brandi is much more full, so I didn’t need to layer two photos together to get that much movement. One more from this set, this time ridiculously Pixlr‘ed:

Brandi2a

The original pic was out of focus, but I really liked how it looked in spite of that; there was a really nice shape to the flowing hair, so I chose to work with it anyway. I think I may have over-done the Pixlr overlays, but they have added so many cool ones lately I kind of can’t stop tinkering (I love the ‘mermaid’ and ‘candyminimal’ ones in particular). Speaking of overdoing it with Pixlr:

dolly1aa

I’d really started to get bored with June’s shots by this time, and dug back into the ol’ archives to find something else to edit. In the end it felt a bit boring, so I ran it through the Pixlr grinder also. Another old one I worked with that I did NOT Pixlr-fy was this one:

pink1a

That’s one of my favorite photo wigs, even though I tried to trim the bangs myself and really jacked them up. Not too noticeable when I’m throwing the wig around, fortunately.

Okay, so now on to the most recent stuff:

heart1b

I already mentioned the makeup process I went through for this shoot, so can we talk about this sweater now? I got this from my favorite online store for vintage costume-like goodies, The Kissing Tree. Whenever I’m feeling a little bored with my current stash of costumes I go check them out (usually at their eBay store), and when I came across this thing I knew I’d found my next purchase. It is perfect for portraits because there’s so much going on, it can be used in many different ways even within the same shoot without it really looking like it’s the same sweater every time. It has a great feathery collar, and I love love LOVE clothing with texture; the sleeves are not only striped BUT they have little fabric balls AND beads AND rhinestones – fabulous! Just moving my arms around in interesting ways make very unique pictures – like this:

heart7

Then, for added fun, it also has that huge heart right in the middle. I didn’t actually use this sweater in nearly as many ways as I could have in this set, but I love any article of clothing that lends itself to a lot of different looks just by positioning the body in different ways. And at $34 it was a steal. The only downside is that it’s a sweater, and a heavy one at that, so for taking photos under bright lights in July in a small studio with tons of windows, it can get pretty hot, but I just stuck on some shorts and did the best I could – most of the shots I took were portraits; I spent two hours on that makeup and I was determined to get the most out of it! So for most of the shots wearing shorts that in no way matched the top was fine.

To maximize the shoot, I also made as many wig changes as possible:

heart3a

See what I mean about that sweater? This photo doesn’t even look like it’s from the same shoot! And there’s that softer lighting again. One thing I did differently this time was really neutralize a lot of the color in the RAW files so that I didn’t get some of the blown-out brightness and discoloration I tend to get when processing, but I think that resulted in my face looking too white later. That, and the fact that I used too much highlighting on my face when applying the makeup. Anyway, that led to me having to add some detail into the shots using shadows and filters, and I think I leaned towards softer light effects to help soften the face overall. If any of that makes sense. Also, my blending wasn’t great so I spent a lot of time smoothing out that eyeshadow, and I messed around with my nose a lot in most of the shots. I found that enlarging my nostrils just a bit really changed how I looked, so I did a lot of little tweaking like that here and there just to accentuate the drag-effect I was going for. Kind of the same technique I used for this one:

heart10

My face came out REALLY white in this one so again, the softer light helped to add some dimension and detail back to my face. And who knew that Rene of Paris Caitlyn would make such a great photography wig? I almost sold it, but in the end I decided against it because t was inexpensive and I thought it MIGHT be good for photos – that sure was a good call, because I LOVE how it looked in this set. I’ve been gravitating towards short wigs lately for photoshoots anyway, especially when I’ve just spent two hours on my makeup; they are so much easier to work with when posing, and they stay out of the face. I can’t get all that good flowy motion I love, so there’s always a tradeoff, but especially with the summer heat the shorties are definitely a good option to have.

They don’t look as good for jumping, though,but it was pretty hot in the sweater already so I stuck with Caitlyn for my leaps – which really weren’t leaps but levitations:

heart4c

For this one I was leaning over a stool, then I layered that over a blank shot I took of the background so I could erase the stool out of the shot. This was mainly tricky because of the hand I was leaning on in the original:

heart4a

That hand was a real giveaway; it did not look at all natural when I was “floating” and made it obvious I’d been leaning on something, so I went back to my other shots from this point in the set, and found a hand I thought I could layer over the original one. However, THAT hand had all my fingers spread apart, and it was an absolute bitch to essentially cut and paste properly without the edges of the fingers looking really unnatural and obvious. I am not sure why it took me so long to give up on that hand and just go find another one; I think I spent something like four hours working on this photo and a good two of those hours were dealing with that stupid hand! In fact I gave up for the night eventually and returned to it the next day – at which point the solution became obvious, which was, duh, go find another hand.

Funnily enough, the hand I used ended up being the original hand from the next shot I processed; I didn’t notice that until I was editing this shot and working to erase the stool and had to maneuver around the hand again and thought, hey, this is as easy as it was working with that hand in my other shot – oh hey! It’s the same hand! Hi, Hand!

heart8

So now you can scroll up to the first levitation shot and see the same exact hand in that one as is here. Isn’t that completely uninteresting? And aren’t you glad I spent an entire paragraph and half talking about it? Of course you are. And in this shot, I was once again posing on a stool in the original, and used the same blank backdrop shot to layer over. My lips were also wonky in the shot, and in trying to fix the wonkiness I made them huge, then decided I kinda liked how they looked and kept them. Oh, and shadows. They’ve been a bitch for me ever since I started trying to edit them into levitation shots to make them look real, and I finally figured out a strategy that works for me. Instead of using the burn tool with a fairly small brush and drawing an outline around myself, I just make the thing HUGE and slap it over the entire subject several times, then erase the shadows from my body and reduce the opacity, and BAM. A nice shadow every time!

In yesterday’s post, I mentioned that I was playing around with lighting throughout this set, too (remember, I spent two hours on that makeup and was determined to get as many different looks as I could out of this shoot!). In most of the shots I had my Speedlight attached to the camera and bounced off the ceiling for some nice soft light, but occasionally I’d attach a light bender to it and aim bright light directly at my face for a different look:

heart2

Much harsher shadows behind me, and a lot less shadows on my face with a much brighter light. It’s a harsher look, and overall I don’t care for this effect as much as I do the softer ones, but for something different it’ll do.

And to sum up for now (who knows how many more of these I’ll edit – I have a few wigs and looks I haven’t even processed yet) here’s one last wig change:

heart9

That wig is called “Sava” and I think it was made by Vanessa Wigs. I’ve gotten more photographic use out of that $20 wig than many of my costlier ones; it’s interesting, it’s easy to wear, and it works with so many different looks, believe it or not. Great wig. And those are some older Zenni Optical glasses I got and kept even though they are no  longer the right prescription, because they’re awesome.

Whoo I am all out of words! Which is great, because I’m also all out of photos for now. More to come though, as well as some new wig reviews: Camille by TressAllure (which is really Shilo by Noriko, but with a lace front); Miranda by Amore; Stevie by Amore; Kenzie by Noriko; an updated Code Mono by Ellen Wille; a Seville in Macadamia-LR by Noriko; a May by Noriko; and another Noriko Angelica (also in Macadamia-LR). Sheesh, did I really just admit to buying all of those?! As I may have said before, it’s my birthday this month, so I partied it up a little early with my purchasing. School starts in two weeks anyway, and I know my wig reviewing will either calm WAY down or possibly grind to a complete halt, so I’m getting it all in while I still can! Never fear though – I still have oodles of old vids to upload, so that should continue to either annoy or entertain you through the first semester, at least.

Oh and also – my July Stitch Fix will be here Wednesday, so that’s happening too. What can I say, folks – stay tuned!

Just Shoot Me

curly1a

I have a few more new shots to share, and for some reason I’ve got a lot that have two or more different edits and I can’t decide which I like best. So I’ll use you all for that, if I can. The one above, though, just got one edit and I was done, so no choosing to do there. That top is a Free People long duster that I put on backwards,and the wig has always been a favorite. It’s by Forever Young, a company that makes pretty nice costume-type wigs that you can still get away with wearing as your real hair as long as you have the right attitude, and they don’t cost very much (they average around $40). While wearing this getup, I was shooting without the softbox, so the light was a bit softer on my face, and it was a pretty straightforward and easy photo to edit; I didn’t have to do much more than sharpen and brighten things to get it how I wanted.

Some of these photos, though – I still can’t decide which edit I like best – like these (click to view larger):

three_collage

The one in the middle is the basic edit; I’m pleased with the lighting I managed to pull off here (I moved a light stand with a fluorescent bulb attached up over my head and had the external flash on my camera set pretty low) but, because of the low light it came out pretty grainy, and in processing it to remove the grain I lost a lot of clarity. Because of that, I thought I’d add some texture or an overlay to detract and/or conceal the softness (which isn’t bad, and a lot of people like soft shots like that, it’s just not my thing). I actually like all three in their own ways, but can’t decide which is the “best,” or the final one. The one on the left just has some texture added, while I used a Pixlr overlay for the one on the right. Let me know which one you like better so it can help me decide!

I also need help deciding which of these two I like better – the difference is so subtle you might not even notice it, but I can tell:

hair_collage

The only difference is the subtle texture on the right-hand edit. I thought the original (left) might need just a little something extra, but I don’t know – maybe it doesn’t. Does it matter? Does it add anything? Let me know what you think. Also, let me just add that there was about twice as much flyaway hair in my face than you see in the these shots; it was an absolute bitch to edit out and took a long time; eventually I ended up using some filters that added a ton of light to the face to also help reduce the visibility of not only the hair but some of the editing I did to get rid of it, which started getting sloppy. That’s why there’s such a green tone to it; it was a filter that really worked to reduce the appearance of the flyaway hairs for some reason so I went with it.

Here’s the one shot I got of the Thugmaste tee I talked about in my last post; it was actually difficult for me to get the entire slogan into a shot, because the words at either end of the tag line were disappearing in most of the shots. I ended up taking one of the few shots of my torso where the whole slogan showed and layering a better head over it. So there’s really TWO wigs showing in this shot because when I layered the different head into the shot I kept what hair was sticking out from the bottom one. I liked this one with the black and white treatment, too, but so far everyone I’ve shown has liked the color better. Thoughts?

thug_collage

Also, although I really liked this shot when I took it, in looking over this section of my set I realize I didn’t have the right attitude for this shirt. I should have done something with more attitude and probably a bit of humor, since as has already been pointed out to me my ability to project “thug” is pretty limited. Just standing there staring at the ceiling really isn’t what this shirt called for, which is probably why when I sent a copy to the woman who made the shirt she just said ‘thanks’ and didn’t do anything with it, LOL. Oh well. You win some you lose some.

As a closer, I’ll share the other shot I had processed that didn’t have any different edits to it; it’s another one where I experimented with a harsh light above my head and off to the side, and I like the way it worked out even though I did have the same noise issue to contend with:

space3a

I used a RadLab texture to rough up the softness a little, but other than that just some color punches and things like that to get this where I liked it. I considered using some of Pixlr’s space-y overlays on this one, but they all detracted too much from the lighting, which I really liked and wanted to keep prominent in the shot.

That’s all I have from the new shoot for this time, but I know there’s more to come – at least of the curly wig and the space dress. The t-shirt section of the shoot I’m pretty much done with, and there was a bit at the beginning of the shoot where I tried to get close-ups of my makeup, but they ended up a little boring so I may not share any of those. However, I still have a few from the edits I’ve done of old shots to share, so I’ll throw them into a little collage for you here:

old_collage

All Dolled Up

When searching eBay for more dolls to shoot, I came across a few that I had when I was a child. My mother used to buy me a Madame Alexander doll every Christmas and birthday, and my favorites were the ones created to represent different countries. As an adult, they often seem ridiculous, having the same European baby-face with little more than an eye and hair color change, but for nostalgia’s sake I picked up a few. They were pretty cheap, and in mint condition – which is a bit of a dilemma now, since my idea was to abuse them a bit for photos (dunk them in water, disassemble them and put them back together in weird ways, etc). I ended up buying a small lot of really trashed ones so I don’t have to be conflicted about destroying the pristine ones I picked up.

I don’t have the trashed dolls in yet, though, so Saturday I decided to take one of the nicer dolls and keep things simple, photographing her against a basic black background and just trying to make her levitate a bit without getting fancy. I wasn’t expecting much out of these shots aside from getting a feel for how to photograph them in a manner I would like. One of the biggest difficulties I had was getting the lighting right; I only managed it on some of the shots as I experimented, while in others things were too bright and flat. But I’m learning. Also, I had her perched on a clear plastic stool, and while it was a decent height and had a nice shiny surface for her to stand on, it required me to squat and crawl around a lot which isn’t good for my already bad knees, so I may have to work on getting something to put the dolls on that is higher and allows me to stand upright.

But first, let’s just check out the doll:

spain1
This is Spain, looking a little constipated for some reason

The Spain doll was always a favorite of mine; as the girliest girl who ever girled, I was gaga over all the ruffles and lace, especially the mantilla on her head. I never did much with these dolls except admire them, since that’s really all one was supposed to do. Their bodies aren’t very bendy and the fussy costumes limit movement even more – not too much of a problem when sitting them on a shelf to add to a collection, but much more so when trying to pose them in odd ways for photos. I guess that’s not what Madame Alexander had in mind for them when she designed them.

spain4orig

So here’s attempt number one; Miss Spain here is sitting atop a crystal honeypot because I thought it would provide good balance without scrunching up her clothes too much. The only reason I have a crystal honeypot is because when Doug and I got married apparently someone thought I might have use for such a thing (I’m sure this was someone in Doug’s family, as my non-crystal-owning relatives wouldn’t dream of purchasing something like this). Anyway, after much editing here’s the final result:

spainBR

Obviously I flipped the picture, since it seemed to work better this way. I’d used an on-camera softbox for some of the shots to hit light directly to her face, since I felt the Speedlite bounced off the ceiling was creating too many shadows there, but in the end I don’t care for the result. The image is too flat, especially in the face, so in the future I’ll stick with just the Speedlite and worry less about shadows. On the plus side, I’m getting better with layer masking, and didn’t have too difficult a time cutting out the image from the original shot and layering it into a shot of the black background. I futzed around a lot in RadLab and Topaz to get the right textures and tones, and in the end added a bit of motion blur to her skirt to give a better effect of movement. Not a great shot, by any means, but since these were just practice shots anyway, it went  better than expected, at least.

I like the next shot better – but let’s start with the original:

spain2orig

I’d aimed a lot of light behind her here, to help provide an outline against all that black when I had to crop her image out of the picture later, and as you can see without the softbox she has much more dimension and appears softer overall. Again I futzed and edited with RadLab and Topaz, and added texture to the background to disguise some of my sloppier cropping spots (although I really didn’t have too many glaring errors anyway), and well, here you go:

spain2ab

The goal was to make Miss Spain look like she was floating, obviously, but I don’t think it worked for a couple of reasons. First of all, the subject is a bit too large and takes up too much of the frame, and secondly, she’s already an inanimate object so it’s much less unusual-looking to see her hanging out this way. I hope that makes sense – even though there’s clearly nothing holding her in this position, it appears to be nothing more than a photo of a doll standing that’s been flipped on its side. Again, I think if I’d had more negative space around her body that would have helped, but still, a doll floating against a black background really isn’t that interesting, and I think for these doll shots I may need more setting or context to make them work. Something she’s floating above or in front of, for example, might have made this more effective. In the end, I punted and flipped the shot, and I think it helped a bit:

spain2a

For some reason, when flipping it vertically it’s more apparent that the doll isn’t standing on anything, and it looks more like she’s floating or leaping. It bugs me a bit because I filled in all the shadows with the assumption that she’d be laying (lying?) on her back and they aren’t placed properly for this orientation,  but I added enough texture to the background that I think it isn’t too noticeable. And again, much nicer without the fill flash/softbox; the doll looks much more three-dimensional here than in the previous photo.

In the end, both of these were pretty silly shots, really, and were nothing more than some experimentation to get started working with the dolls and seeing what I can do with them. I’m not sure how interesting any of these pics are going to be to anyone else, and it’s possible just a few of my followers will be willing to to go down this road with me, but it’s a subject that interests me right now, so I’m moving forward anyway. I do plan to use myself in some doll shots, too – I’m particularly excited about the Madame Alexander angel and devil dolls I got off Amazon earlier in the week – but as I’ve said many times here, taking self-portraits has gotten a bit boring, and I need something else to occupy my photography-time. Not sure I’ll stick with this long, or even at all, but if it ends up being a bust I still think it’ll lead me somewhere better in the long run. Which is how it always goes with creativity.

Now, allow me to close this out by leaving you with a more horrifying image in relation to my current doll obsession. In searching for MA dolls on eBay, I came across a lot of the company’s baby dolls as well. I have always found baby dolls particularly creepy (and a lot of people apparently find the regular MA ones creepy as well) and at some point got the idea to find THE CREEPIEST BABY DOLL POSSIBLE and splurge on that one, too, just to tap into everyone’s doll fears with some disturbing baby shots at some point in the future. Turns out the person who listed the auction on the doll I purchased had decided to do some of that work for me, as one of the photos of the doll in the auction was probably the scariest thing I’ve ever seen:

$_57
SOLD!

Everything about that shot is horrifying: the shadows, the weird angle, the chipped paint on the door hinge – everything. And if you look closely, you can also see that SOMEONE IS CHOKING IT. Honestly, I’m not sure I can ever re-create the horror of this shot, but be prepared to see this little guy haunting you (and me) soon. The auction says it’s a girl, but I think it’s a dude, and for some reason I’ve already named him Sherbet. But that might be sharing too much of the inner workings of my weird mind, so I’ll stop talking now.

Happy Sherbet Sunday!

Doll Shots

I’d planned to do a more elaborate shoot this weekend, but when I woke up Saturday morning and sat down at my computer with my wake-up cup of tea I noticed something: I couldn’t see. Well I could see, really, but the text on the screen was a bit blurry, and with a little experimentation I realized it was only in my right eye. And things weren’t blurry so much as shadowed – I had a touch of double vision, with the second faded image sitting below the real one. I decided to try and get in to see an eye doctor that day, since I had the time, to get an update on my prescription and see what was going on. I called around and found an open appointment at 2:15 at the LensCrafters in  our local mall. Of course,a mall on a Saturday two weekends before Christmas isn’t my favorite place to be, but I wasn’t sure when I’d have time again to get to an optician and I was a little concerned about what might be going on with my eyes, so I braved the crowds and headed out.

Turns out my astigmatism in my right eye has gotten a little worse – not enough to cause alarm, but just enough to create the double vision I was noticing that morning. Who knows how long it’s actually been going on; I guess my eyes were too tired to compensate first thing in the morning and that’s why I finally noticed it. So by 3:30 I was out of the mall with a new prescription – wouldn’t you know this happens just two weeks after I buy two pair of glasses from Zenni? Ah well. They weren’t expensive in the first place, so I bought two more pair with the new prescription and they should be in soon.

All that to say that I ended up taking photos that required less setup. I got out my macro lens and decided to take pictures of this old Madame Alexander doll I have sitting around. Of course, I had to edit the hell out of them afterwards:

doll4

Of all the types of photography I’ve tried, macro has to be the most difficult. Lighting is a real challenge when getting so close to a subject, and the new ring light I bought from Amazon on Black Friday turned out to be a total bust – it wouldn’t even turn on. So, I had to try and use my Speedlight to aim light at the doll, and I was crouching into all sorts of uncomfortable positions, and the lens was terribly heavy, and I had two very warm lights beaming down on me while I crawled all over trying to get decent shots – not to mention that focusing is a bitch too. I only took about 45 shots, and couldn’t tell if any of them were going to be worth anything until I got them loaded onto my computer. Fortunately, there were some keepers:

doll1

I had a hell of a time getting the lens to focus on that little cameo pin; I probably took more shots of it than I did anything else. But I think I got good detail out of that one – Topaz Clarity and InFocus helped with that.

doll2

The doll, of course, doesn’t have skin nearly as pale as my edited pictures, and the lips are a much brighter red, but I liked the ghostly effect of the desaturated tones. I use RadLab’s Dirty Pictures to add texture, since most of the shots seemed to call for a bit of weathering.

doll3

I really wanted a good shot of the doll’s hand reaching out, but in the end I couldn’t get the focus quite right. To disguise that I used Topaz’s Lens Effect to create the split screen you see here.

doll5

I don’t know what to say about this, except that I like it – especially how the texture in the lower left corner looks like it’s smoke or something coming out of the doll’s mouth. I really did get some very nice closeups out of this, considering the doll itself is pretty small. In fact, these shots inspired me to go to eBay and buy a cheap lot of fairly worn-down Madame Alexander dolls, just to see what else I can come up with for  them photographically.

doll6

I’m thinking about trying to make them levitate, and other bits of weirdness like taking them apart and putting them back together wrong, or creating some sort of doll/me photo hybrid. Oh, and drowning them. But we’ll see how much of that I ever actually pull off. It’s a weird experiment and one I’ve never tried before, so I have to prepare for a lot of frustration and disappointment. But sometimes, that’s easier to deal with when you’re not also in a wig and ten pounds of makeup. I think this is it for doll shots and the macro lens, though. Until I get a functional ring light that sucker is too difficult for me to deal with.

Mid-term exams are the next three days, so it may be crazy, but the holidays are almost here! Happy Monday everyone.


Peer One Portraits

Stupid title, but it’s a play on Pier 1, which is where I got all these props. Moving on.

Pier6_final

My initial plan was to wear one of my silvery gray wigs in this getup, but it ended up getting tangled in the garland so I put a thick silver headband on my head, on top of my wig cap, and pinned the poinsettias to that instead. Ended up working out great; I forget how much more difficult long wigs make taking self-portraits. They’re a bit hot under the lights, they get in the way constantly (snagged up in the costume or in my eyes while I’m trying to see what I’m doing or set up a shot), plus they tangle a lot when I’m flinging them around. Believe it or not, having 4 poinsettias clipped to my head was actually easier than putting on one wig! And yes, the poinsettias came with clips attached – I’m sure they are meant to clip to Christmas tree limbs or something, but that’s why i snatched them up, because I knew they’d be super-easy to pin to my head. And they were, except on one of them the clip broke off after about 20 minutes – kinda chintzy for a $5 decoration if you asked me, but then again, I’ve always found Pier 1 to be overpriced. Moving on.

Pier8_final

I was on my way to the register with some other stuff when I spied this white, sparkly garland shoved into a basket and snagged it instead. It was really fun to work with and created some very cool looks – the downside was that it was terribly itchy (then again, it wasn’t created to be worn by a human, so there you go). I loved the shots I got with these props, so much so that I’ve already edited – including the pics I shared yesterday – ten shots! That’s way more than I usually process from a shoot where I didn’t change costumes all that much. But the garland really added interest to the photos, and I found myself struggling to decide which shots to process.

Pier7_final
Remember when I said yesterday how I changed the colors up in every shot? Here I went for an icy blue that’s probably more green than I inteded.

When deciding what shots to edit, I try to find pictures where either my pose or facial expression isn’t so typical, but I do just have one face, after all, and I do tend to make the same faces over and over (which I discussed in a previous post). I think this is where the props can help a lot; to add some visual interest to the photo besides my face. I had very similar expressions going on in all the shots I took with the garland (about 200, in case you wanted to know), but the garland created a lot of interesting shapes and was fairly easy to manipulate. In fact, I totally want to work with it again – it’s very sturdy, and the wires are thick and strong so I can move it into a shape and it will hold it for several poses before it starts to collapse. I could have done a lot more, but as I said, it was terribly itchy and my skin was starting to get irritated, so I had to stop playing around. Plus, there’s only so many shots I need of me in this particular look with the same garland no matter how much I can manipulate it, so I figured I’d stop while I was ahead and leave more to the imagination for a future shoot where I can look completely different.

Pier11_final
Another favorite

As far as the technical stuff, to change things up a bit I used my 70-200 telephoto lens that I normally reserve for plane shots in this shoot. There was no real reason for this other than wanting to try something different and see how the photos turned out; it was nice to have more room to work with while I posed since I could keep the tripod pulled quite far back instead of needing to keep it closer with my 50mm or 85mm prime lenses, but I didn’t get the lovely focus and camera blur those lenses would have provided. Still, it did a good job and for the most part  the auto-focus was dead-on – easier than either one of the prime lenses, in fact, but I guess that finicky focus is why they create such nice portraits in the first place. Another benefit I’d never considered was that I could stand much farther away from the black backdrop, so there was very little light from the flash reflected in it to alter the solid black effect – another thing I probably should have known by now but never did.

Pier13_final

Because I used my Flash Bender on my Speedlite for this shoot, I got a lot of sharp, strong shadows that created some nice black and white shots as well, so there’s quite a few I converted to B&W when processing. I also kept my cheap ring light handy (and managed to knock it over and break it as well, so it’s time to buy another one of those) and for the most part had it set up behind me on a tripod to give my head and shoulders a bit of an outline against the black backdrop; occasionally I also placed it right in front of me to get some catchlights in my eyes. Unfortunately, in some of the tighter close-up shots the ring light tends to create a lot of chromatic aberration that I forgot to edit out (you can see it in the close-up shot from yesterday and the one above), and my eyes came out looking a little pink. I may go back and edit that before uploading to Flickr, but for the blog, pink eyes it is. And by the way, super-easy Photoshop technique for fixing chromatic aberration is located here – a two-minute YouTube tutorial that is simple as pie to do. Has saved my butt on many occasions when working with bright lights and getting all those purple rings around high-contrast areas.

These next few are pretty experimental and I don’t care for them quite as much as the more straightforward shots, but there was so much I wanted to work with here and I started feeling the need to change things up a bit.

Pier5_Snapseed

When this shot was taken, the Speedlite failed to go off, so the resulting photo was really dark. This happens several times throughout any shoot, and sometimes I try to process one of the pics to see if anything interesting can come of it. Usually nothing does, and I don’t think this one is very successful either. I pulled it into Pixlr to try and generate some added interest, and honestly I can’t remember what all I did to it there, but in the end, I still don’t think I like it very much. But hey, I tried.

Pier9_final

Mostly I just liked the way the garland was framing my face here; this is another shot I Pixlr’ed like crazy, but I think it worked better here. I used some of their graduated color filters as well as a space filter to make the costume sparkle; I just discovered that Pixlr’s desktop app can utilize masks so I was able to apply the stars without having to add them to my face, which is cool. I love textures and filtered effects, but for the most part I don’t like them to muck up faces, and it’s nice to be able to erase that out now.

Well, that’s probably all I have from this shoot, although I have one or two more I’m still eyeing. But I pretty much marathon-edited this weekend, partly because I had the time, and partly because it’s been a long time since I just worked with portraits and had forgotten how much fun it is. Busy week coming up at work – the week before any vacation is always stressful, and this one is shaping up to be the same, so I may be MIA until the holiday starts next weekend. Happy Monday everyone!

Portrait Portions

A few more photos from my recent portrait session here, but first, I have to mention the spike in traffic I saw on my blog yesterday. Keep in mind that for me, a spike in traffic means I went from about 30 views a day to almost 200, so overall I still don’t need to quit my day job or anything, but what the hell, it was still a big jump over my usual numbers. What did it was the Stitch Fix people finding my blog post from yesterday, and creating a pin on Pinterest of one of my photos (the one with the aztec cardigan). The Pin sent people to my blog to check it out, and here’s what happened to my stats:

stats

I think you can tell where the spike is (and no laughing at those sad numbers, BTW). Always interesting when something like that happens, so I thought I’d mention it. Moving on to the shots – I have three more self-portraits to share, all taken after I’d starting destroying my costumery and makeup:

done5_final

I edited the hell out of this one to reduce my skin tones and up the contrast; not sure I like the way it came out but at least it was something different.

done6_Snapseed

I like this one better, and as I mentioned in my previous post about these shots, I really liked how cutting a hole in the top of the wig and pulling my own hair through it worked. It almost does look like a dye job on my actual hair instead of a wig (or half-wig as the case may be – and yes, half-wigs do exist. They just don’t work at all like this one). The last one utilizes these great costume glasses I got off Amazon a while back – in my current Sopranos-obsessed state they reminded me of Junior Soprano:

done7_final

I Rad-Labbed and Dirty-Picture’d the hell out of this one to bring the light down and add some interest. I think it worked out well.

Speaking of glasses, I ordered new ones for my day-to-day life this afternoon and will of course take pictures of them when they come in. Oh and I’ve also discovered the joys of toeless socks, so I’ll have to write about that sometime too, won’t i? There is nothing I won’t write about here, after all, so please try not to go giddy with anticipation waiting for my yoga sock review. Happy Friday everyone!

Flower Trip

More flower macros! Today I decided to share some comparison photos as well; the first set shows the difference the FlashPipe made on the macros when I was focusing in really tight. Without using an external flash, such shots were too dark:

lana8b

I’ve used the Speedlite on macros before, and it definitely helps, but because of all the weird angles I’m using to get the shot I want the light kind of bounces all over. With the FlashPipe I get a nice soft diffused light that’s much more even, and definitely brighter than taking the shot without any flash:

lana8a

My next set of comparisons shows how using the RadLab plugin for Photoshop helps edit a SOOC photo into something more magical. Here’s the original shot:

lana9

And here’s the shot after I adjusted the contrast and used RadLab filters to brighten and enhance color and detail:

lana9_RadLabbed

Big difference! So even if in the final shot you can’t tell how RadLab might have helped, it definitely does. Of course all this could be done without it, but for someone with limited Photoshop skills like myself the plugin sure makes things easier.

I then used Snapseed for final sharpening and to enhance color a little further, as I felt the yellow was a little blown out in the original shot (the downside of using the flash). So here’s the final version:

lana9_RadLabbed_Snapseed

This next one is a bit similar to a shot I shared in Sunday’s post; but that one was taken without the Speedlite/FlashPipe combo while the one I’m sharing today used those two additions. So as a reminder and further comparison, here’s the shot I shared Sunday:

lana6_final

And here’s the same flower (different angle though) taken with the external flash and FlashPipe (as well as water spritzing):

lana10_Snapseed

Both are nice, but the effect is totally different. Again you can see how the color gets blown out a bit by the flash, even after all my edits (this is a final version, achieved using the RadLab filters and Snapseed).

And here’s my last one for today. Definitely a favorite – final version only:

lana11_Snapseed

More flowers later, I am sure. Another busy week ahead, and then next week I must start getting back to work at least once a week to prepare for the year. Enough time to do a full self-portrait set complete with costumery still eludes me, but I’ll get to it when I can.